Bridge builders
Grades 5 to 7 (Ontario)
Elementary cycle 3 to secondary cycle 1 (Quebec)
Designed as an education tool for teachers, these bridge-building activities allow students to learn about the forces acting on structures and what it takes to carry the load!
Share :
Forces acting on various types of bridges
Learning objective
Discover forces acting on various types of bridges by building prototypes.
Introduction
Start by discussing a few basic concepts about different types of bridges:
- What are bridges used for? (cars, trucks, trains, pedestrians, etc.)
- Where are they used? (over small bodies of water, over large bodies of water, over canyons, over roads)
- What things have to be considered when building a bridge? (weather in area, what will cross over it, where it is, cost, material, etc.)
- For these reasons there are many different types of bridges that exist. Some examples can be found on the next page.
- Have a quick discussion on what forces are and how they act on various structures.
- There are many types of forces but primarily they can be identified as pushing or pulling or, to use other words, tension or compression.
- Forces can be applied externally (such as gravity) or internally (from one part of a structure acting on another part).


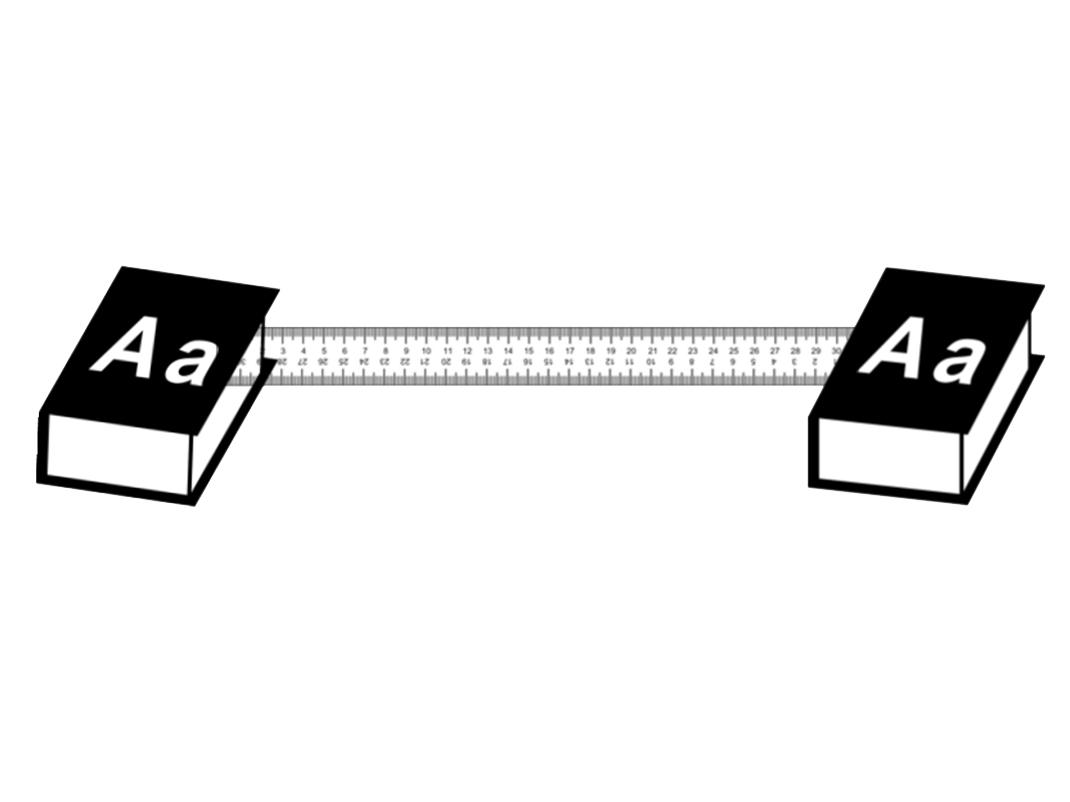
Post and beam bridges
Materials
- Two books
- Ruler (30 cm long)
- Ten washers
Note: For a better visual representation you could use a piece of pool noodle, long thin balloon or dampened sponge with cross-sectional lines drawn along its length to show the forces on the bridge when the load is applied rather than a ruler.
Instructions
- Place the books at a distance from each other so that the ruler can be placed between them.
- Place the ruler on the books.
- Stack the washers in the centre of the ruler or simply press down in the centre of the ruler.
- Observe.
- What happens to the ruler as more washers are stacked? (starts to bend and collapse towards the “water”)
- What type of forces would be in the ruler? (Pushing force along the top of the ruler [compression] and pulling forces along the bottom of the ruler [tension]).
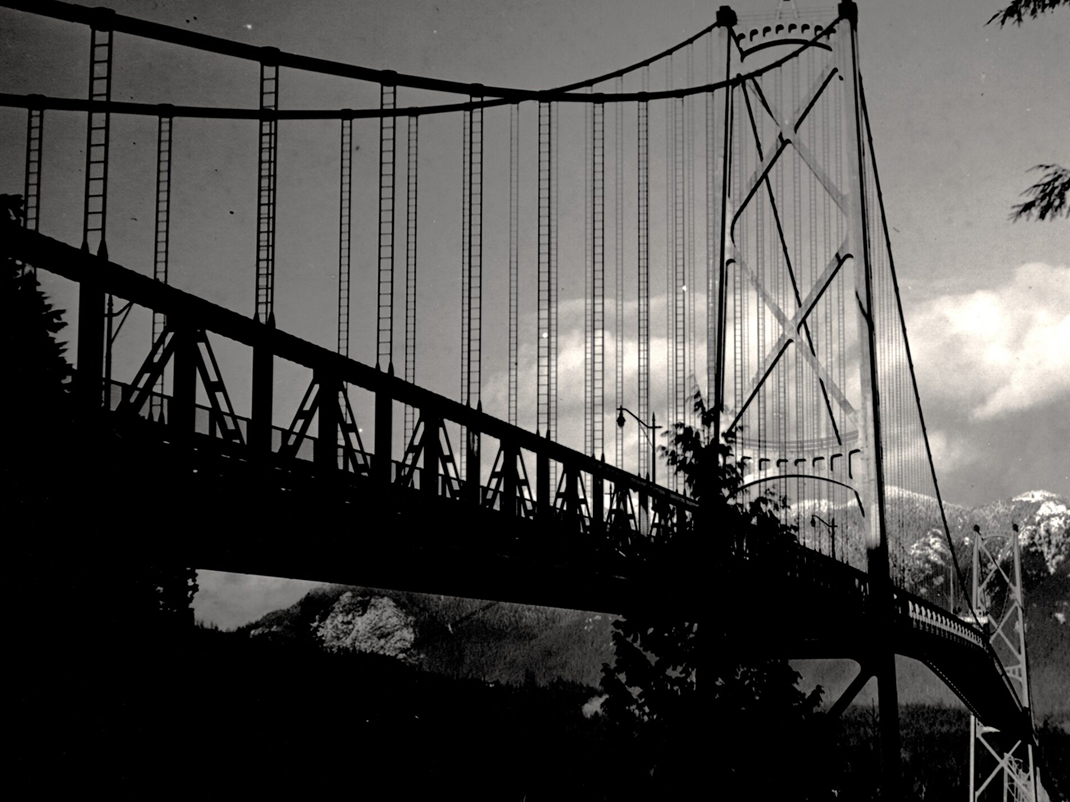
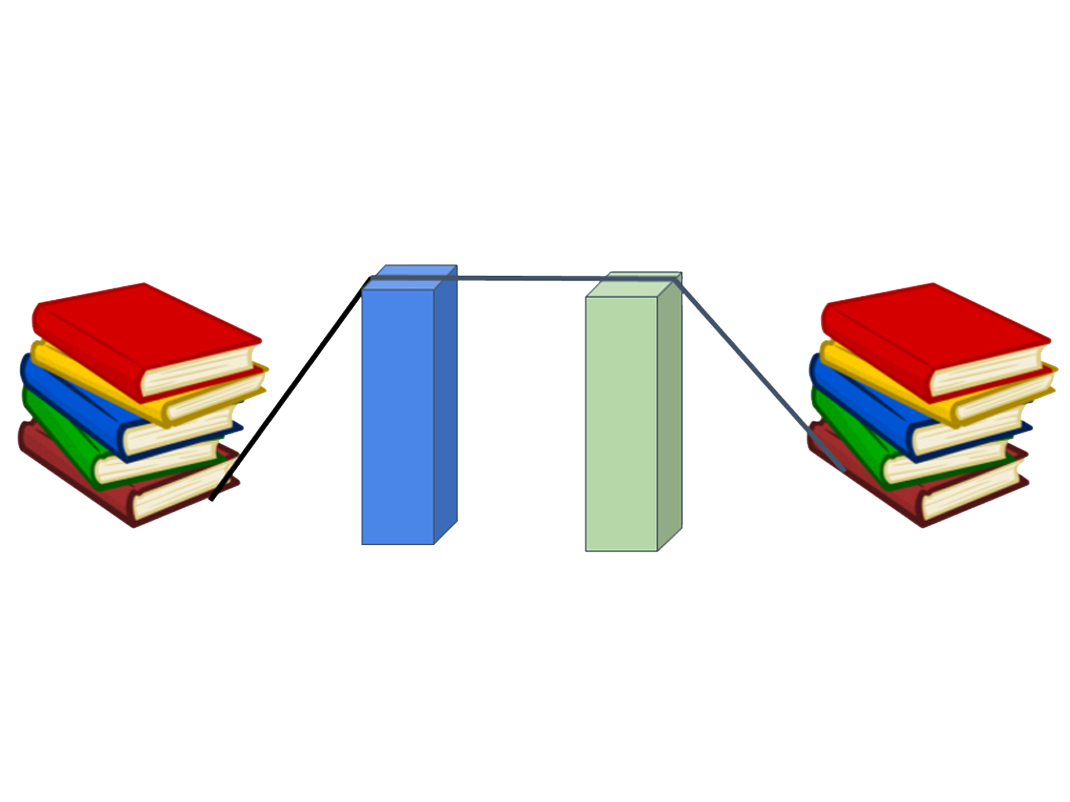
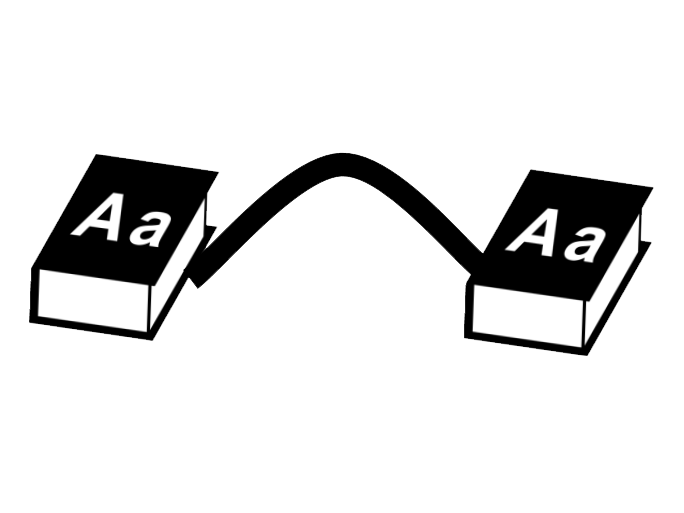
Suspension bridges
Materials
- Eight books
- String (approximately 90 cm long)
Instructions
- Place two of the books upright, about 30 cm from each other.
- Place the string over the books with the centre of the string in between the two books and the ends hanging over the far side of each book.
- Push on the centre of the string.
- Observe. What happens if you push down on the string? (The string will just fall as it is not supported)
- Place each end of the string under a stack of books.
- Push on the centre of the string once more.
- Observe. What type of forces would be in the string? (Pulling or tension).
Go further
- Students can pair up and stand facing each other, with their feet approximately 50cm from one another, and hold hands.
- Students lean away from each other without moving their feet.
- What type of force do students feel in their arms? Same as the suspension bridge: they will feel pulling forces (tension).
Arch bridges
Material
- Two books
- One strip of cardboard (approximately 30 cm long x 3 cm wide)
- Ten washers
Procedure
- Place the books at a distance from each other so that the cardboard can be placed between them in an arch shape.
- Place the cardboard strip between the two books so that it has an arch shape.
- Stack the washers in the centre of the cardboard.
- Observe.
- What happens to the cardboard as more washers are stacked? (starts to bend and collapse towards the “water”)
- What type of forces would be in the cardboard? (Pushing/compression)
- Can this shape withstand more weight than the flat (post and beam) type of bridge? (yes).
- Try it out by placing the cardboard strip flat along the top of the books.
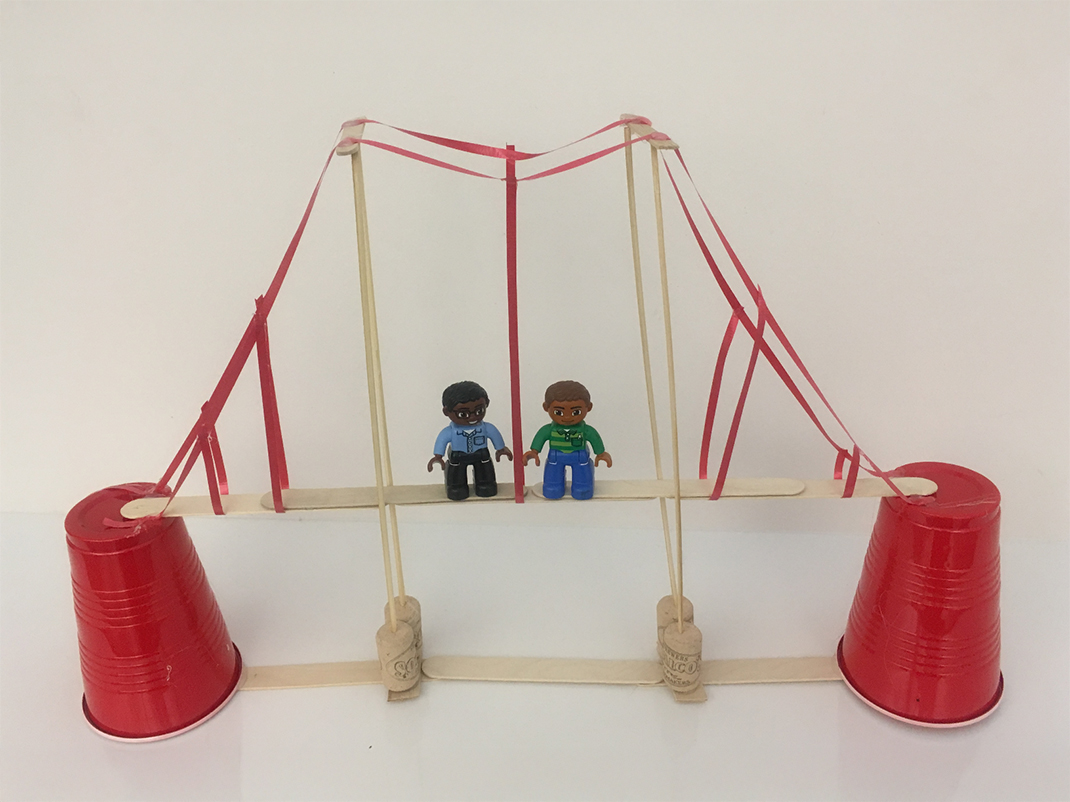
Make a suspension bridge
Learning objective
To build a suspension bridge that is capable of supporting a load.
Material
- Whatever type of recycled/craft supplies that can be collected: string, cardboard, empty toilet paper rolls, popsicle sticks, straws, pencils, clothespins, bull nose clips, paper clips
- Glue, tape, scissors, hot glue guns (if available)
Instructions
- Discuss with students that you want them to build a suspension bridge and describe which materials will be available.
- Agree with students what the requirements will be for the design of the bridge—what distance does the bridge need to span, how much load do they want it to carry, etc. (Our example bridge had a minimum span of 30 cm and was able to support a load of at least 50g)
- The building of the bridges can either be done in groups or individually.
- Remind students that they must consider the support posts as well as what they will use to make the roadway.
- Students can draw a plan of the bridge that they will build.
- Have students build their bridges.
- As a class, discuss problems that were encountered during the building of the bridges and how these problems were overcome.
Go further
If time allows test the bridges and see how they cope with a load applied.
Another important part of suspension bridges is their stability. How stable are the bridges? Discuss with students how the stability can affect the life of the bridge. How would the bridge react if there were strong winds blowing?
Watch the Tacoma Narrows bridge failure. This bridge failed because the engineers didn’t fully consider wind loads on the bridge. After the failure the bridge was redesigned to allow the wind to flow through better instead of having solid areas that resisted the wind (even the roadway included openings to allow the wind to flow). Stiffening struts were also added.
Reflection
Learning objective
Have students reflect upon the bridges they built and how the bridges performed when tested.
Material
- Table of results – if available
- Photos of completed bridges – if available
Instructions
- Discuss with students results from the bridges that were built in the workshop.
- What worked well?
- What didn’t work?
- What challenges were there?
- Did the bridges that were the most successful in testing have anything in common?
- Did the bridges that were the least successful in testing have anything in common?
Activity sheet
Use this activity sheet to test your students’ knowledge:
- Forces acting on various bridges (PDF, 162 KB)
- Forces acting on various bridges: Answers (PDF, 192 KB)
You may also be interested in
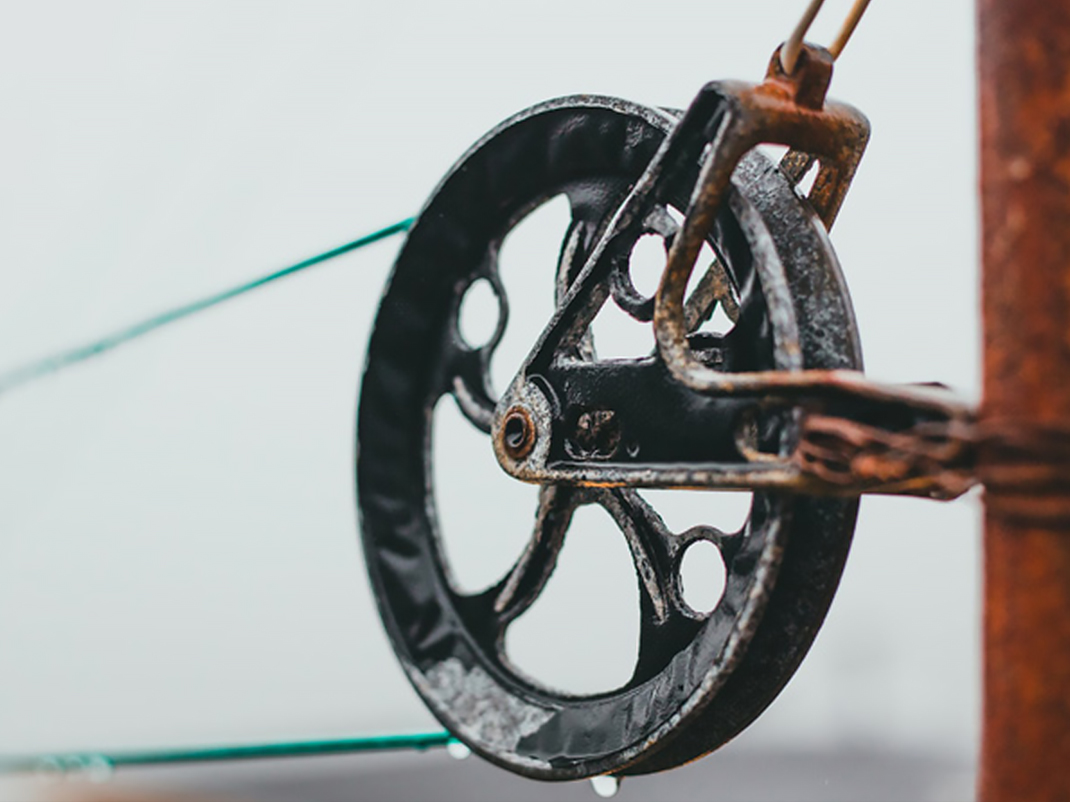
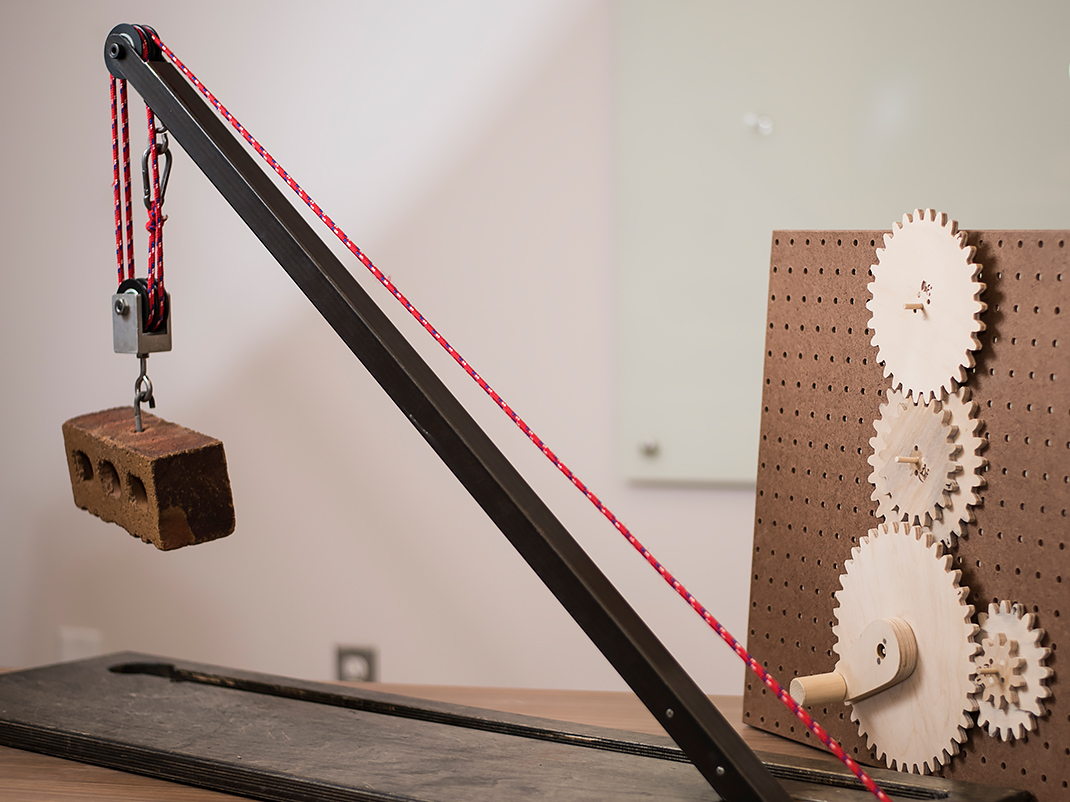
Pulleys and gears
Get your students in gear and lift them to new heights while exploring how pulleys and gears help us do work more easily.
Simple machines
Discover a fun, hands-on lesson plan that teaches students about motion and forces! Engage your class with interactive activities exploring how objects move, the effects of push and pull, and the role of force and mass in motion.
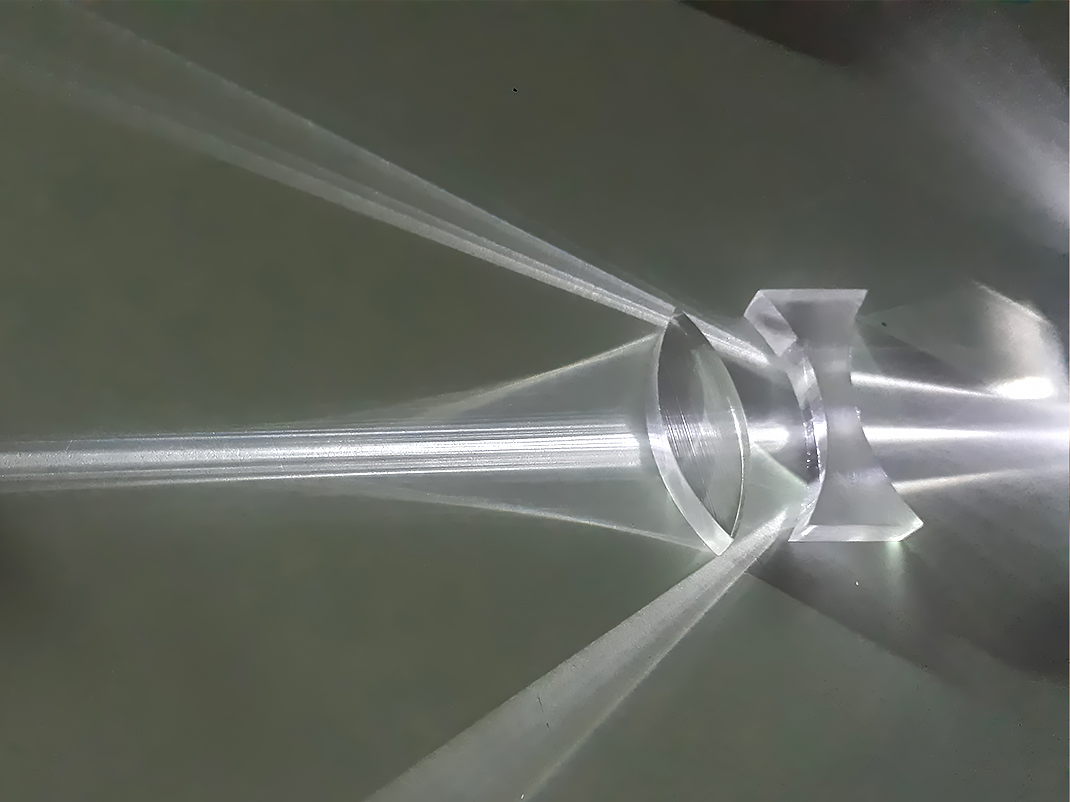
Light paths
Explore the science of light with this interactive lesson plan! Students investigate how light behaves, interacts with mirrors and lenses, and applies to real-world optics. Engaging experiments and discussions make learning about reflection, refraction, and vision exciting and hands-on!