Simple machines
Grades 1 to 3 (Ontario)
Elementary cycles 1 and 2 (Quebec)
Encourage your students to explore the fascinating world of movement with this hands-on lesson plan! These classroom activities will help them understand how and why objects move, as well as the forces needed to control motion. Through simple experiments, students will manipulate objects, observe different types of movement, and engage in discussions about force and mass. Use this opportunity to spark curiosity and critical thinking as they discover the science behind motion in a fun and interactive way.
Share :
Observing movement
Learning objective
This activity will help students understand how and why objects move. Students will explore and manipulate motion and discover the forces required to control it.
Introduction
Simple machines are part of learning about forces and motion. Movement is a change in position of an object. There are many different ways in which an object can move. The position and motion of objects can be changed by pushing or pulling, and the size of the change is related to the strength of the push or pull. This activity will encourage students to question how things move. Begin a conversation as a class to get students talking about movement. Some questions could include: What is movement? What can movement look like? What are some examples of things that move? What are the ways in which things can move? (e.g., turning, spinning, swinging, bouncing, vibrating, and rolling.)
Materials
- Objects to move (e.g., ping pong ball, marble, toy car)
- Things to help move the object (e.g., cardboard, ruler, string, straw, elastic, Popsicle stick, etc.)
- Make it move activity sheet
- Pencils
Instructions
- Divide students into pairs, and provide each pair with an observation chart and an object to move.
- Ask students how many different ways they can move their object from one place to another. Can they make it move without touching it?
- Students should document the different ways they were able to make their object move on the Make it move activity sheet (e.g., pushing, pulling, throwing, sliding, rolling, dropping, blowing, kicking, etc.) as well as how the object moved (e.g., bouncing, turning, spinning, rolling, vibrating, etc.).
- Discuss the different ways that the objects moved.
- Discuss the different types of movement they observed.
Go further
Discuss with the class:
Can we change the ways in which these objects move? How? This is an opportunity to reinforce the concept of force and mass. Discuss the experiment the students already completed. Did their object move at different speeds? How? Did the object change directions while it was moving? Can they think of other objects that could be moved in the same ways? Can they think of other objects that could not be moved in the same ways?
Materials
- A water bottle filled with water or sand
- An empty water bottle
Instructions
- Ask students to predict which bottle will be harder/easier to move. Why? Have a student come in front of class and try moving both bottles. What did they notice?
- Explain to students that the filled bottle has more mass, and therefore requires more force to move it. The opposite is also true.
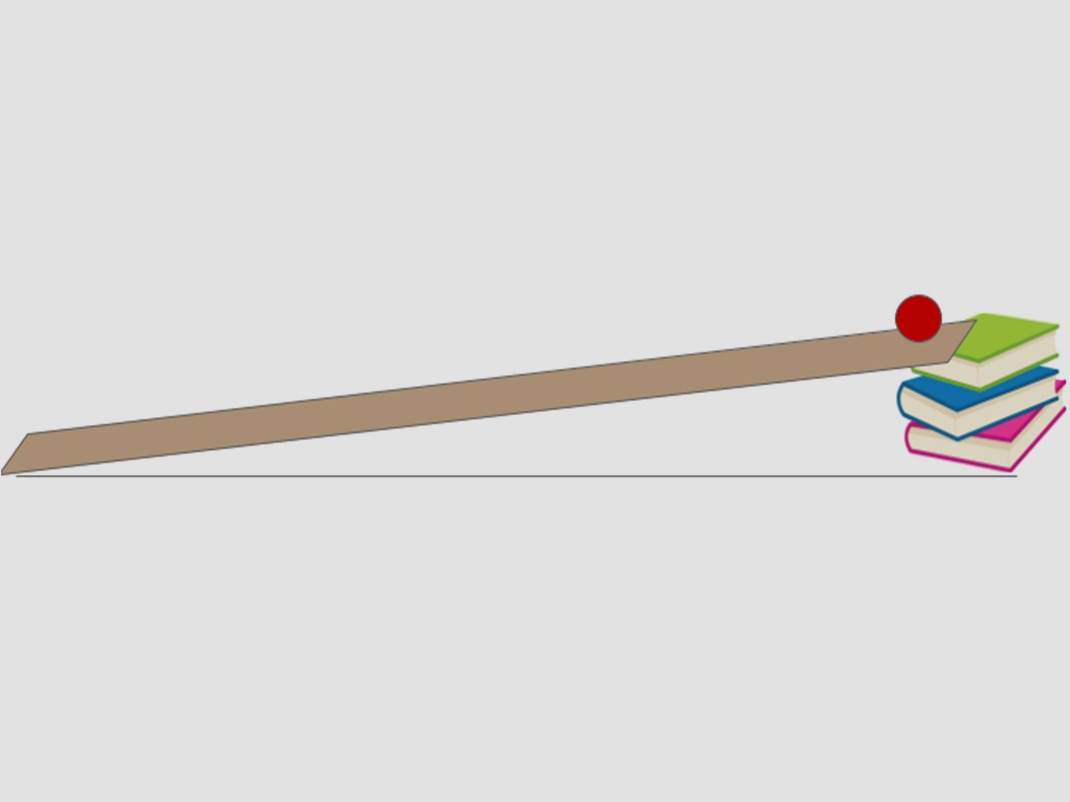
Rolling ramp
Learning objective
Students will begin to understand that simple machines allow humans to move objects with less force than would otherwise be needed.
Introduction
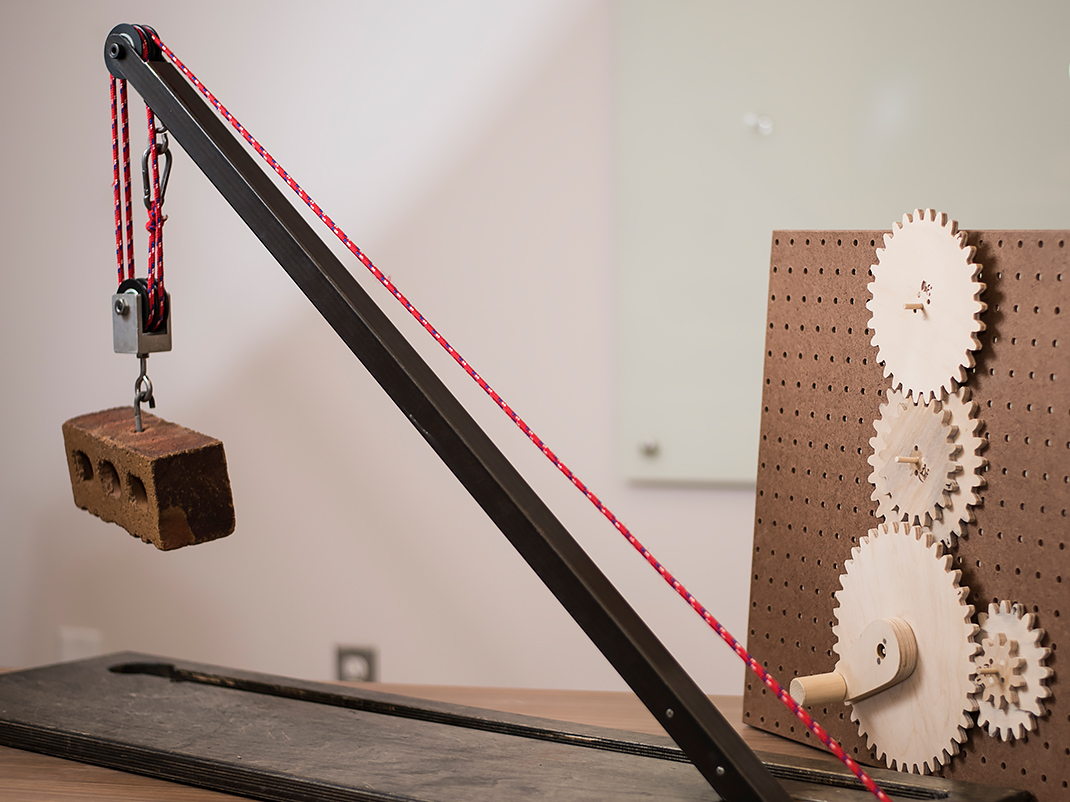
One type of simple machine is called the inclined plane, or ramp. Discuss: Where do we see ramps used in everyday life? (The back of a moving van, for accessibility into buildings, slanted conveyor belt, highway access ramps, switchback roads or trails, etc.). Engineers use ramps to help them lift things.
Materials
- Long, rectangular piece of cardboard
- Ball
- Three blocks or books (to change the pitch of the ramp)
- Masking tape
- Pencil
Instructions
- The class should be split into groups of three to four students.
- Working on the floor, each group should tape one end of their cardboard to a block or book to create a ramp.
- Place the ball at the top of the ramp, and let the ball roll down until it stops.
- Place a piece of tape on the floor where the ball stopped, and mark a “1” on the tape.
- Repeat the experiment two more times, and place the “1” tape at the furthest distance.
- Add another block (or book) under the one taped to the ramp (so that the ramp is now steeper).
- Ask the students to form a hypothesis about what will happen when they roll the ball down the ramp (how will the height of the stack affect how far the ball rolls?).
- Repeat the experiment with the ball three times again, and place tape with a number “2” written on it at the furthest distance the ball travels after going on the steeper ramp.
- Repeat steps seven and eight, but this time with three blocks (or books) to make the ramp even steeper. Place tape with a number “3” written on it at the furthest distance the ball goes.
Discussion
After the experiment is done, have students discuss what they noticed with their groups (the ball went further each time the ramp was made steeper).
- Do they think that the speed of the ball was the same for each variation of the test? (No, the steeper the ramp, the faster the ball will roll.)
- What does the distance the ball travels for each variation tell us about how hard it would be to push something back up the ramp? (The steeper the ramp, the faster and further the ball will roll. It would take more force to push an object up a steeper ramp.)
- How can the ramp be made less steep, but still get to the top of 3 blocks (or books)? (Make a longer ramp!)
- If you had to push a boulder up to the top of a hill, would it be better if the hill was steep or not? (If the ramp is steep, it will take more force to push the boulder up the hill. However, if it is less steep you will have to go for a longer time).
- This is also a great time to introduce the concept of work = force x distance. The same amount of work is required to bring the rock to the top of a short but steep ramp as a less steep but longer ramp. Students can try taping two or more pieces of cardboard together, to see the effect of a longer ramp.
Incredible inventors
Learning objectives
Simple machines are used to help people do work (or accomplish a task).
Introduction
We use machines in our daily lives to help us accomplish tasks. Simple machines are often part of these machines. Simple machines do not contain a source of energy, so they require an input force to move an object. When one or more simple machines are incorporated into a device, we call it a compound machine or a mechanism.
Brainstorm with the students different tasks that they need to accomplish. This could be at home or at school. It can be any task; it doesn’t need to be practical. It can be anything from feeding their pet lion, carrying their books to school, a toy, or picking up their dirty laundry. This task can be performed individually or in pairs. They could also think of machines that could help others, even if it isn’t something they need themselves, such as a machine to improve accessibility for people in wheelchairs.
Materials
- Paper
- Pencil
- Coloured pencils/crayons/markers
Instructions
- Have the students determine what task they need to accomplish. They can complete the sentence, “I would like to invent a machine that …”
- Have the students draw a detailed plan for the construction of their invention. This can be made as detailed as you want. Specifications can be added, such as: The machine must incorporate at least one (or two or more) simple machine(s), the machine must use human power to function, and students should come up with a creative name for their invention.
- Have students present their inventions to the class, incorporating reasons why other people in the class might want to use this machine to help them in their everyday lives! During their presentation, they should include which simple machines are used and what kind of movement the machine demonstrates.
Compound machines
Learning objectives
Students will learn that a compound machine is a device that combines two or more simple machines.
Introduction
There are six types of simple machines: ramp, screw, wedge, lever, pulleys, and wheel and axle (gears are included here). We use simple machines because they make it easier for us to do work by allowing us to use less force to move an object over a greater distance. Many tools that we use are combinations of simple machines; these are called compound machines or mechanisms. Can anyone think of everyday objects that we use that are mechanisms? (Can opener (wedge/lever), shovel (wedge/lever), wheelbarrow (wheel and axle/lever), car jack (screw/lever), scissors (wedge/lever), etc.) The attached Compound machines activity sheet can be used to identify the simple machines in various household tools.
Material
- Cardboard tubes
- String
- BBQ skewers
- Elastics
- Ruler
- Eraser
- Tape
- Marble
- Plastic bottles
- Lightweight block (e.g., LEGO block or foam block)
- Cup
- Compound machines activity sheet
Instructions
- Split the class into groups of three to four students.
- Explain that their task is to use a compound machine (something that incorporates two or more simple machines) to propel the block into the cup. They cannot touch the block or the cup once they are placed in their positions.
Examples of possible solutions
- A marble runs down a ramp and lands on a lever (see-saw) that sends the block flying off the other end; the cup is placed where the block should land (ramp/lever).
- A pulley pulls the block up in a basket until the basket is tipped over by a lever; the cup is placed where the block should land (pulley/lever).
- A bottle rolls down a ramp and knocks the block into the cup (wheel/ramp).
Printable PDFs
Make it move activity sheet (PDF, 141 KB)
Compound machines activity sheet (PDF, 173 KB)
You may also be interested in
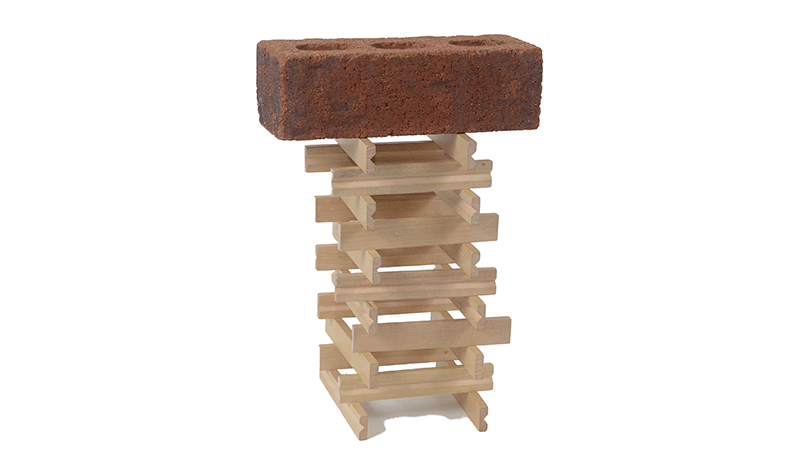
Stable structures
Through hands-on activities, students will become junior engineers as they explore the characteristics of strong and stable structures.
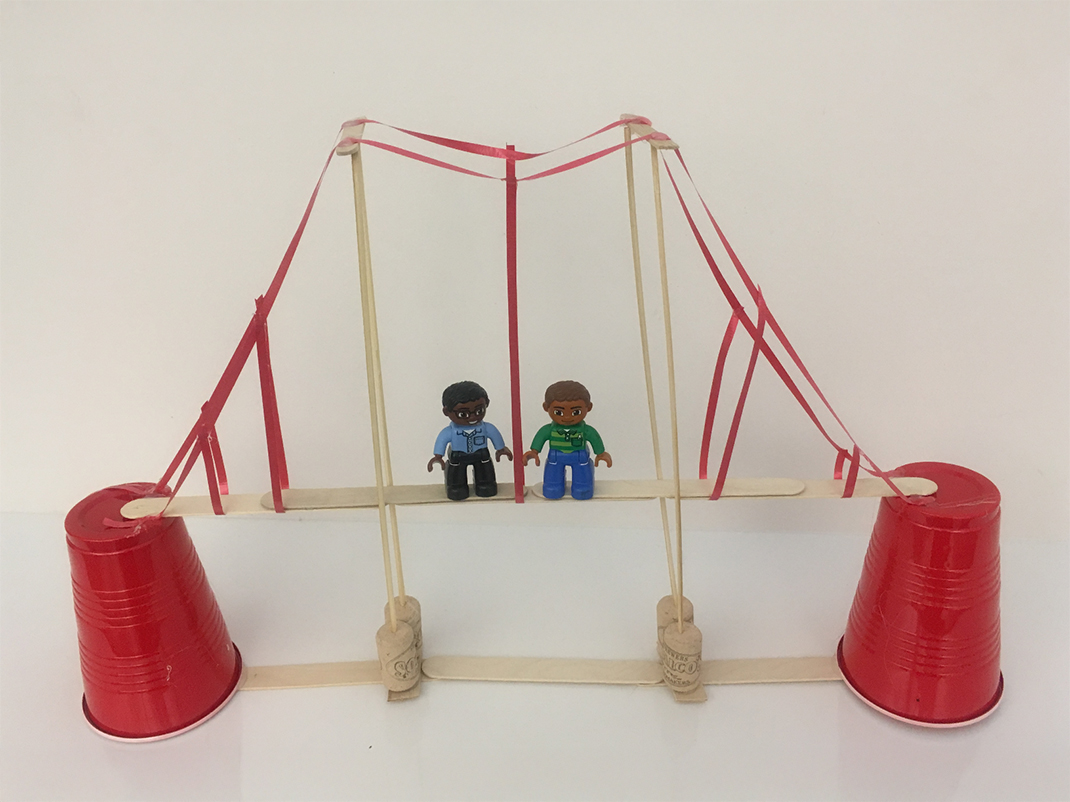
Bridge builders
Designed as an education tool for teachers, these bridge-building activities allow students to learn about the forces acting on structures and what it takes to carry the load!
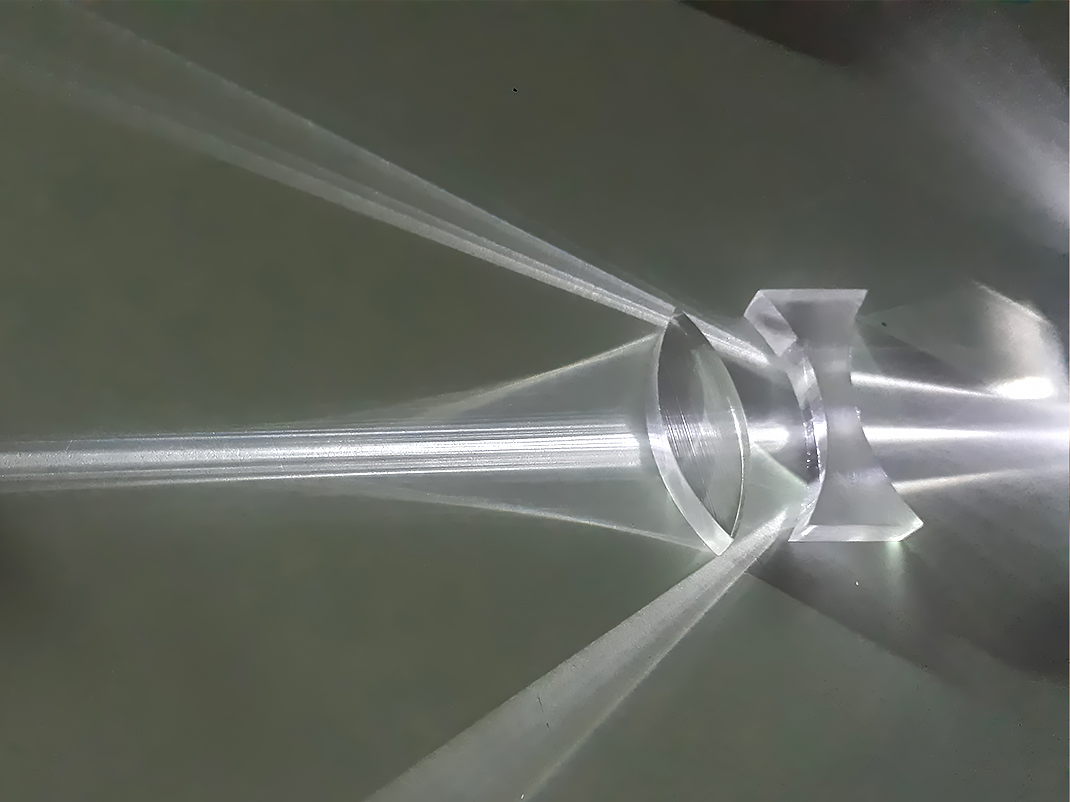
Light paths
Explore the science of light with this interactive lesson plan! Students investigate how light behaves, interacts with mirrors and lenses, and applies to real-world optics. Engaging experiments and discussions make learning about reflection, refraction, and vision exciting and hands-on!