Stable structures
Grade 3 (Ontario)
Primary cycle 2 (Quebec)
Through hands-on activities, students will become junior engineers as they explore the characteristics of strong and stable structures.
Share :
Structures
Students will learn what a structure is and that it can be natural or built.
Materials
Introduction
Start by discussing a few basic concepts about structures:
- What are structures? (A structure is a solid form that has a shape, size, and purpose. It can support a load.)
- Show the Activity 1: Structure images (bird house and bird’s nest) and ask what the difference is between them. (One is a structure found in the natural environment, while the other is a structure in the built environment.) Natural structures can be animal, vegetable, or geological.
- Look at Activity 1: Natural or built environment and determine what type of structure they are.
- Structures have strength, which is their ability to hold a load
- Structures have stability, which is their ability to maintain balance and stay in one spot
Stability
Learning objective
Students will explore whether differently shaped objects have the same stability.
Materials
- Activity 2: Stability
- Pencil
Introduction
Your body is a structure that is able to maintain its position when something pushes or pulls on it. Stability is the ability of a structure to stay balanced when forces act on it.
Engineers have to ensure that the structures they design are safe; they must be both strong and stable so they do not fall over when forces act on them.
Ask your students: Do you think that differently shaped structures have the same stability?
Instructions
This exercise can be performed as a class, with different students doing the poses and the teacher lightly pushing on each student while the class watches. Alternatively, the class can be split into groups and each group can perform the experiment separately before coming together to discuss the findings. If the experiment is being done in groups, the students must be reminded to apply a gentle consistent push to the student in the pose.
- Distribute the Activity 2: Stability sheets.
- Have a student make the various poses as shown on the activity sheet.
- Once in the pose, someone else will apply a gentle force on the student.
- If the student loses their balance, the pose is considered unstable. If the student does not move, it is considered stable.
- Students should discuss the various poses and come to a consensus on:
- Which pose was the most stable?
- Which pose was the least stable?
- Discuss what characteristics contributed to the stability or instability of a pose. What was different about the most stable pose? What was different about the least stable pose?
- As a class, discuss the characteristics of a stable structure.
Summarize and go further
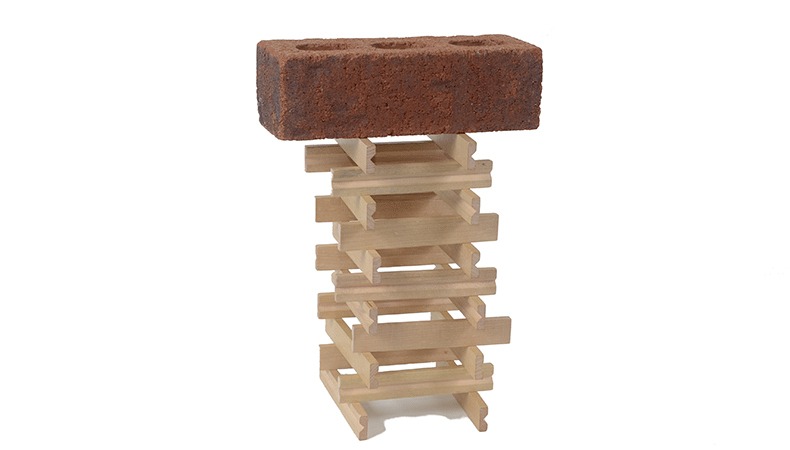
In general, stable structures will have a low centre of gravity. The higher the centre of gravity, the easier it will be to topple the structure over. For this reason, stable structures will generally have wide, heavy bases and taper towards the top.
-
- Ask students to think of other poses that are stable.
- Students can pair up and try a stability experiment.
- Try standing facing one another, with both students keeping their feet together.
- The students can take turns gently pushing on their classmate’s shoulder.
- What happens? What if they stand with their feet spread apart? (They are now more stable since they have made the base wider.)
- Have the class quickly compete against one another to see who can stand on one foot the longest. What do you think affected your time the most — your strength or your stability?
Try this out!
London Bridge
To see an example, check out the ‘Mother Goose Club’ video.
Teach your class the following singing action game:
Younger children: Two children raise their arms and press their hands together over their heads, making an arch. The rest of the children pass through the arch, in single file, holding hands. When all the children are through, the children forming the arch join the end of the line, and the children at the start of the line make a new arch. The process repeats.
Older children: The first two children to pass through the arch can make another arch right away. This would continue until everyone has formed an arch. The first two children would go single file through the line of arches, making another arch when they reach the end. This makes a continuous tunnel of arches.
Song lyrics:
London Bridge is falling down,
Falling down, falling down,
London Bridge is falling down,
My fair lady.
How shall we build it up again?
Up again, up again?
How shall we build it up again?
My fair lady?
Build it up with silver and gold, etc.
Silver and gold will be stolen away, etc.
Build it up with iron and steel, etc.
Iron and steel will bend and bow, etc.
Build it up with wood and clay, etc.
Wood and clay will wash away, etc.
Build it up with stone so strong,
Stone so strong, stone so strong,
Build it up with stone so strong,
My fair lady.
Then it will last for ages long,
Ages long,
Ages long,
Then it will last for ages long,
My fair lady!
Holding up
Learning objective
Students will investigate the effect the shape of paper has on the strength of the structure that is formed.
Materials
- Two thick books of similar size and weight
- Three sheets of paper
- Small cup
- 10 marbles or coins
Introduction
During the workshop at the museum, the students got to see how the shape of a structure can affect its strength. Now they can do further experimentation to prove this concept.
Instructions
- Set the two books about 15 cm apart on a flat surface.
- Put the marbles (or coins) in the cup.
- Place one sheet of paper across the two books. Place the cup on top of the sheet of paper. Observe what happens.
- Fold the paper in the three configurations shown below and test each one, one at a time, in the same manner. Which one is strongest?
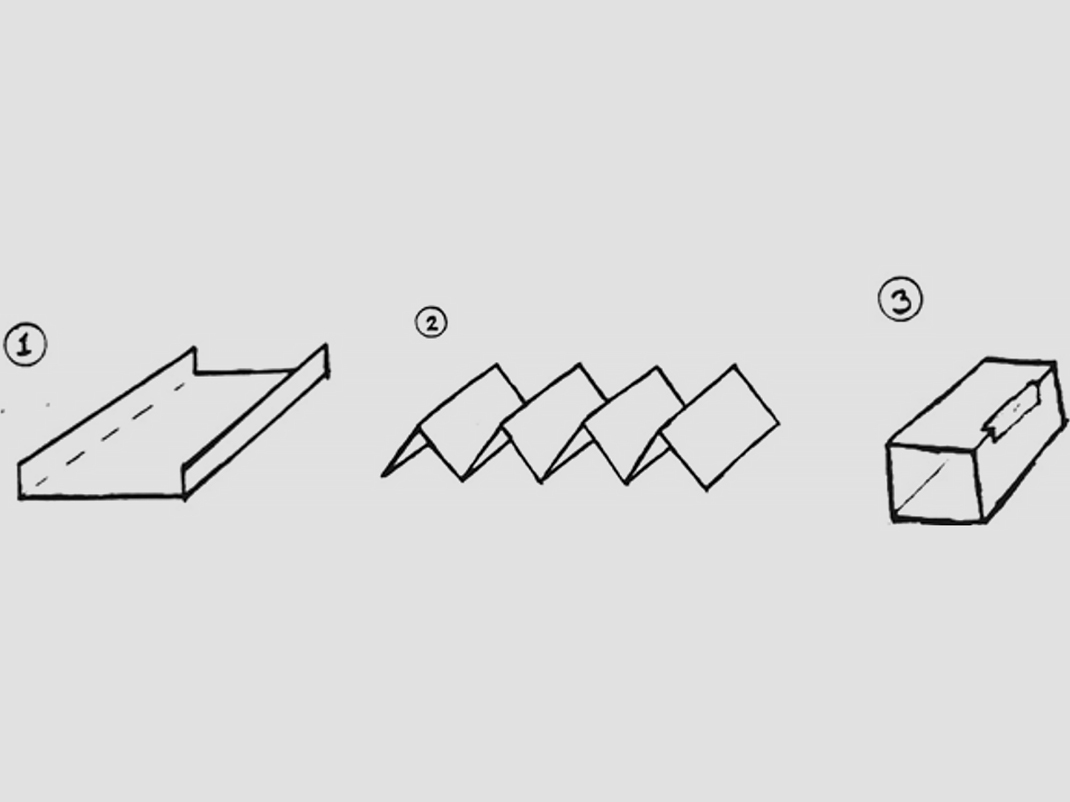
- Fold the first piece of paper up at the edges, to make rails along your bridge.
- Fold the second piece of paper like a fan. Press the creases tightly, then lay the paper so that the creases run from one pile of books to the other.
- Fold the third piece of paper to make a box shape. Tape the sides together, then lay it like a covered bridge across the gap between the books.
Summarize and go further!
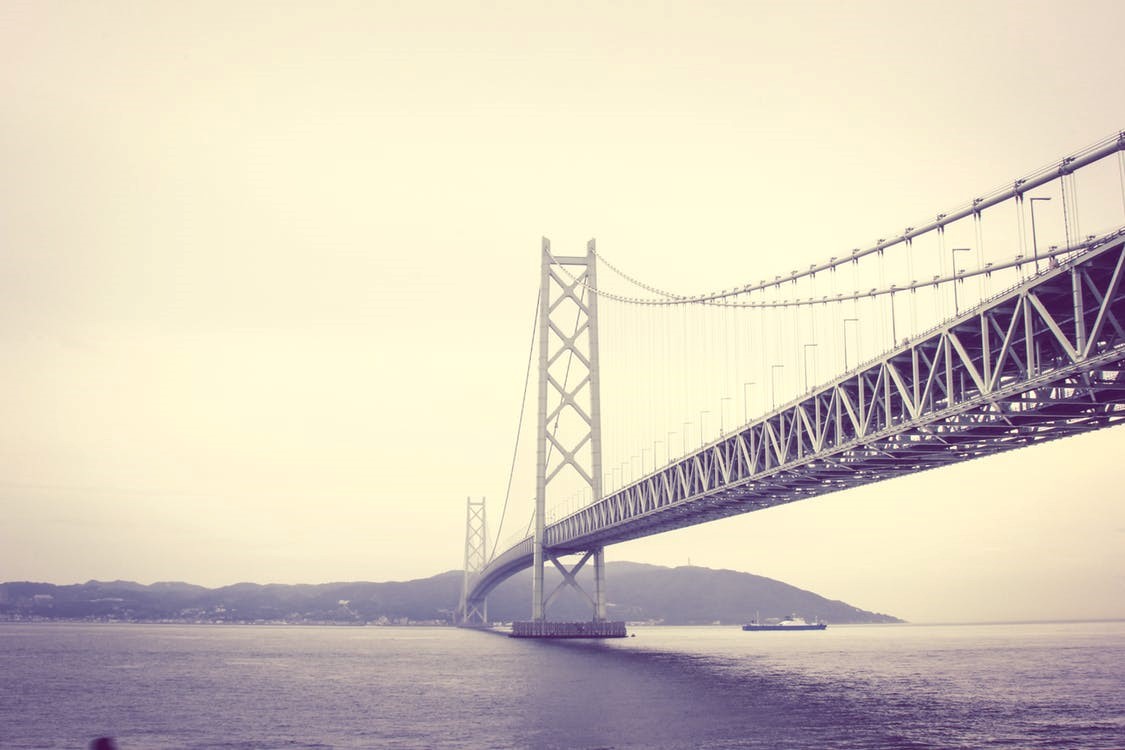
Review: Paper bends very easily when it is in the form of a flat sheet. However, if you change the shape of the paper, it becomes much harder to bend. The accordion or fan shape is the strongest; if you notice from the side, you can see it is shaped from little triangles. Many bridges use triangle shapes because they are very strong. Students can experiment with the effect that more (or fewer) folds in the paper has on the strength of the paper. Can students find other ways to make the paper stronger?
Printable PDFs
Activity 1: Structure images (PDF, 413 KB)
Activity 1: Natural or built environment (PDF, 300 KB)
Activity 2: Stability (PDF, 173 KB)
You may also be interested in
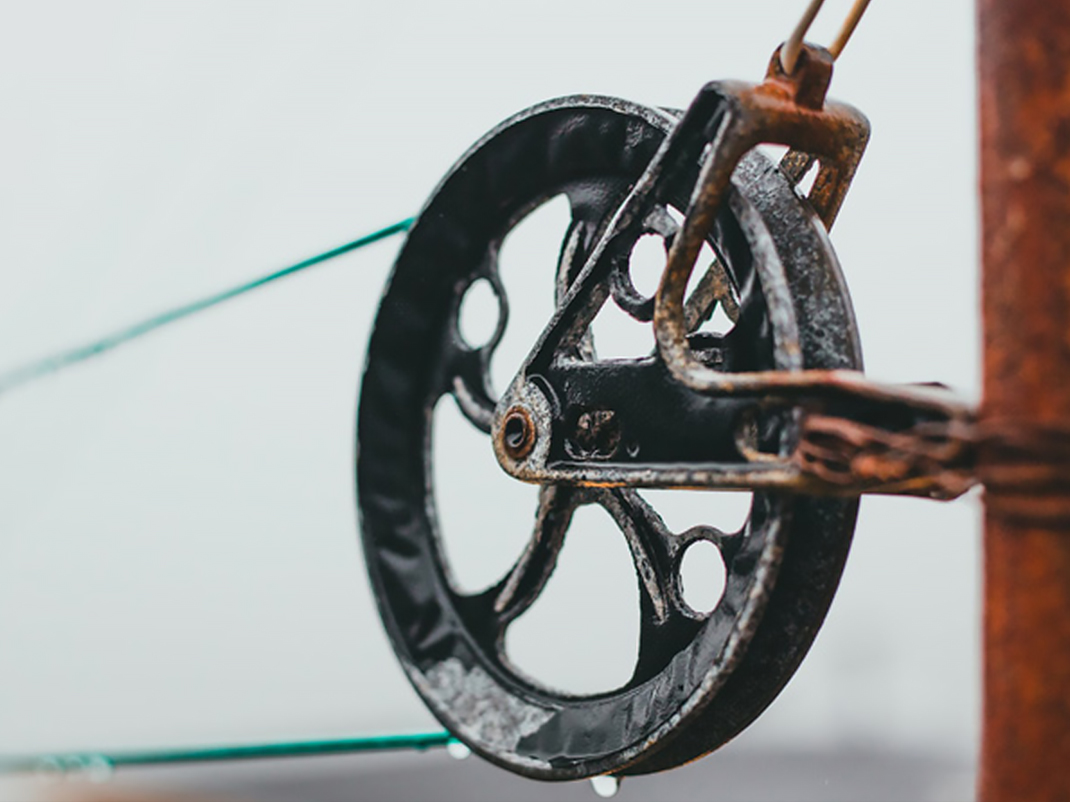
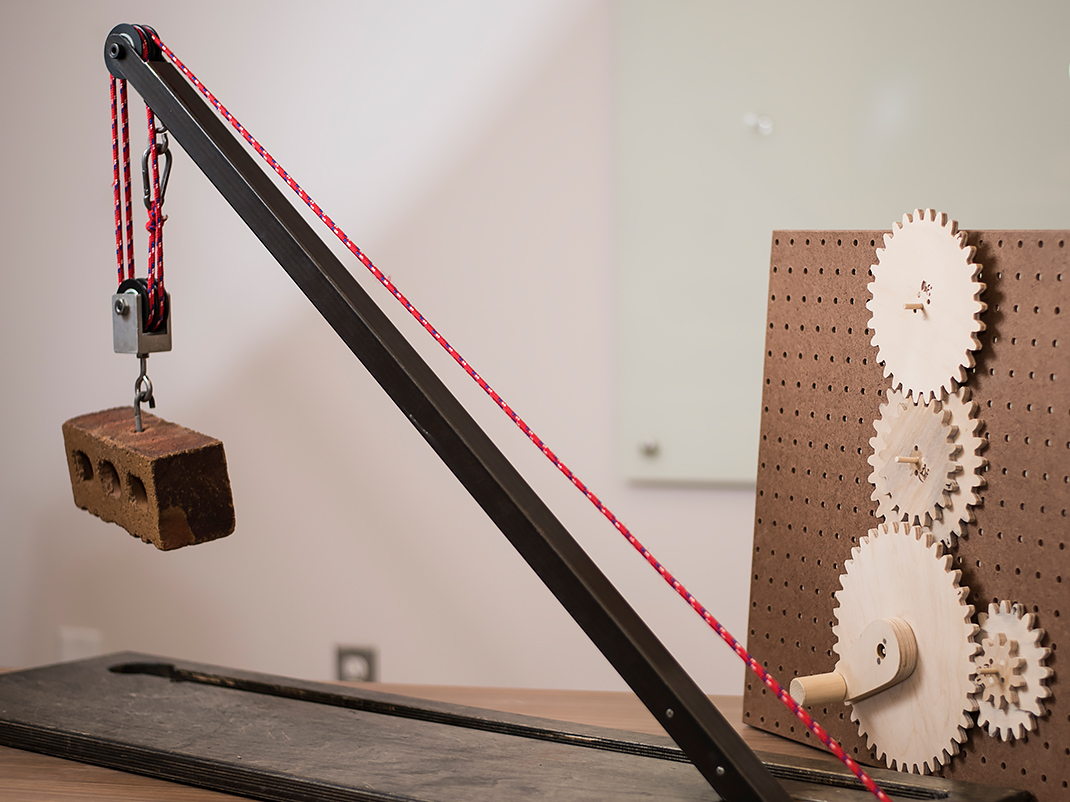
Pulleys and gears
Get your students in gear and lift them to new heights while exploring how pulleys and gears help us do work more easily.
Simple machines
Discover a fun, hands-on lesson plan that teaches students about motion and forces! Engage your class with interactive activities exploring how objects move, the effects of push and pull, and the role of force and mass in motion.
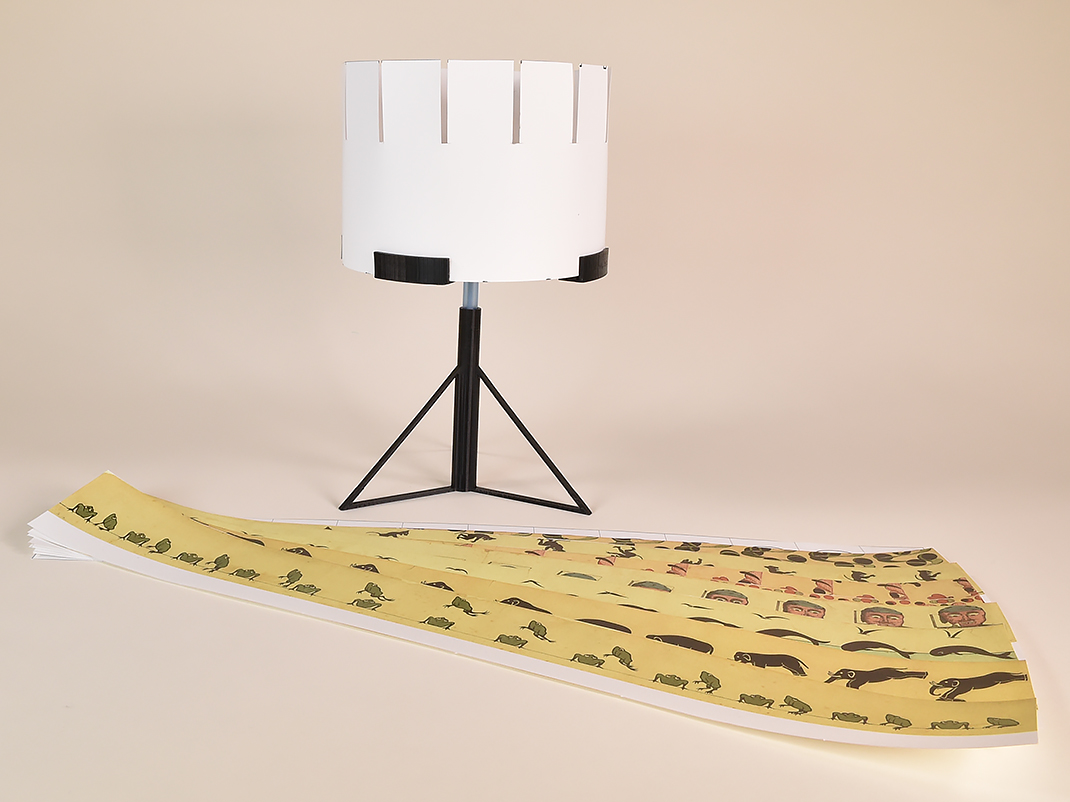
Zoetrope
Explore the zoetrope, an early animation device that uses an optical trick to make moving images. This lesson plan contains instructions on how to build your own 3D-printed zoetrope, assemble it and make it work. Students will be enthralled by the science behind this artifact from the Ingenium Collection.