A trip around the sun
Kindergarten to Grade 1 (Ontario)
Preschool to Elementary cycle 1 (Quebec)
Where does daylight come from? Why does it go away? Students will learn about day and night and seasonal changes in this lesson plan.
Share :
Contents
Day and night
Learning objective
Day and night are caused by the rotation of the Earth.
Introduction
Start by discussing a few basic concepts about the Earth’s motions:
- Discuss with students the changes they notice each day in the amount of light they see (bright during the day, dark at night, etc.) and how those changes affect their daily activities (active during the day, sleep at night).
- What about nocturnal animals? (They sleep during the day and are active at night.)
- Why do you think these changes happen? Where is the light coming from? Why does it go away?
Materials
- Flashlight
- Earth globe (or a large ball)
- Sticker tape
Safety notes
Students should take care not to shine the flashlight in anyone’s eyes, or look directly into the bright light. Also remind students to never look directly at the Sun. Its bright light can damage their eyes.

Instructions
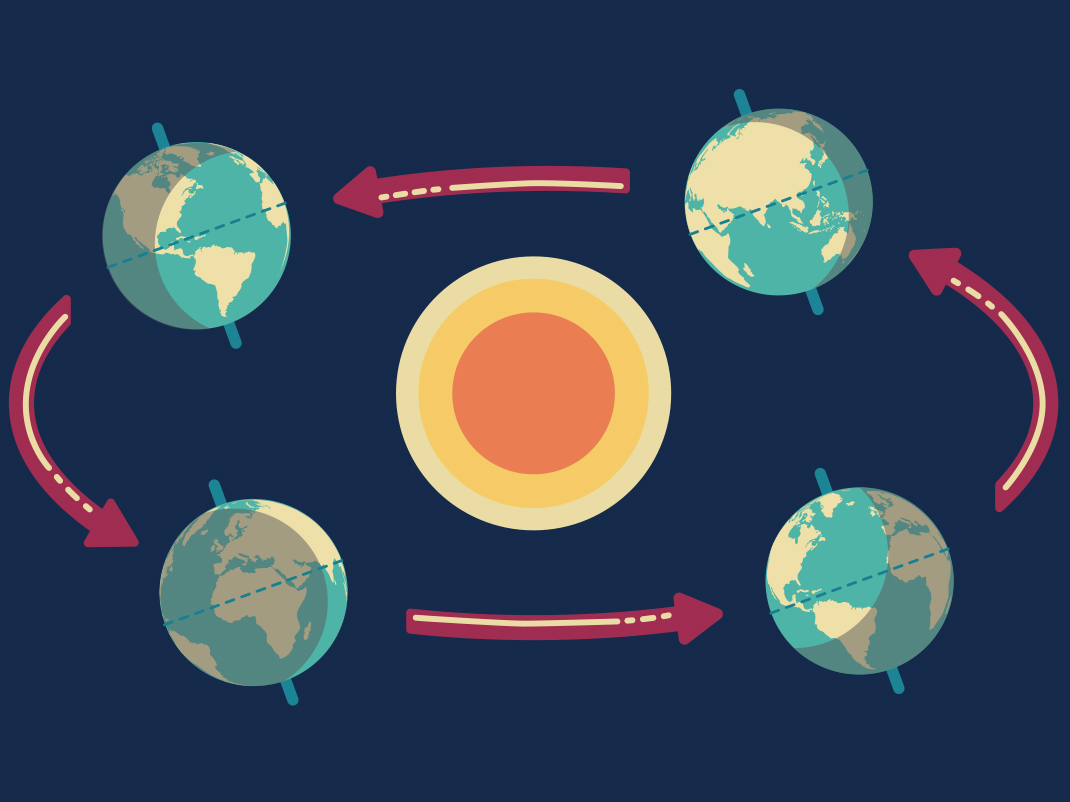
- Ask for a volunteer to hold a flashlight. The flashlight represents the Sun. The Sun is a star just like the stars we see at night, but it looks much bigger and brighter because it’s so much closer to the Earth. The Sun gives off light and heat which travel in all directions.
- Ask for another volunteer to hold the globe/ball. The ball represents the Earth. The Sun volunteer shines the flashlight on the Earth. Students can see that only one side of the Earth is illuminated. Is it daytime or nighttime for people living on that side of the Earth? What about on the other side?
- Place a sticker or tape or other marker on the daytime side of the globe (maybe on the location of your city.) As the Earth volunteer turns the globe around (may need assistance holding/turning in the correct direction), ask the students to notice when the marked location starts to face away from the Sun. This shows sunset and the start of nighttime. Keep turning the globe, and notice when the marked location starts to face toward the Sun. This is sunrise and the start of daytime. This cycle repeats once every day (24 hours).
Summarize and go further!
Revisit the questions from the introduction:
- Where does daylight come from? (The Sun)
- Why does it go away? (The Earth is turning. Sometimes our part of the Earth is facing away from the Sun—nighttime.)
Ask students if they notice longer patterns in the amount of light/dark. (Longer days in the summer and warmer weather, shorter days in winter and colder weather.) What causes these changes? We’ll find out the answer to that question when we visit the museum!
Follow the Sun!
Learning objective
The sun changes position in the sky throughout the seasons and the year.
Introduction
Discuss with the students any patterns they notice in the amount of light/dark throughout the year (ex. longer days in the summer and warmer weather, shorter days in winter and colder weather).
- What causes these changes?
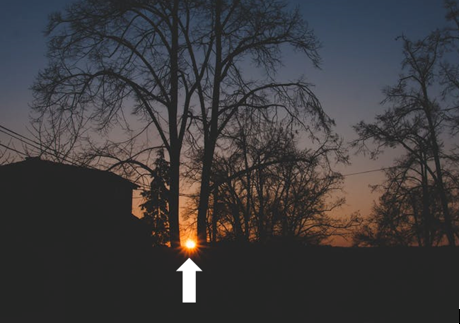
- Where does the Sun rise? Where does it set?
- Where is the Sun at noon?
- Is it in the same place for each of the seasons, or does it change?
Materials
- South-facing window with direct sunlight
- Small mirror
- Masking tape or stickers
- Marker or pen
Safety notes
Remind students to never look directly at the Sun. Its bright light can damage their eyes.

Instructions
- Choose a south-facing window with direct sunlight, which will remain unblocked throughout the year.
- Place a very small mirror on the windowsill and adjust it so the sunlight is reflected onto a clear area of the ceiling or wall. A mirror only an inch across is big enough. It is best to be able to tape the mirror there permanently, but if this is not possible, mark the mirror’s position with masking tape so you can put it back in the exact same spot. (If the reflection from the mirror becomes distracting, you can cover it up with a sheet of paper.)
- Once or twice a week, at exactly the same time of day, mark the location of the Sun’s reflection on the ceiling or wall with a sticker or a piece of masking tape (watch out for Daylight Savings Time – adjust the time so that you always make measurements in the same time reference.)
- Record the date and time of the observation on the sticker or masking tape. After a year of observations, the stickers should form a figure-eight shape known as an analemma.
An outdoor variation of this activity could be done by marking the position of a shadow in the school yard on the pavement throughout the year.
Summarize and go further!
Students can extend their observations outside of school by comparing the Sun’s rising and setting locations to landmarks around their homes, and noticing how the locations change throughout the year. (Sun rises and sets further North in the summer, and further South in the winter.)
You may also be interested in

Pumpkins
Discover the fascinating growth, genetics, and farming techniques behind pumpkins, exploring their cultivation, history, and their role in science and agriculture.
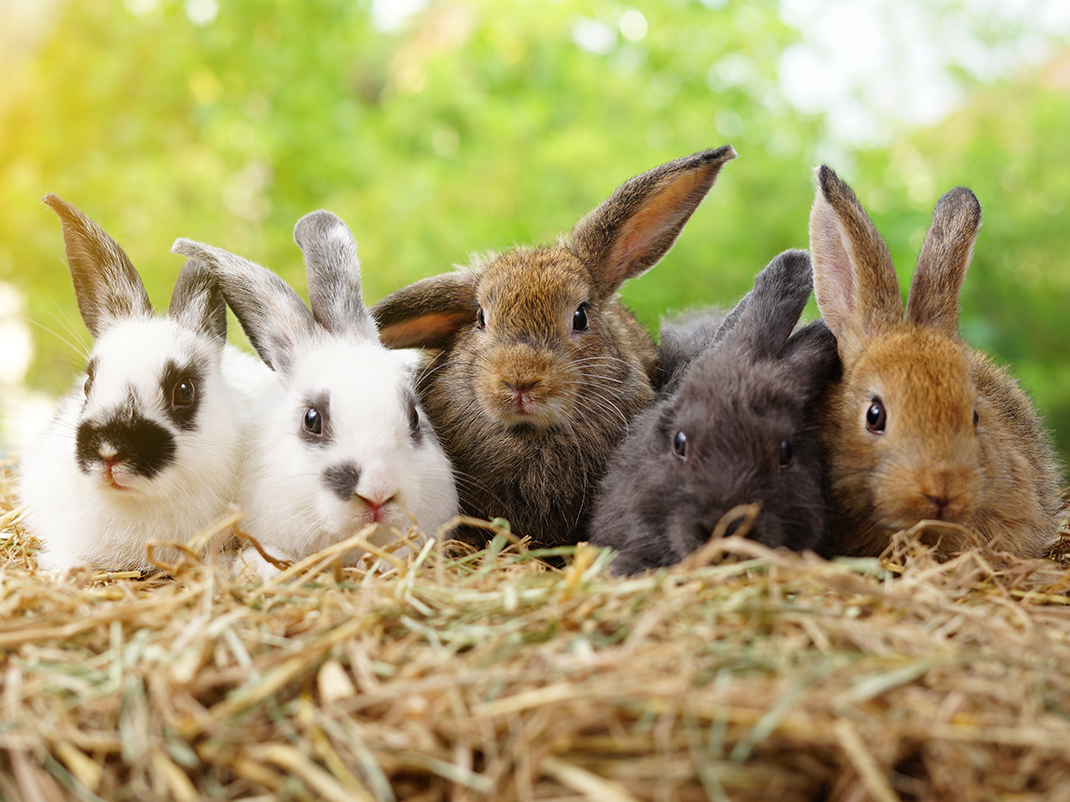
Buddy rabbit
Learn about rabbits in your classroom or at home with these fun educational activities! This kit supports science and technology, language, mathematics, arts, and health and physical activity curriculum requirements.
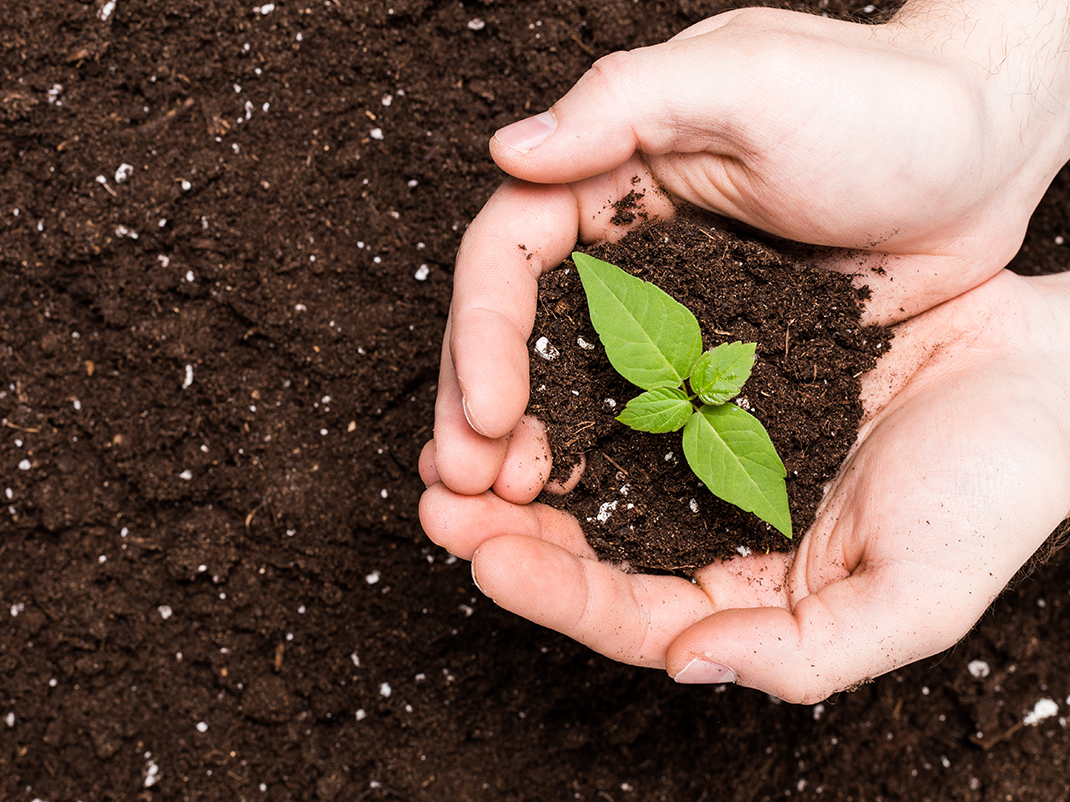
A handful of soil
The soil beneath our feet is teeming with life! Dig into some play- and inquiry-based activities with your students to learn about soil and plant life.