Pumpkins
Junior kindergarten to Grade 1 (Ontario)
Preschool to Elementary cycle 1 (Quebec)
As the leaves begin to fall and Halloween approaches, pumpkins are ripe for harvest! Tap in to your students’ fall harvest spirit with these engaging and educational activities where pumpkins and other fall produce can be used to create, educate, and inspire.

Share :
Play-based learning stations with fall seeds
Arts
General activities
Printable PDFs
Curriculum links
Kindergarten
- Demonstrating literacy and mathematics behaviours
- Problem solving and innovating
Grade 1
- Science and technology: STEM skills and connections – STEM skills and communication skills
- Science and technology: Life systems – Exploring and understanding concepts
Preschool
- Cognitive development: Strategies
- Cognitive development: Thinking skills
- Language development: Oral language
- Physical and motor development: Motor skills
Elementary cycle 1
- Geography, history and citizenship education: Knowledge related to change in a society and its territories – Past and present
- Geography, history and citizenship education: Knowledge related to diversity of societies and their territory – Here and elsewhere
- Mathematics, science and technology: Science and technology – Living things – Matter
- Mathematics, science and technology: Science and technology – Living things – Systems and interaction
- Mathematics, science and technology: Science and technology – Living things – Appropriate language
Play-based learning stations with fall seeds
Children enjoy manipulating, observing, sorting, and creating with seeds. The following inquiry-based activities offer students the opportunity to explore and investigate various topics as they play with pumpkin, corn, and bean seeds. Each suggested activity includes questions to promote inquiry and extend thinking.
Materials
- Seeds (To avoid allergic reactions, use seeds that are certified peanut and nut free)
- Squash: Use seeds from a pumpkin, butternut squash, acorn squash, etc.
- Corn: Popcorn or any other type of corn seed can be used; seeds can be white, yellow, red, or even blue
- Beans: Use dried beans, and include more than one type, size, and colour of bean
- Containers (approximately 500 ml) with lids (one per group)
- Large mixing bowl or bucket
Instructions
- Mix the seeds together in the large bowl.
- Scoop approximately 250 ml (1 cup) of seeds into each of the smaller containers.
Note: Seeds can be purchased at a grocery store, a bulk food store, or a garden store. If you purchase the seeds at a garden store, make sure they were not pretreated with pesticides. Keep the containers covered when not in use to avoid spills, and to keep the seeds dry. Moist seeds might sprout or rot.
Mathematics station
Sorting
Materials
- Small container of seeds
- Paper
- Glue
- Colouring pencils
Instructions
- Place the seed container, sheets of paper, glue, and colouring pencils, at the centre of a table.
- Students can sort seeds by type (squash, corn, beans), by size, by colour, or any other characteristics. They can also glue or draw the groupings on a sheet of paper.
Questions to ask students
- Why did you sort the seeds the way you did?
- Could you have sorted the seeds differently? How?
- Can you show me the grouping with the most seeds in it?
- Can you show me the grouping with the fewest seeds in it?
Creating patterns
Materials
- Small container of seeds
- Paper
- Glue
- Colouring pencils
Instructions
- Place the seed container, sheets of paper, glue, and colouring pencils at the centre of a table.
- Students can use the seeds to create various patterns or series. They can glue or draw the seeds on a sheet of paper.
Questions to ask students
- How many patterns have you created?
- How would you describe your pattern?
- What would be the next seed in your pattern?
- What happens if I move this seed? Does it break the pattern? What other seeds should we remove now to create a new pattern?
- What if I add this seed here? What other seeds should we add now to create a new pattern?
Measuring length
Materials
- Small container of seeds
- Paper
- Glue
- Colouring pencils
Instructions
- Place the seed container, sheets of paper, glue, and colouring pencils at the centre of a table.
- Students use the seeds as measuring units to compare the length of various small objects.
- Students can draw the measured objects and glue the number of seeds that represent their length besides each drawing.
- Students can measure an object with two different kinds of seeds, and compare the results.
Questions to ask students
- Which object is the longest? How do you know?
- What would happen if you used bigger seeds to measure the length of the objects?
- What would happen if you used smaller seeds?
Comparing volumes
Materials
- Small containers of seeds (larger seeds are best for this activity)
- Paper
- Colouring pencils
- Small objects, such as: Plastic cups, empty paint containers snack bags, small toys, (e.g., wagon, tractor, power shovel)
Instructions
- Place a few small containers of larger seeds, along with, paper, colouring pencils, and some small objects at the centre of a table. Make sure that there are enough seeds to fill all of the small objects. You can also let students select the objects on their own. Using only one type of large seed to represent volume is recommended for this activity, especially if students are going to be counting the seeds.
- Students can compare the volumes by counting the seeds contained by each object. They can count the seeds by tens, then units of ten, and record the number on paper, beside a drawing of the object.
Questions to ask students
- Why can you fit more seeds in some objects than others? How do you know that one object holds more?
- Which object would you use to move the seeds from X to Y? Why?
- What do you think would happen if you emptied all the seeds from container X into container Y? Do you think there is enough room? Why?
Problem solving
Materials
- Small container of seeds
- Paper
- Colouring pencils
Instructions
- Place the seed container, sheets of paper, and colouring pencils at the centre of a table. Review the rules of tic-tac-toe with the students. Show them how to draw the game grid if they are not familiar with it.
- Students can play tic-tac-toe using two different types of seeds instead of drawing X’s and O’s. This fun game encourages students to apply logic and strategic thinking.
Science station
Sprouting seeds
Materials
- Seeds
- Egg cartons or Ziploc bags
- Paper towels
Instructions
- Students can plant seeds in egg cartons and observe them as they sprout. Alternatively, they can sprout seeds in a moist paper towel sealed inside a resealable sandwich bag. Students observe the sprouting process by opening the bag and paper towel on a daily basis. Add water as necessary to keep the towel moist, but not wet.
- Read a book to your students about seed germination or the life cycle of plants. Show them pictures of the different steps. Explain why the seeds won’t sprout unless they are given the right conditions.
Questions to ask students
- Which type of seed do you think will sprout first? Corn, squash, or bean?
- What does a seed need to sprout?
- Do you think the seeds are alive?
- How long does it take for the seed to sprout?
- What if we don’t give the seeds any water, will they sprout anyway? Why not?
Play station
Let the students’ imaginations run free.
Pretend play
Students can use the seeds as food for dolls, feed for animals, or cargo for toy trucks or trains. They can also build roads, or use them as jewels or precious stones.
Exploratory box
Fill an exploratory box with seeds. Provide students with pails, shovels, sieves, and other tools and let them explore the textures and characteristics of the seeds.
Art station
Create a mosaic
Materials
- Small container of seeds
- Paper
- Glue
- Colouring pencils
Instructions
- Place the seed container, sheets of paper, glue, and colouring pencils at the centre of a table.
- Students glue the seeds on a picture they have drawn, or on a photocopied one, or even on the colouring sheets found in the ‘arts’ section of this educational activity kit.
Questions for students
- Why have you chosen that picture?
- What do you like about it?
- What does it represent?
- Why have you chosen those seeds?
- Can you tell me what colour the seeds are?
Make a picture
Materials
- Small container of seeds
- Paper
- Glue
- Colouring pencils
Instructions
- Place the seed container, sheets of paper, glue, and colouring pencils at the centre of a table.
- Students can glue the seeds on paper to make a picture. They can use the seeds in anyway they want to make lines or fill in between lines.
Questions for students
- Are you in the picture?
- Is it a picture of something you like, or like doing?
- Is it something you like doing inside or outside? During which season?
Language station
Make letters and words
Materials
- Small container of seeds
- Paper
- Glue
- Colouring pencils
Instructions
- Place the seed container, sheets of paper, glue, and colouring pencils at the centre of a table.
- Students print their name or other words using seeds. They can glue their seeds on paper if they wish.
Questions for students
- What letters are these?
- What sound do they make?
- What other word starts with this letter?
- Have your friends used the same letters as you? Can you show me which letters are the same?
Science and technology
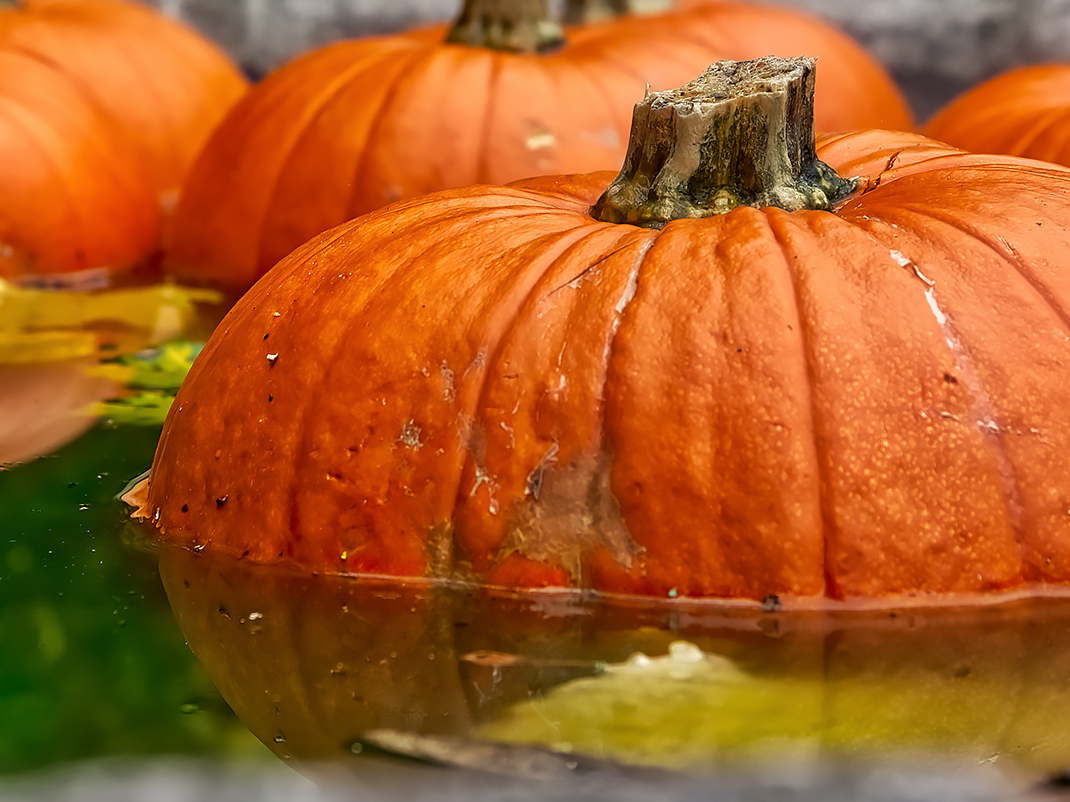
Pumpkin boats
Every October on Lake Pesaquid, Nova Scotia, the Windsor Pumpkin Regatta takes place, with participants racing across the lake in giant, painted pumpkins. In this activity, students hollow out small pumpkins, decorate them, and test to see if they float.
Materials
- Miniature pumpkins
- Acrylic paint
- Paint brushes
- Rocks, or other material, to be used as weights to fill the pumpkins
Instructions
- In advance, hollow out and decorate three pumpkins of different sizes. You can use the pumpkins from the pumpkin seed harvest activity. Have students paint the pumpkins. You can show pictures of Regatta participants to inspire them.
- Outside, use a large bucket, or a safe body of water such as a pond or wading pool, to test whether the pumpkins float.
- Ask the students how many rocks they think the pumpkins can hold before they sink. Find out how much weight the pumpkins can hold by adding rocks one at a time.
- Ask students if they think full pumpkins will float. Test the buoyancy of pumpkins that have not been hollowed out. Try to figure out why pumpkins, hollow and full, float.
Suggestions
- All the buoyancy activities are best done outdoors
- Take pictures of the pumpkins and create a collage
Pumpkin discoveries
This activity is intended to help students hone their observation skills. Students fill a book with observations about their pumpkin and its characteristics. Each day, a new fact can be added to their books.
In order to carry out this activity, you can purchase small decorative pumpkins; they are inexpensive and after completing this activity, your students can decorate them and bring them home.
Materials
- Pumpkin activity sheets
- Pumpkins (one per student)
- Yarn
- Scissors
- Tape
Instructions
- Prepare booklets of Pumpkin activity sheets.
- Distribute the pumpkins and booklets. Write the student’s name on their pumpkin with a permanent marker. This will help eliminate any disputes about whose pumpkin is whose.
- Ask the students to draw a picture of their pumpkin inside the booklet.
- To measure the circumference of their pumpkin, have students wrap yarn around the pumpkin once, cut it, and tape the piece of yarn inside their booklet.
- Use each characteristic of the pumpkin to expand on a topic. For example, “My pumpkin is orange” could lead to a lesson on colours. Name the colours, and for each one have students think of things that are the same colour.
- Before showing students the inside of a pumpkin, ask them to draw what they imagine the inside looks like. Cut a pumpkin open and get them to feel the inside and describe it. They can then draw what the pumpkin really looks like inside on the next page of the activity book.
Please see the printable PDFs at the bottom of this page.

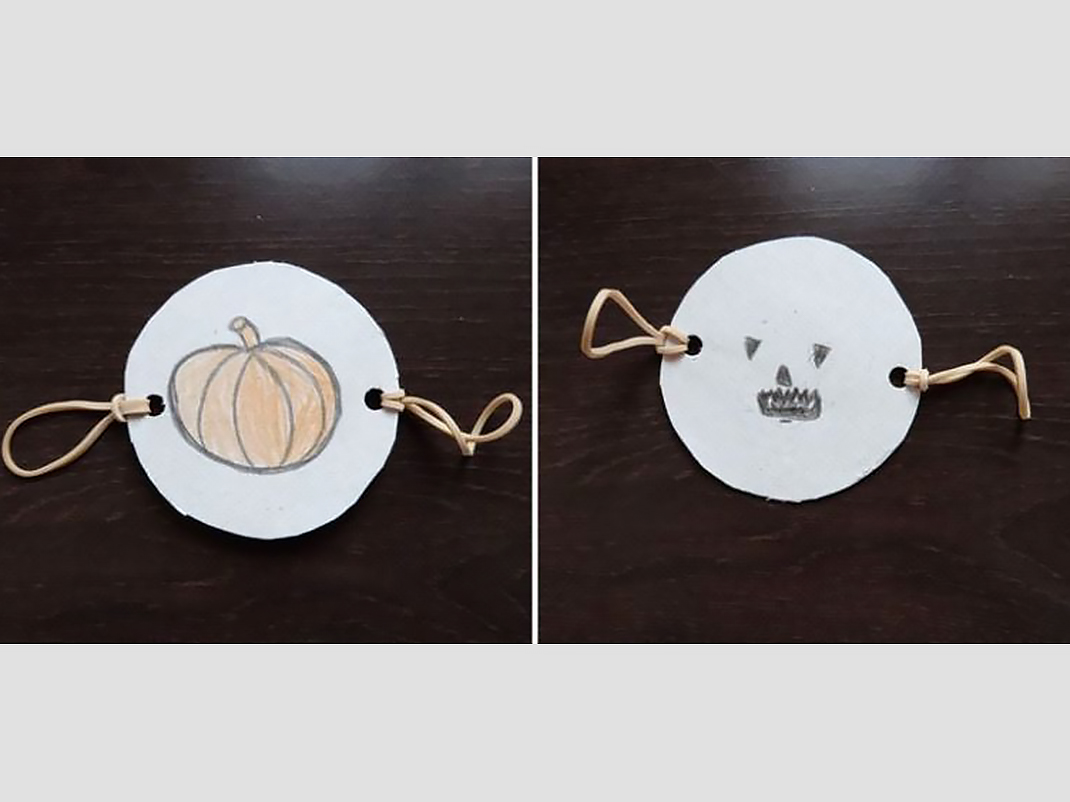
Jack-o’-lantern thaumatrope
The thaumatrope was a popular toy in the 1800s. It works on the principle of “persistence of vision.” In this activity students make their own thaumatrope to see a face they’ve designed appear like magic on a pumpkin.
Please see the printable Thaumatrope template PDF at the bottom of this page.
Materials
- Bristol board
- Paper
- Colouring markers
- Glue sticks
- Hole punch
- String
- Thaumatrope template
Instructions
Prepare a thaumatrope in advance for your class, following the steps listed below. Demonstrate the thaumatrope to your class. You may want to make more than one, since many students will want to try it!
- Cut out a circle from the Bristol board. This will be the base of the thaumatrope.
- Use the Thaumatrope template to draw a pumpkin, or create your own. Colour the pumpkin.
- Draw a face on the other half of the template. Stay inside the dots — they represent the outline of the pumpkin.
- Glue one image on each side of the thaumatrope. Note: the images must be arranged head to toe.
- Punch a hole near one edge of the thaumatrope, and a second hole on the opposite edge.
- Cut two pieces of string about 15 centimetres long, and tie one to each hole.
- Holding one end of the string in each hand, wind the thaumatrope by turning the cardboard disc over and over until the string is well coiled. Gently pull the two ends of string away from each other.
Suggestions
- At Halloween, other ideas include a witch on one side and a broom on the other, or a cat on one side and a fence on the other. There are endless possibilities for the other seasons too!
- To make a more durable thaumatrope, packing cardboard or plastic should be used as the base, but this material is too thick for students to work with safely.
- Search online for other templates — you may even find replicas of early thaumatrope images.
Teacher’s note:
“Persistence of vision” refers to the optical illusion that explains how we perceive motion. When we watch a movie in a theatre, we aren’t really seeing moving images; instead, we see a series of still images. The images are flashed so briefly that we can’t distinguish them as distinct images, but instead perceive them as steady motion. The images move at about 24 individual pictures, called frames, per second. The fewer frames per second, the more stilted and jerkier the motion. Persistence of vision can also be observed with a flip-book.
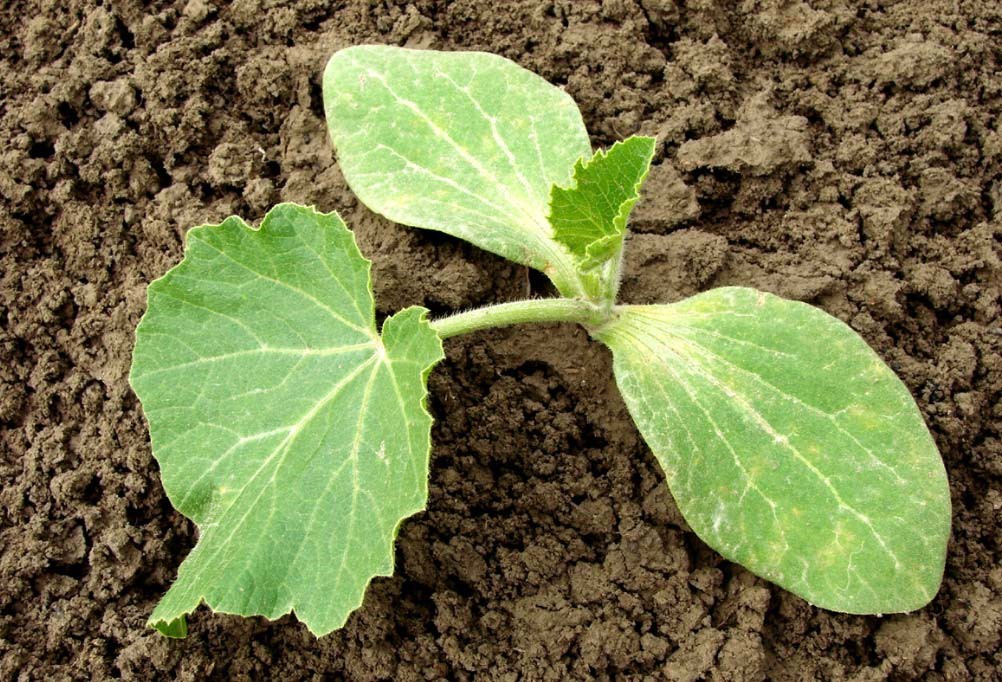
Characteristics and needs of a pumpkin plant
Pumpkin plants need between 100 and 120 days to complete their life cycle and produce mature pumpkins. They require care, warmth, water and nutrients to produce fruits. With your students, explore the needs and the life cycle of a pumpkin plant. The beautiful pictures follow the plant’s growth, and show its main characteristics.
Please see the printable Characteristics of a pumpkin plant PDFs at the bottom of this page.
Instructions
- Colour print the Characteristics of a pumpkin plant.
- Ask students if they have ever grown pumpkins at home. Have they ever visited a pumpkin patch? What was it like?
- Show the pictures to your students. Ask the students to identify what is shown on the pictures. Read the captions, and then question your students on what they saw and learned about pumpkin plants. For example:
-
- What does the pumpkin seed look like?
- Have they ever eaten pumpkin seeds? Did they like it? What does it taste like?
- What does the seedling need to grow and make pumpkins?
- Why is there prickly hair on the pumpkin stems and leaves?
- Are all pumpkin flowers the same?
- Who carries the pollen between the flowers?
- What can we do with pumpkins?
- How can we tell the pumpkin is ready to harvest?
Suggestions
- With your students, plant a few pumpkin seeds in flower pots.
- Have your students keep an observation journal. Each day, ask them to write down or draw what they see and notice about the germination and growth of the pumpkin seedlings.
- Keep the pumpkin seedlings in different parts of the classroom and measure the seedlings’ growth. Explain to students that seedlings kept away from sunlight will grow long, weak stems as they try to grow closer to a window to get more sunlight.
- Give the seedlings different quantities of water. Can the students notice any changes in the seedlings’ growth or appearance? Explain to students that too much or not enough water is bad for pumpkin seedlings. Too much and the roots will rot; not enough and the plant will dry up.
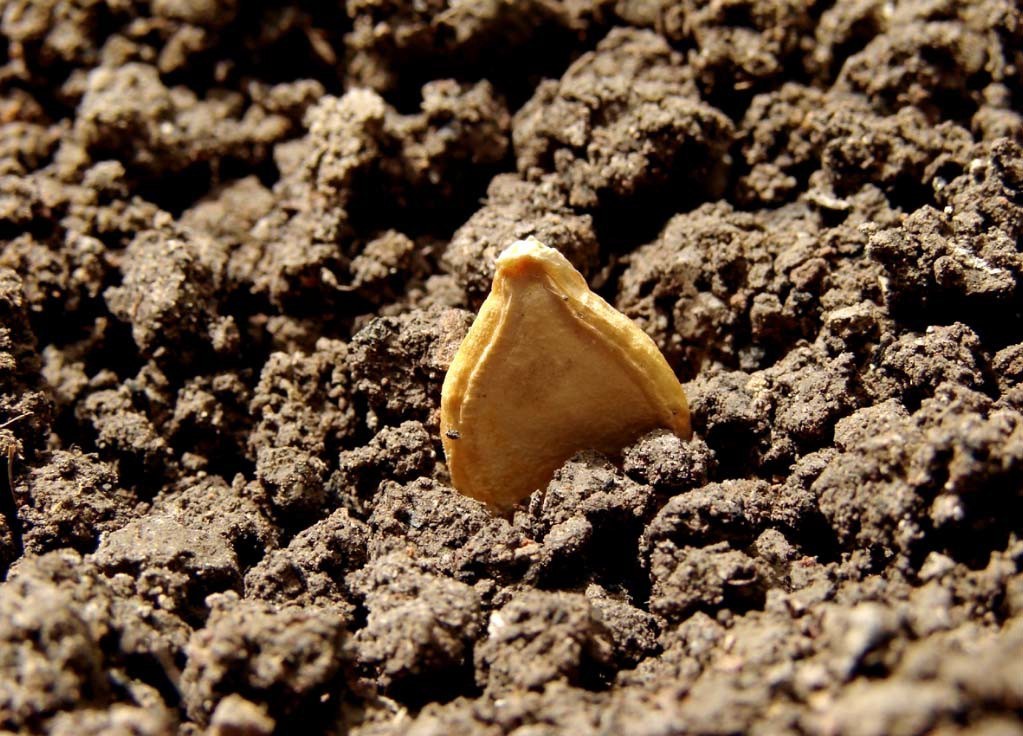
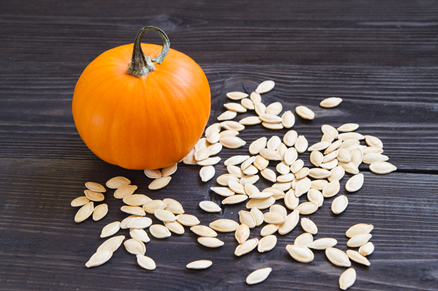
Pumpkin seed
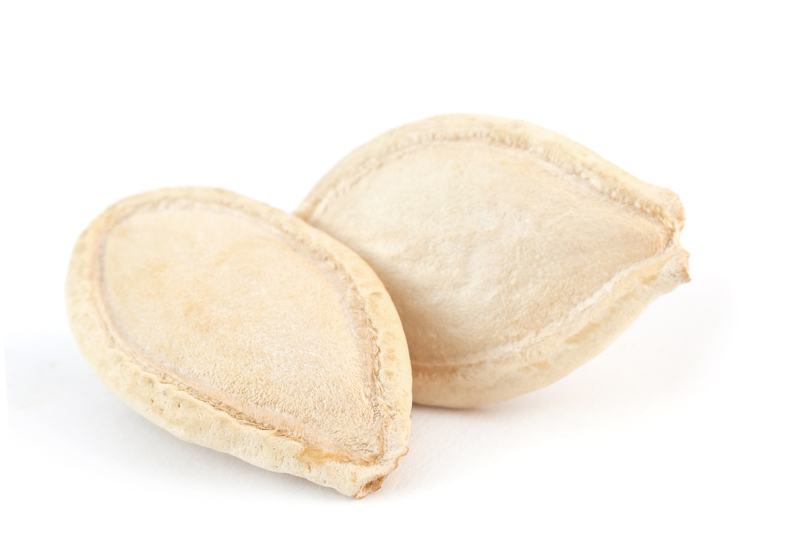
The pumpkin seed is planted in the spring, once the soil is warm. The gardener builds a small mound or hill in the garden and digs three shallow holes in the mound. The gardener places a pumpkin seed in each hole and covers it with soil.
Pumpkin plant
Quickly, the pumpkin seedling grows into a large plant. Its long vines are covered with leaves, flowers, tendrils and small pumpkins.
A pumpkin garden is called a pumpkin patch.
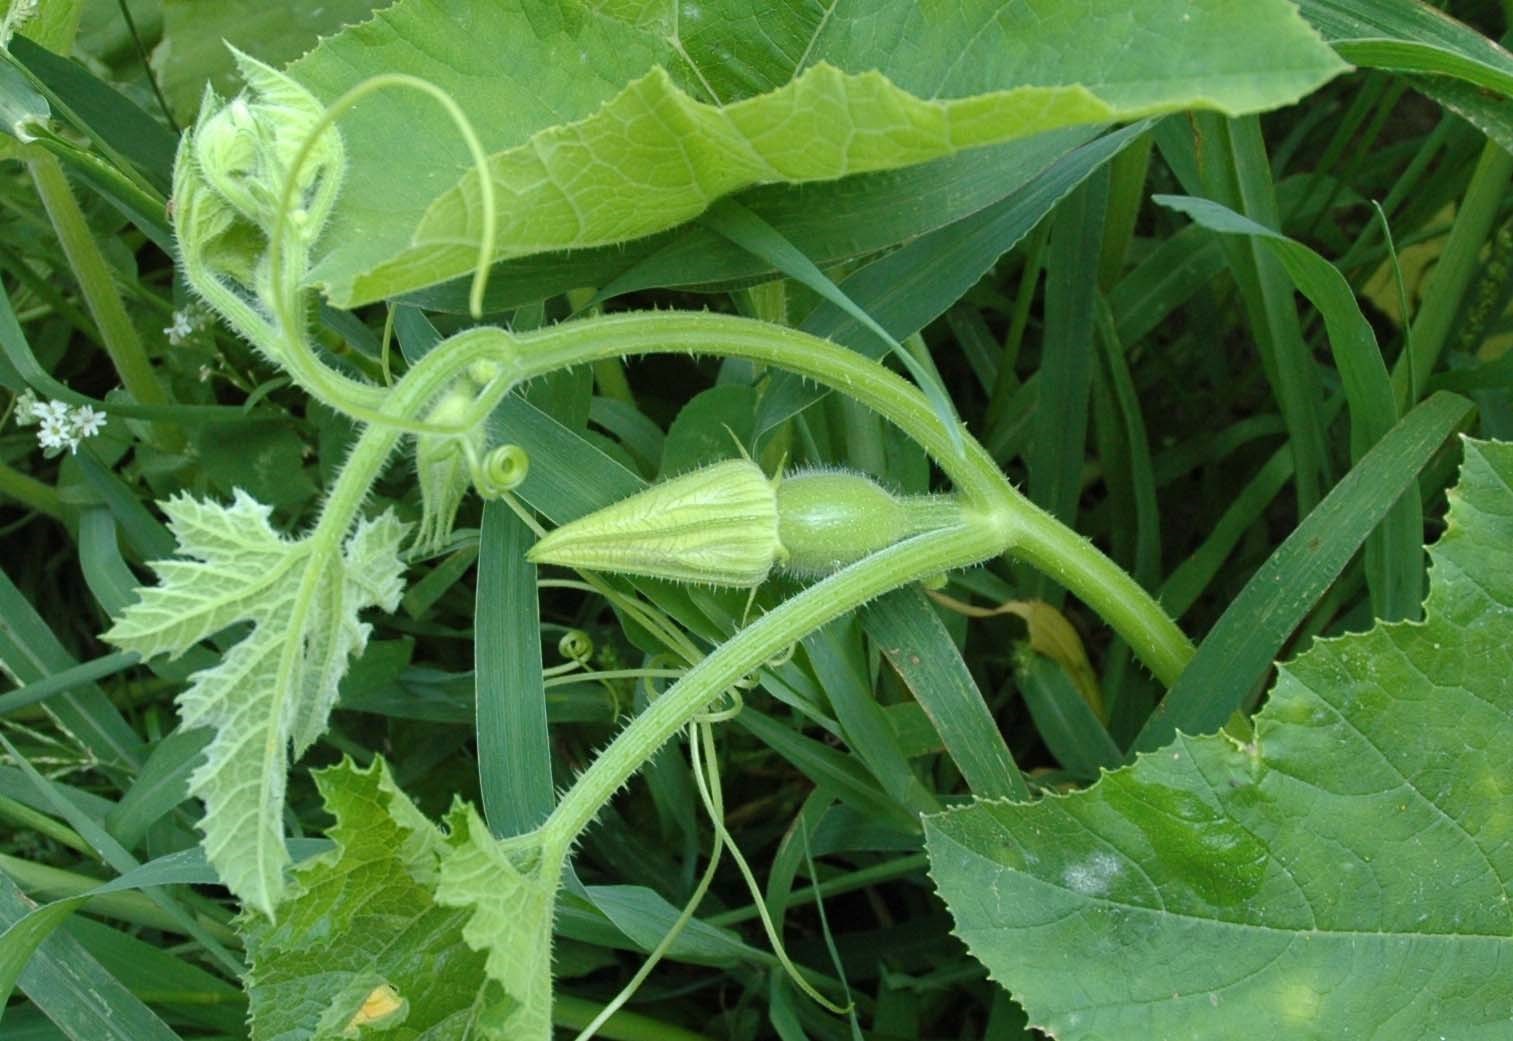
Pumpkin stems and tendrils
Pumpkin stems or vines are covered with prickly hair. The hair protects the plant from animals that want to eat it. The tendrils are attached to the vines. They look like long, curly hairs. The tendrils twist around fences and other plants to anchor the vines and protect them from the wind.

Pumpkin leaf
Pumpkin leaves are very big. They are covered with tiny, prickly hairs that protect the plant from racoons and other animals that may try to eat it.
The leaves also act like a blanket. They shade the soil from the sun and stop weeds from growing up around the plant.
Male flower
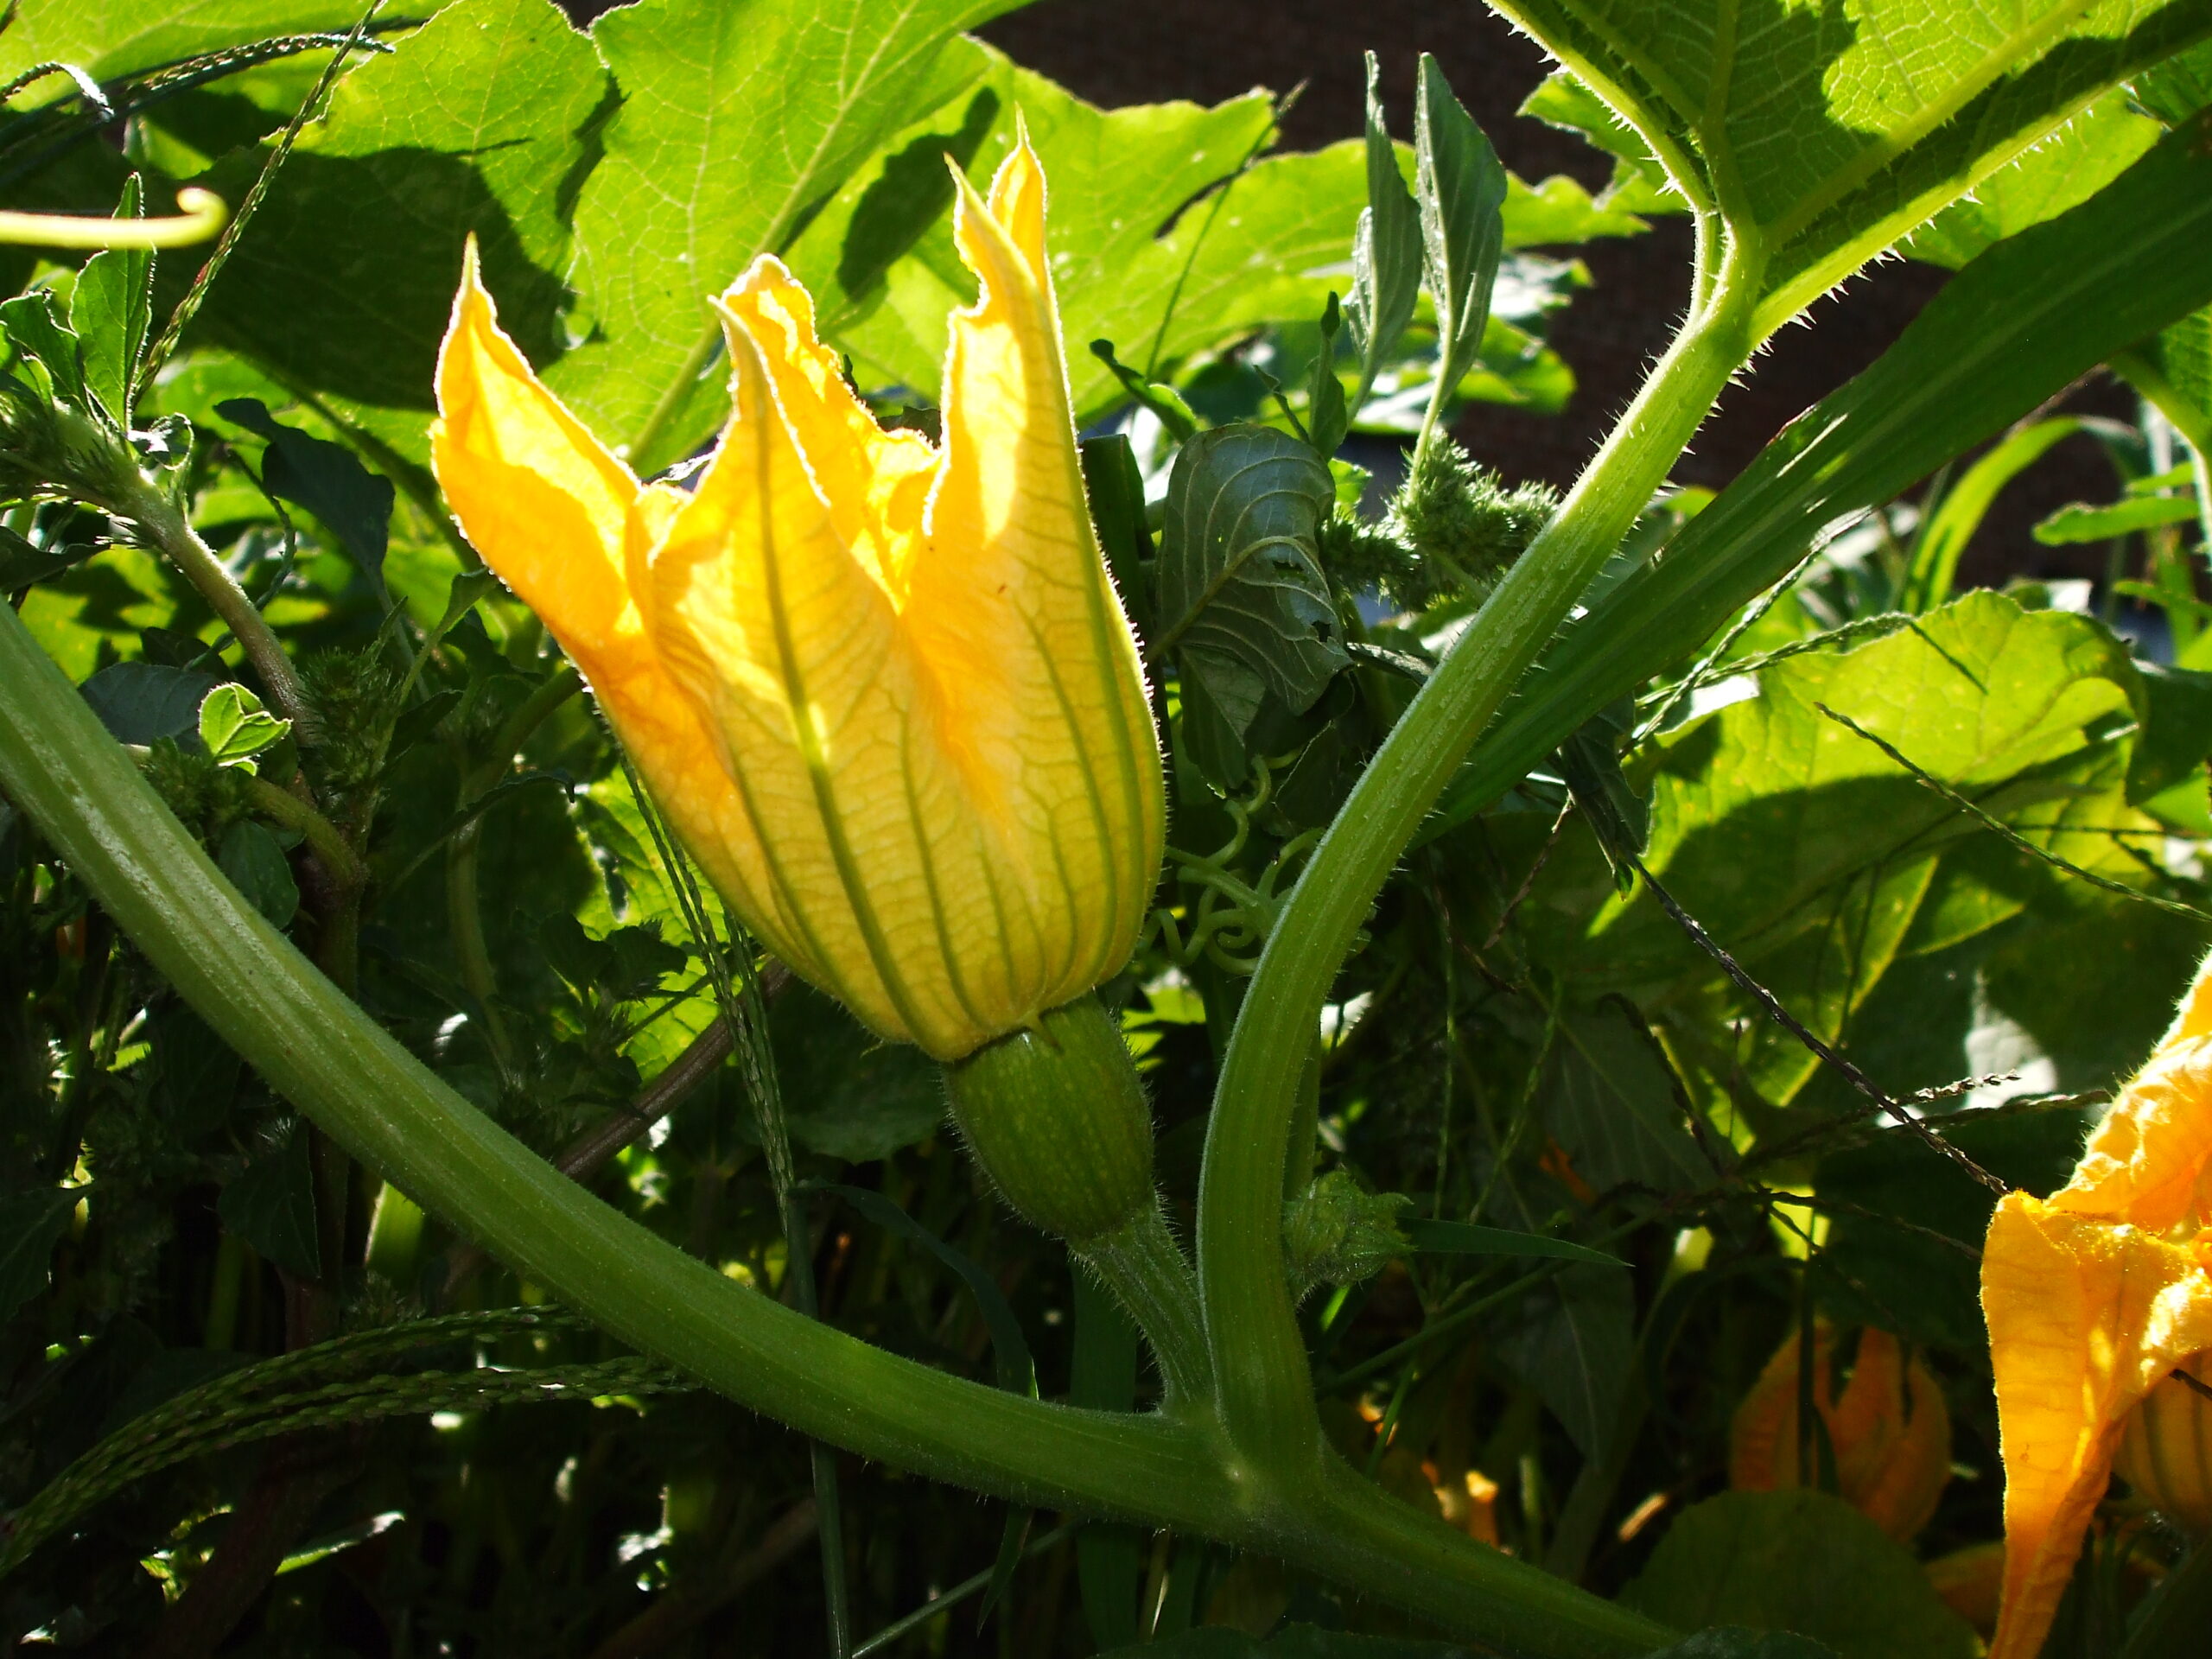
The pumpkin plant makes two kinds of flowers: male flowers and female flowers. Male flowers produce pollen. Pollen is the yellow powder you see on flowers. Pumpkin plants make a lot of male flowers, and very few female flowers.
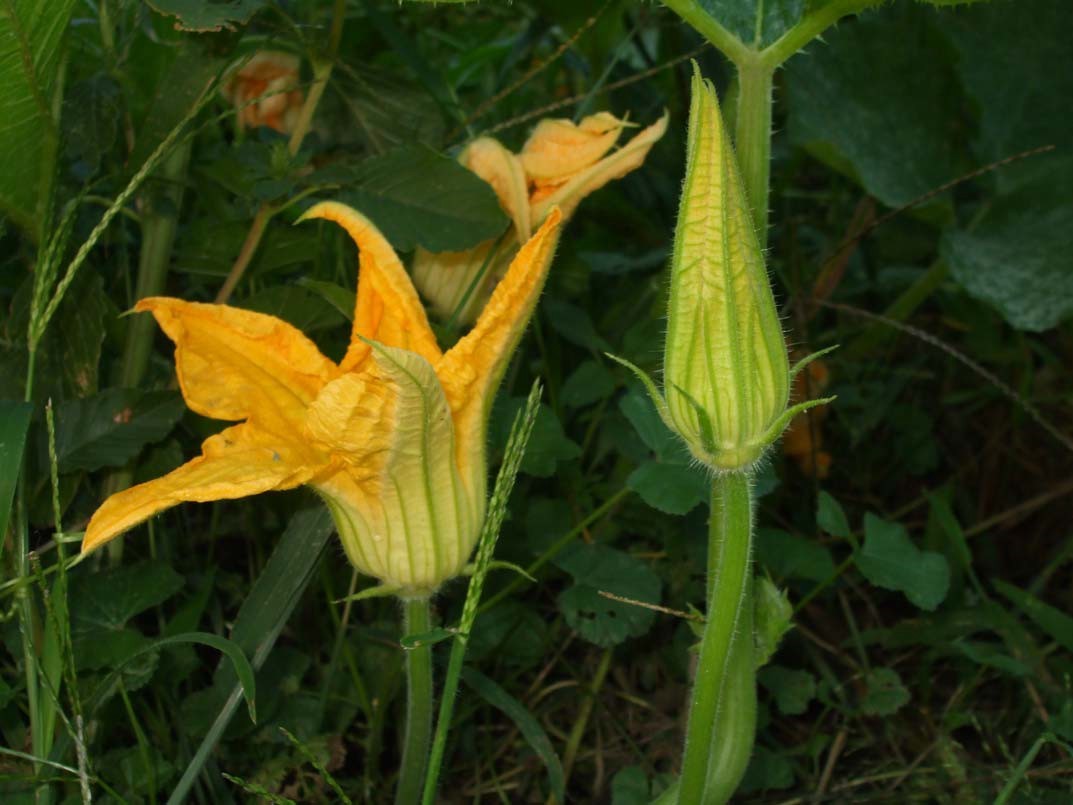

Female flower
The female flower is easy to find. There is a tiny pumpkin underneath it. The tiny pumpkin will only grow if the female flower is pollinated—the pollen from the male flower has to land in the female flower
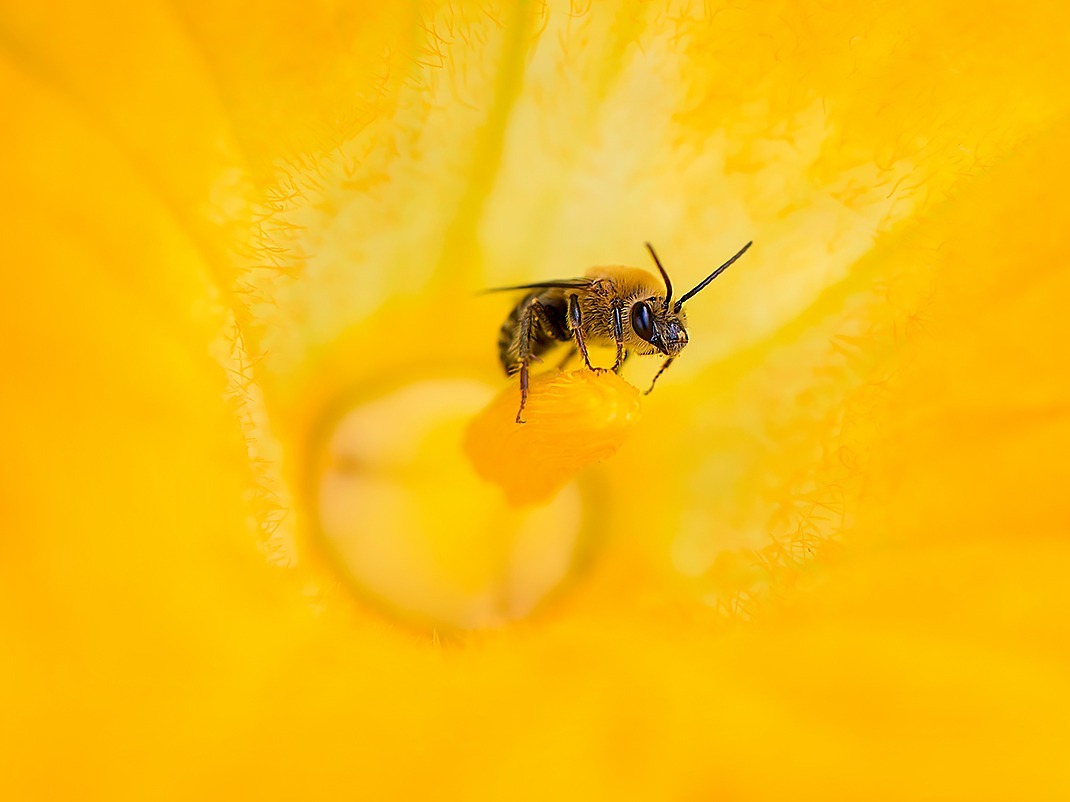
Squash bee
This squash bee is taking a nap inside a pumpkin flower. Squash bees are very important: they carry pollen from male flowers to female flowers. Without them, there would be fewer pumpkins.

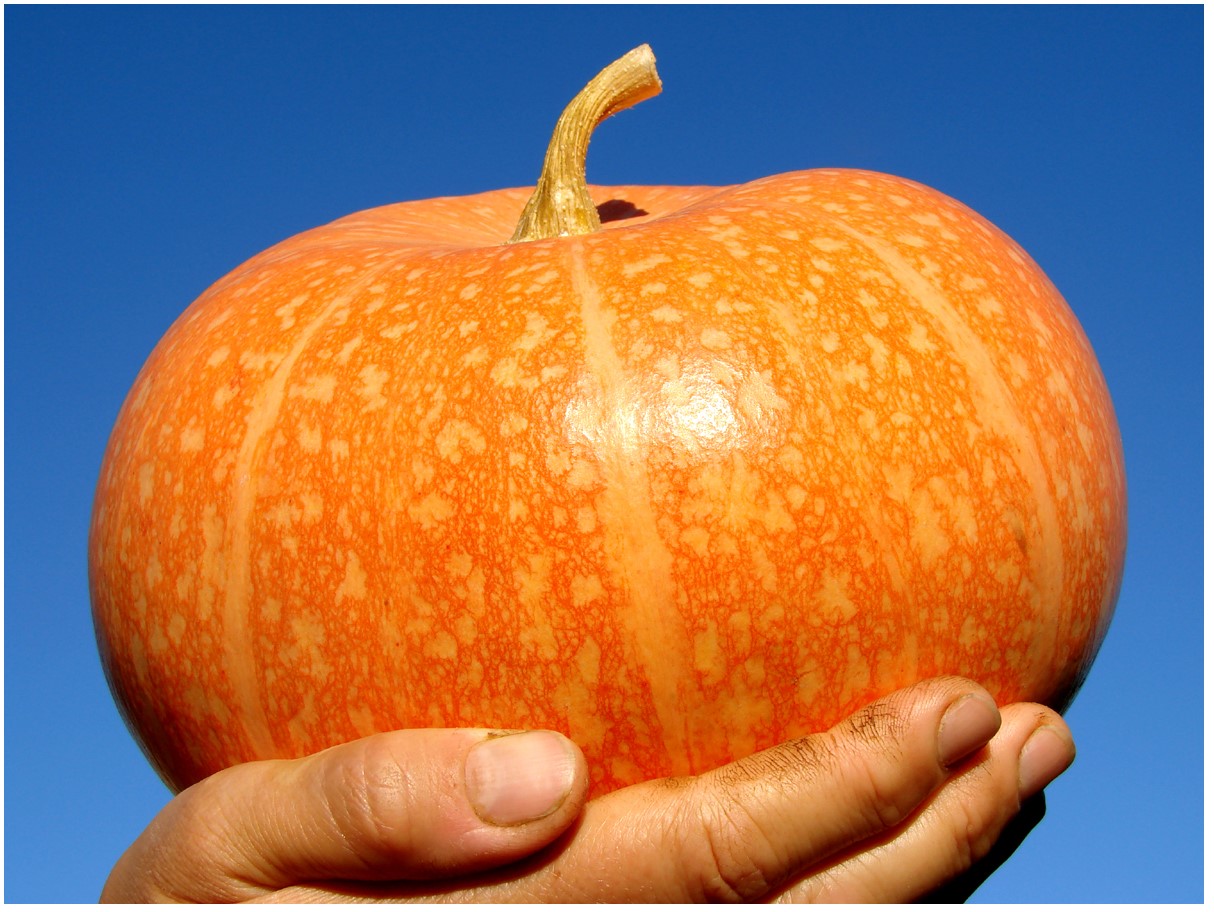
Pumpkin fruit
The pumpkin’s fruit is called a pumpkin. The pumpkin is very small at first. It grows and grows and grows over many weeks. Pumpkins are ready to harvest in the fall, after they have turned orange and the plant has died.
Mathematics
The great pumpkin lineup
This activity reinforces the concepts of shortest and tallest.
Materials
- Small pumpkins — enough for one per student
- Masking tape or electrical tape (electrical tape comes in black or orange!)
Instructions
- Before beginning, write the students’ names on their pumpkins with a permanent marker. This will help eliminate any disputes about whose pumpkin is whose!
- Make a line on the carpet with masking tape or electrical tape.
- Have students sit in a circle around the tape line. Explain to the children that they will be placing their pumpkins on the line according to height.
- Before students begin comparing pumpkins, clarify the concept of shortest to tallest by comparing some items in the classroom (pencils, chairs, the students themselves).
- Once students have tried several models of the concept, start by having one child place his or her pumpkin on the line. Ask a second student to bring up his or her pumpkin and measure to see if it is shorter or taller. Continue this process until all the children have had an opportunity to place their pumpkins in the correct position on the line.
Suggestions
- Count the pumpkins using ordinal numbers to reinforce the use of these numbers.
- Have students practise writing ordinal numbers.
- Have students estimate the height of the pumpkin. Then measure the height of each pumpkin with a ruler. Make a chart to determine how many pumpkins are the same height.
- Repeat this same activity to compare width and circumference.
Which weighs more?
This activity reinforces the concepts of lightest and heaviest. Students will classify pumpkins according to how much they weigh.
Materials
- Small pumpkins (one per student)
- Scale
- Cards
Instructions
- Before beginning, write the student’s name on his or her pumpkin with a permanent marker. This will help eliminate any disputes about whose pumpkin is whose!
- Prepare some cards reading 200 g, 300 g, 400 g and so on, going as high as necessary for your particular collection of pumpkins. Spread these cards out on the floor.
- Invite students to predict which of the pumpkins is the heaviest. Have the pumpkin weighed and placed in the proper card category by its owner. Repeat for a prediction of the lightest pumpkin.
- Invite the remainder of the students to predict how much their pumpkin weighs and in which card category it belongs. Have them each weigh their pumpkin. Is it lighter or heavier than predicted? Have students place their pumpkin in the proper card category on the floor.
- Once all the pumpkins have been weighed and classified, explore the concept that the height of a pumpkin does not necessarily correlate with its weight. Some children may assume that the biggest pumpkin will weigh the most. The weight of the pumpkin depends on how much water is stored in the flesh of the fruit as well as how much pulp is at its centre.
- Are the pumpkins predicted to be the heaviest and lightest actually the heaviest and lightest?
Suggestions
- When the pumpkins have all been categorized according to their approximate weight, ask the students to count the number of pumpkins in each category
- Have students make graphs to show the number of pumpkins in each category
Pumpkin seed harvest
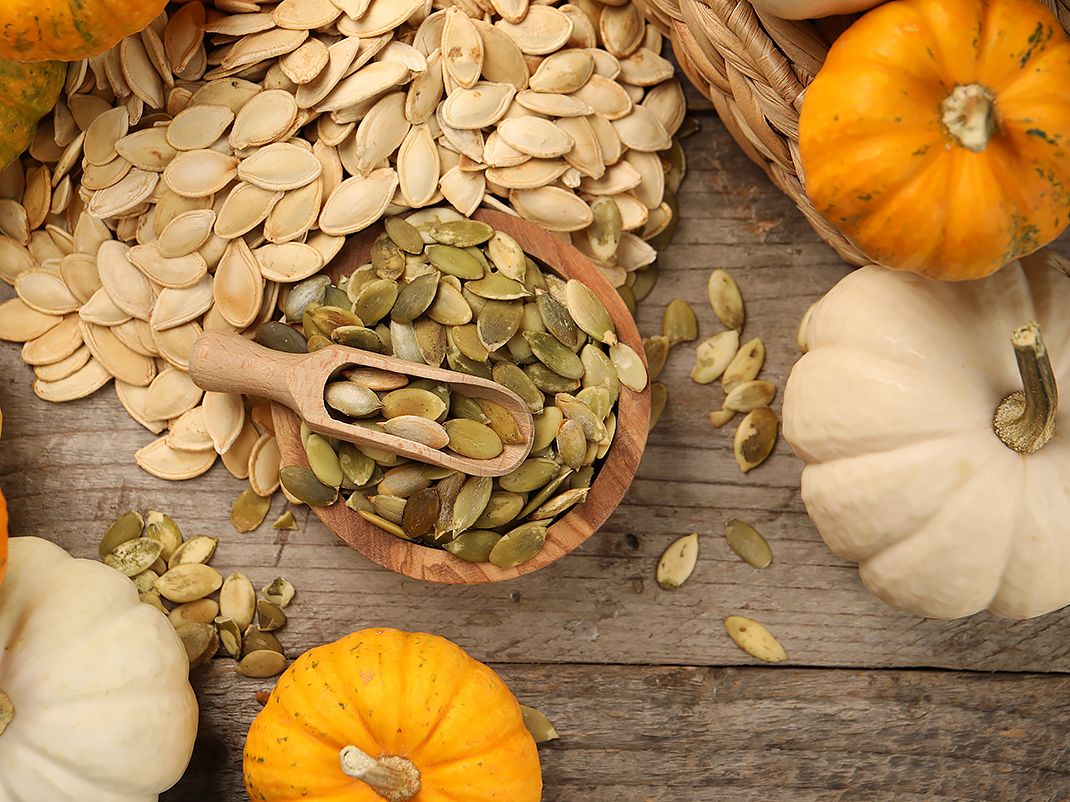
Many of the activities listed in this book require seeds. In this activity, students help to harvest the seeds.
Materials
- 2 to 3 small pumpkins of different sizes
- Carving knife
- Newspaper
- Strainer
- Paper
- Pencil
Instructions
- Ask students to guess how many seeds are in a pumpkin. Ask them if they think the size of a pumpkin indicates how many seeds are inside.
- Lay out the newspaper on the floor under the pumpkin for easy clean-up. Separate the class into two to three teams, assigning each one its own pumpkin. Assign one student on each team to be the “scribe” for their team.
- Have an adult cut the pumpkins open at the top. Have students scoop out the pumpkins and place the pulp and seeds on the newspaper.
- Have students separate the seeds from the pulp. The scribes can help scoop out seeds to start, but before scooping is finished they will need to wash their hands so they will be ready to write with clean hands when counting begins.
- Have students arrange the seeds in rows of 10 on a sheet of plain paper. Once they have completed a row, the scribe will circle it. Once they have 10 rows circled on a page, they can set it aside and start a new page.
- When all the seeds are counted, count the number of pages that were filled by the seeds. Did the largest pumpkin have the most seeds?
Suggestions
- Have the students measure common classroom objects with pumpkin seeds
- Collect and dye the seeds, and use them for colour-based pattern exercises
Arts
Seed mosaics
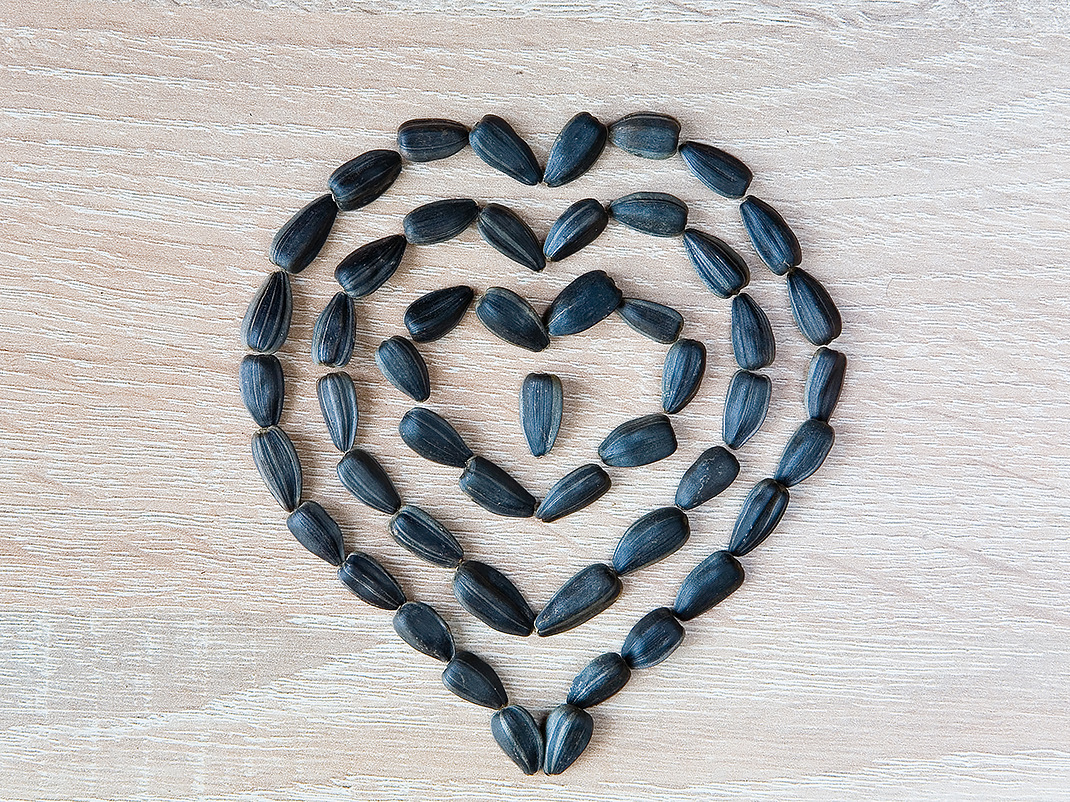
Using corn, beans, and pumpkin seeds, students can make beautiful mosaic designs. The seeds can make especially striking designs when set against a dark background.
Materials
- Paper
- Seeds (preferably corn, bean and pumpkin)
- Glue
- Pencils
Suggestions
- Sketch the outline of the Three Sisters plants (corn, beans, and pumpkins). Have students glue the seeds to the appropriate plant outline.
- Have students make their own abstract designs
- Use as many different kinds of seeds as possible to create a beautiful harvest picture
General activities
Maze
Please see the printable Maze PDF at the bottom of this page.
Tic-tac-jack
This version of tic-tac-toe is fun and engaging.
Please see the printable Tic-tac-jack PDF at the bottom of this page.
Materials
- Game board and pieces
- Colouring pencils
- Glue
- Scissors
- Cardboard
- Tic-tac-jack
Instructions
- Have students team up in pairs and distribute a copy of the game board and pieces to each team.
- Ask each team to glue its board and game pieces on cardboard and to colour and cut them out.
- Explain the rules of tic-tac-toe to the students and let them play.
Roasted pumpkin seeds
Pumpkins seeds are a delicious treat that we usually get only once a year. Try this simple recipe together in class.
Please see the printable Roasted pumpkin seeds recipe at the bottom of this page.
Ingredients
- 1 ½ tsp (8 ml) Vegetable oil
- 1 tsp (5 ml) Salt
- 2 cups (500 ml) Pumpkin seeds
Materials
- Colander
- Mixing bowl and spoon
- Measuring cups and spoons
- Cookie sheet
Preparation
- Preheat oven to 120°C (250°F).
- Place seeds in colander. Wash under warm water and pat dry.
- Place cleaned seeds in bowl and mix together with oil and salt.
- Spread seeds on cookie sheet.
- Bake for 30 minutes, or until golden brown and crispy. Use a spoon to stir seeds from time to time while baking. Serve warm or cooled, or mix with other dried snack foods to make a trail mix.
Printable PDFs
- Pumpkin exercises (PDF, 182 KB)
- Thaumatrope template (PDF, 189 KB)
- Maze (PDF, 282 KB)
- Tic-tac-jack (PDF, 197 KB)
- Roasted pumpkin seeds (PDF, 197 KB)
- Characteristics of a pumpkin plant (PDF, 14 MB)
Appendices
Appendix A: Pumpkin facts
Pumpkin facts
Native to North America, the pumpkin is a type of squash. The butternut, patty pan, acorn, and spaghetti squashes, and the zucchini are also squashes.
The pumpkin belongs to the Cucurbitaceae family. This family includes other squashes, cucumbers, melons (watermelon, cantaloupe, honeydew), and gourds.
Pumpkin, squash, or gourd? Pumpkins are usually sculpted, squashes are eaten, and gourds are for display.
Like all other Cucurbitaceae plants, the pumpkin is monoecious. This means a single pumpkin plant produces both male and female flowers. The male flowers produce pollen and cannot form fruit. Only pollinated female flowers produce fruit.
Even though the pumpkin plant produces an abundance of flowers early on, very few of the flowers are female. On average, the pumpkin plant produces 10 male flowers for every female flower. Female flowers are short-lived — they blossom in the morning and close up a few hours later, never to blossom again. If a female flower is not pollinated during that period, it wilts and falls to the ground.
To produce a nice well-formed fruit, each female flower must be visited at least 15 times by a bee or other pollinating insect. Insects are indispensable to pumpkin pollination. They carry the pollen from the male flowers to the female flowers. In addition to honeybees and bumble bees, there is another type of bee that is native to America, feeds from pumpkin pollen and nectar, and is very important to pumpkin pollination: the squash bee. Male squash bees can often be seen asleep inside pumpkin flowers during the afternoon.
A pumpkin plant only produces one or two good-calibre pumpkins. This number varies from one cultivar to another. Only miniature pumpkin varieties such as Baby Boo, Sweetie Pie, Jack-Be-Little, and Munchkin can produce between 12 and 15 pumpkins per plant.
Pumpkins are very sensitive to frost. One hour at temperatures below freezing can kill a pumpkin plant.
Appendix B: Recommended reading
Fiction
- Too Many Pumpkins, Linda White (Holiday House Publishing), ISBN 9780823413201
- It’s Pumpkin Time, Zoe Hall (Scholastic Inc.), ISBN 9780590558495
- Pumpkin, Pumpkin, Jeanne Titherington (HarperCollins), ISBN 9780688099305
- The Biggest Pumpkin Ever, Steven Kroll (Scholastic Inc.), ISBN 9780545402859
- The Pumpkin Blanket, Deborah Turney Zagwyn (Fitzhenry & Whiteside), ISBN 9781550410976 The Very Best Pumpkin, Mark Kimball Moulton (Simon & Schuster), ISBN 978146982883
- How Many Seeds in a Pumpkin? Margaret McNamara (Random House Children’s Books), ISBN 9780375840142
- Pee Wee Scouts: Grumpy Pumpkins, Judy Delton (Random House Children’s Books), ISBN 9780440400653
- Pumpkin Town!, Katie McKy (Scholastic, Inc.), ISBN 978054598235
Non-fiction
- Pumpkins, Jacqueline Farmer (Charlesbridge), ISBN 9781570915581
- Pumpkin Circle, George Levenson (Random House Children’s Books), ISBN 9781582460789 The Pumpkin Book, Gail Gibbons (Holiday House Inc.), ISBN 9780823414659
- From Seed to Pumpkin, Wendy Pfeffer (HarperCollins), ISBN 9780062381859
- Fall Pumpkins: Orange and Plump, Martha Rustad (Millbrook Press), ISBN 978144312980
You may also be interested in
Professional development
Ingenium offers professionals in teaching, academia, public sector and private sector the opportunity to develop their science communication skills. Join one of our workshops, see a virtual tour or exhibition, learn about the national science and technology collection, and cultivate greater understanding of our artifacts through Ingenium’s Research Institute.
AgVenture: From sheep to sweater
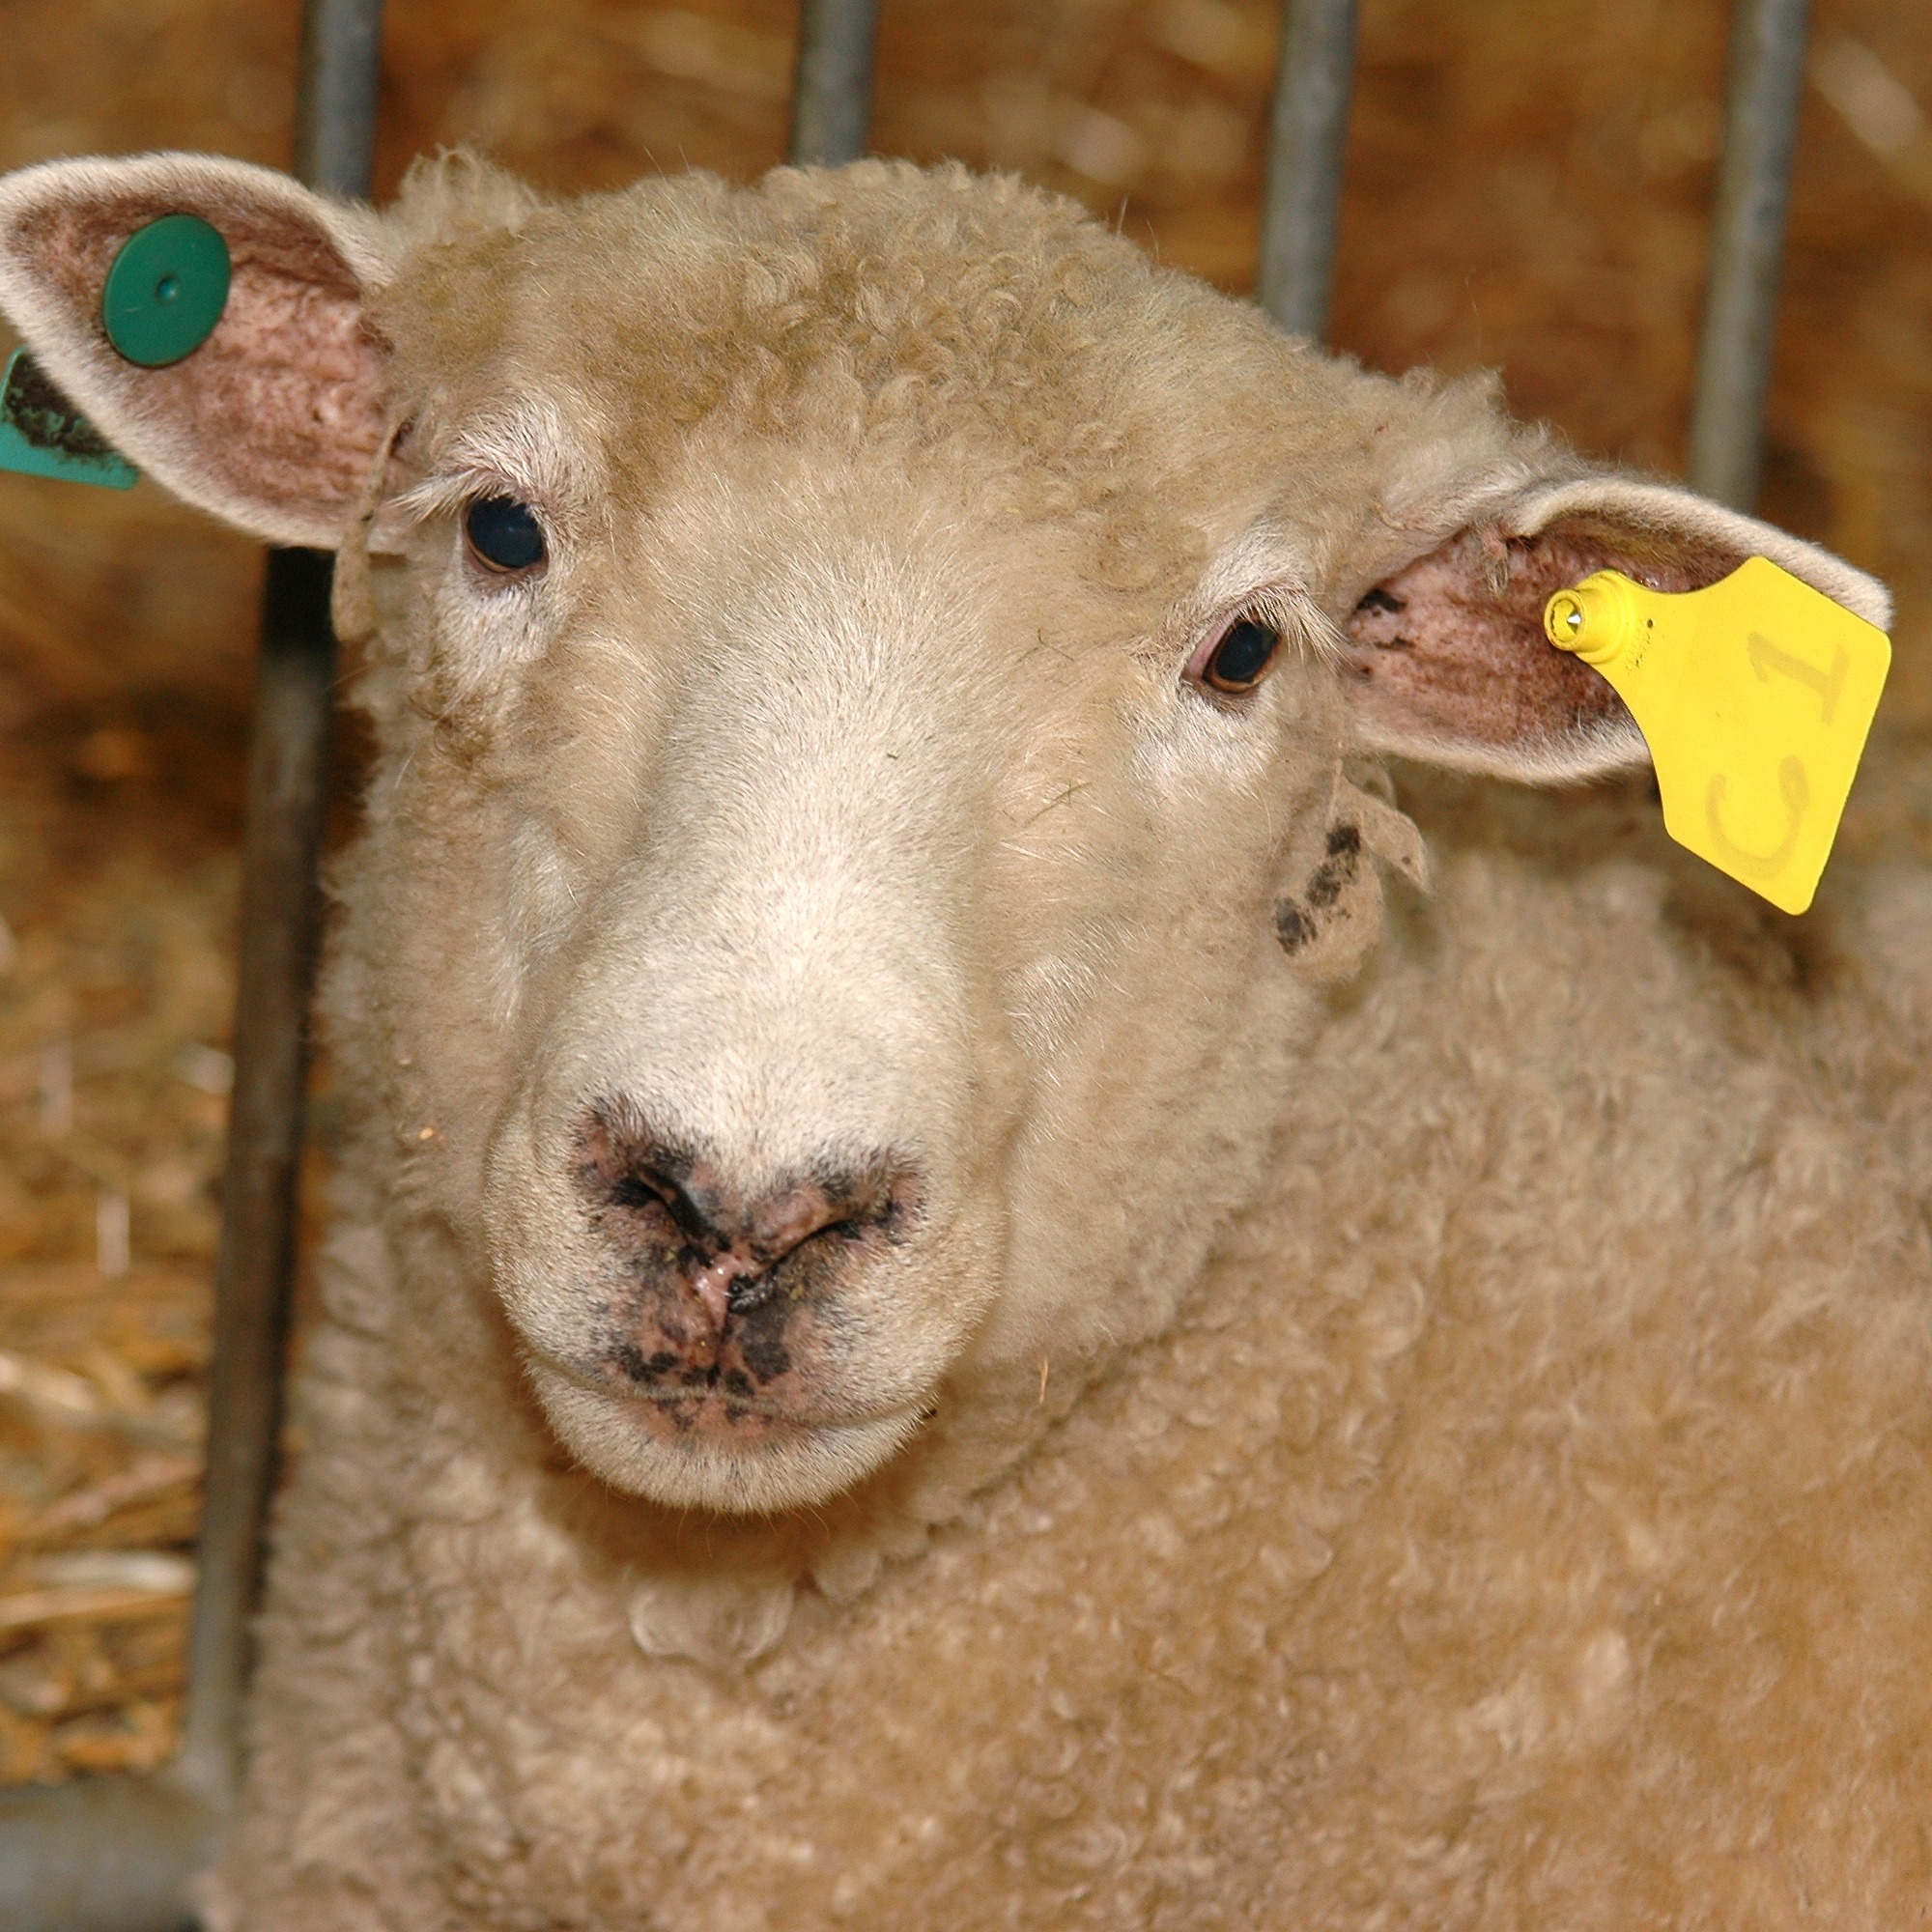
How did pioneers turn a sheep’s fleece into clothing? This flexible program will allow your students to explore the properties of wool through fun activities.
Virtual field trips
Bring the museum to your classroom with bilingual, curriculum-linked programs for all grade levels that allow your students to discover various STEM topics.
