Discover the stars
Share :
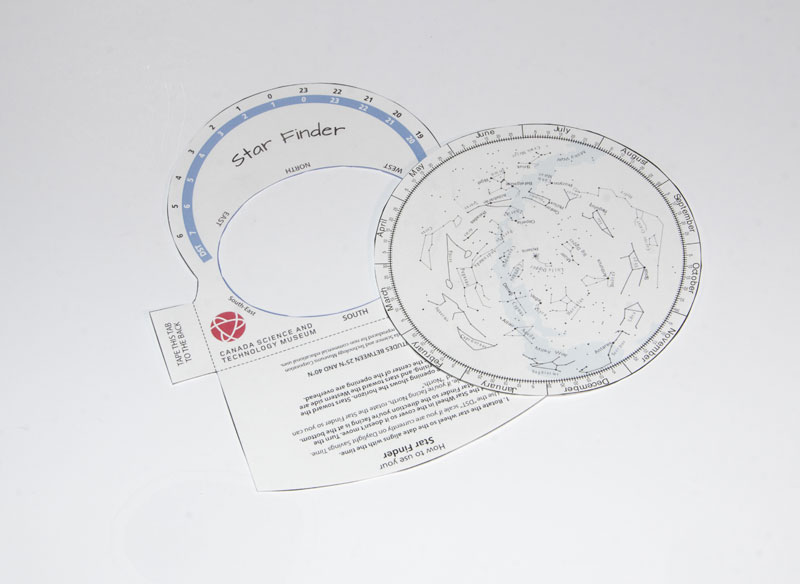
Activity 1: Star finders
Star finders, or planispheres, are used by stargazers all over the world to find stars in the night sky. Make your own – and you can explore constellations from your own backyard!
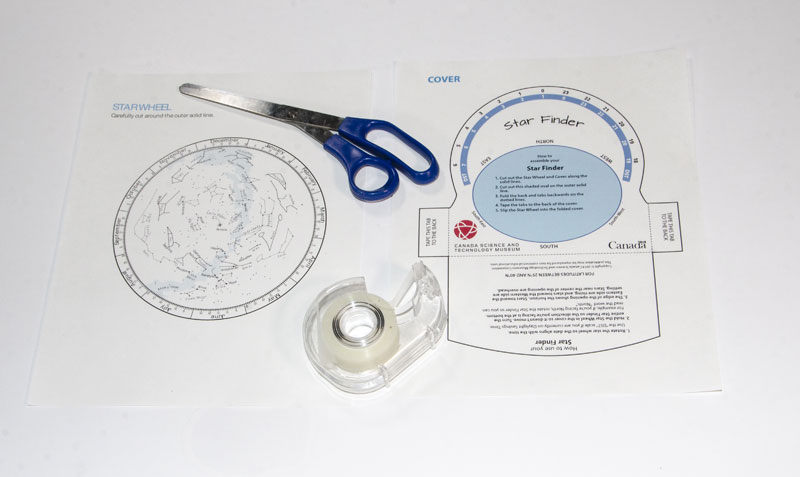
What you need
- A printable planisphere (PDFs), according to your latitude:
- Monthly star charts to help you find stars and constellations in the night sky
- Scissors
- Tape
Make it
- Figure out what latitude you’re at, by searching online or with a GPS. The capital of Canada and the capitals of each Canadian province and territory are:
-
- Ottawa: (capital of Canada) 45° 24′ N, 75° 41′ W
- Charlottetown: 46° 14′ N, 63° 7′ W
- Edmonton: 53° 32′ N, 113° 29′ W
- Fredericton: 45° 57′ N, 66° 38′ W
- Halifax: 44° 38′ N, 63° 34′ W
- Iqaluit: 63° 44′ N, 68° 31′ W
- Montreal: 45° 30′ N, 73° 33′ W
- Quebec: 52° 56′ N / 73° 32′ W
- Regina: 50° 27′ N, 104° 36′ W
- Toronto: 43° 39′ N, 79° 22′ W
- Vancouver: 49° 14′ N, 123° 6′ W
- Whitehorse: 60° 43′ N, 135° 3′ W
- Winnipeg: 49° 53′ N, 97° 9′ W
- Yellowknife: 62° 27′ N, 114° 22′ W
- Determine which planisphere to use, given your latitude.
- Cut out the planisphere and the cover along the solid outside lines.
- Cut out the shaded oval on the outer solid line.
- Fold the bottom tab backwards, along the dotted lines.
- Fold the two side tabs backwards over the dotted lines, over top of the bottom flap you just folded in. Tape them to the back flap to keep everything in place, forming a pocket.
- Cut out your star wheel, and place it into the sleeve, so that the constellations are visible through the hole you made in step 4.
Test it
- Head outside after dark with your planisphere, a flashlight, and a compass.
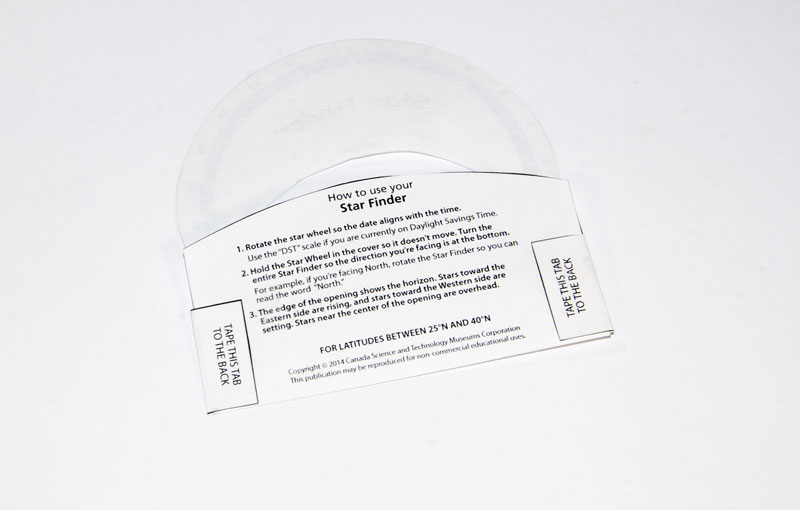
- Rotate the star wheel so that the date aligns with the time, using the daylight savings time scale if you’re currently in DST.
- Hold the wheel still inside the cover, and rotate the planisphere so that whichever direction you are facing is at the bottom of the cover. The edge of the opening now shows the horizon.
- Stars toward the eastern side are rising, stars in the western side are setting, and stars near the centre of the opening are overhead
Explain it
Besides the Sun, the stars in our universe are so far away from Earth that they don’t noticeably move in relation to each other, within the span of a lifetime. Because of this, a map that is fairly constant can be constructed and used for the stars. There are no planets or satellites (moons) included, as they are close enough to Earth to change rapidly from day to day. The portion of these stars that are seen changes depending on the time of year – as the Earth rotates around the Sun – exposing different parts of the night sky.
Observe it
Planispheres are mostly used for amateur stargazing. They are a fast, easy, and cost-effective way to orient yourself as you observe the night sky!
Activity 2: Diptych sundial
As with other sundials, the diptych dial uses shadows cast by the sun to tell the time. Diptych sundials were portable, and as such they were often seen as stylish accessories (much like a fancy watch would be today). This activity is best suited for older children, teens, and adults.
Instructions
- Print the template onto a letter-sized piece of paper or cardstock. If printed on paper, paste the template onto a piece of Bristol board or cardstock, making sure that glue is spread evenly over the entire surface.
- Trim along the outside solid lines on the template diagram.
- Fold flaps “A” inwards on the dotted line, and fold flaps “B” outward on the dotted line.
- Fold the dotted center line so that the two panels form a right angle.
- Determine the latitude of your location using an atlas.
- On the right and left sides of the sundial base (flaps “B”), you will see scales marked 35°-55°. Once you have determined the latitude of your location, mark that latitude angle on both scales. Draw a line from those marks to each of the X symbols at the top. Cut the flaps off along these lines.
- Poke two small holes though the diptych where the hour lines converge. String an elastic band through the top and bottom holes, tying knots in each end. Be sure to adjust the tension so the band is stretched straight, but the diptych remains at a 90° angle. This band is the gnomon (pronounced no-mon). It casts the shadow that indicates the time on the face of the sundial.
Personalizing your sundial
At the top of your sundial, you may want to write your location and latitude. You may also want to write your name, followed by the word “fecit” (i.e. “Sam Smith, Fecit”). Fecit is Latin for “maker” and often appears on early instruments. You may wish to embellish the back of your dial with an old-style graphic from a book about sundials, a drawing of your pet, or whatever appeals to you. This is where you can individualize your diptych dial!
Setting the time: Three possible methods
The sundial must be orientated with the gnomon pointing north/south, in a location where a shadow will be cast by the gnomon most of the day. Here are three methods for setting up your sundial to tell the time accurately:
Method 1: The purist’s method
This method will enable you to orient your sundial without using other mechanical devices — just as they would have centuries ago!
Looking at the night sky, locate Polaris (the North Star). You will find Polaris at the end of the Little Dipper. Point your sundial’s gnomon in its direction. You will in effect be pointing the gnomon towards the North Celestial Pole, which is within 1° of the North Star. You might want to record the orientation for your dial on a window sill for future reference, using low tack tape (or “painters’ tape”). This method will not work in southern latitudes, as there is no bright star near the South Celestial Pole.
Method 2: A practical method
Use a magnetic compass to determine the north/south line. As there is a difference between the magnetic north and the true north, your sundial reading could be out by an hour or more, depending on the local difference between magnetic and true north (or south, if in southern latitudes).
Method 3: The “lazy person’s” method
Use a clock to check the time, and then orient your sundial so that it reflects the current time (in Standard Time). If you choose to use this method, there could be an error of up to 30 minutes over the course of the year. Interestingly, if you use this method on April 15, June 10, September 1, or December 20, this error will be negligible. Similarly, any orientation made between April 15 and September 1 will only be off by, at most, a few minutes.
Note
Sundials always tell the time in standard time.
You may also be interested in
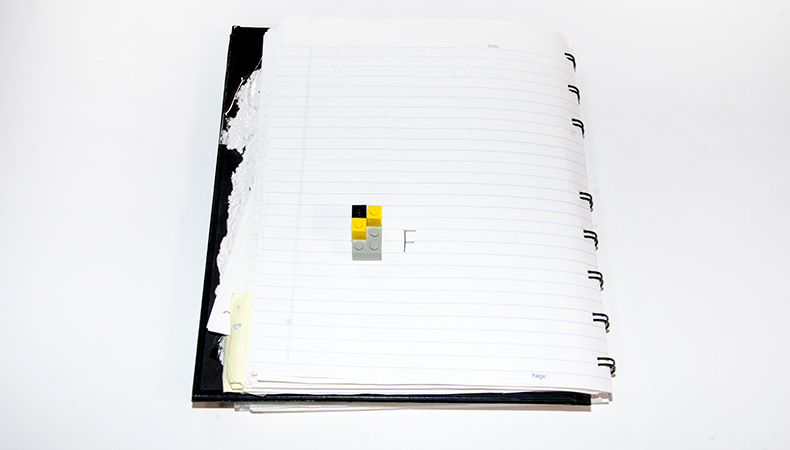
Braille
Did you know that you can read using your sense of touch? Use Lego bricks to send a message to your friend using the Braille alphabet.
Archimedes screw
In this experiment to do at home, create an Archimedes screw to — seemingly — fight gravity to get water up an incline!

Curiosity on stage
This lecture series allows visitors to engage with experts in thought-provoking discussions on key global and national issues, exploring their impact and governance.