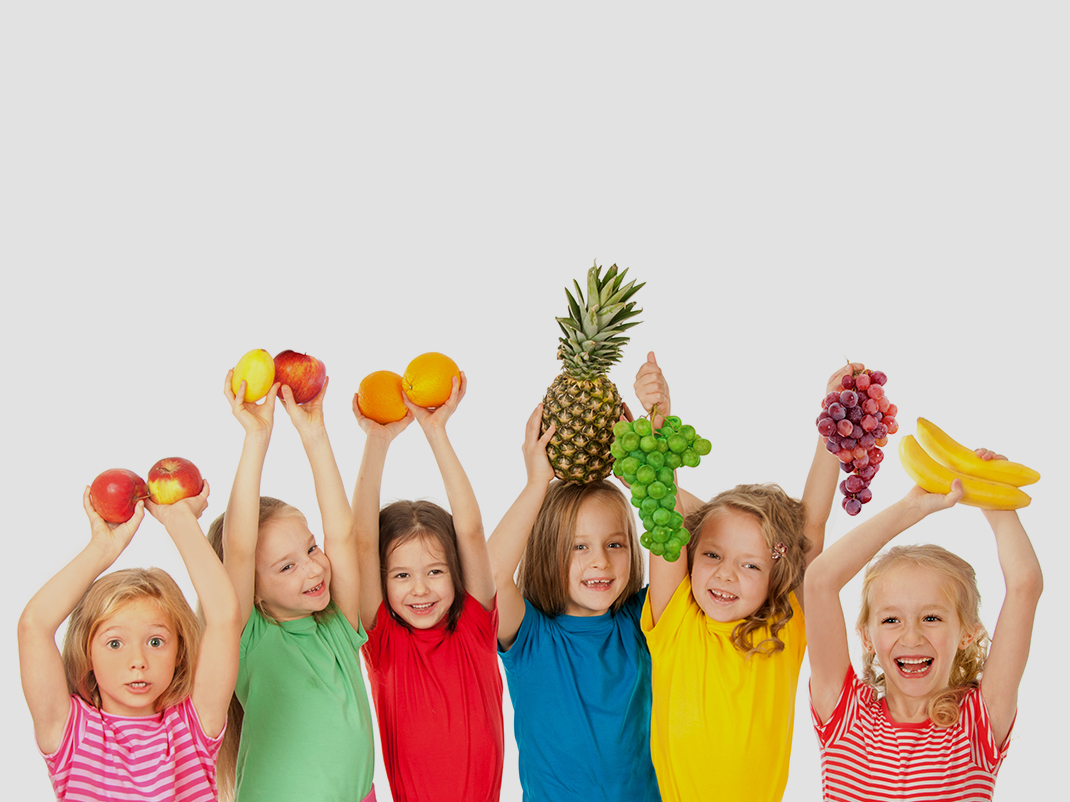
Healthy kids quest: Lunchtime fun!
Grades 1 to 3 (Ontario)
Elementary cycles 1 to 2 (Quebec)
The Healthy kids quest: Lunchtime fun! module teaches students the importance of eating a variety of foods in order to grow, learn and play. The Canada Food Guide is introduced in the module.
Share :
Lunchtime fun!
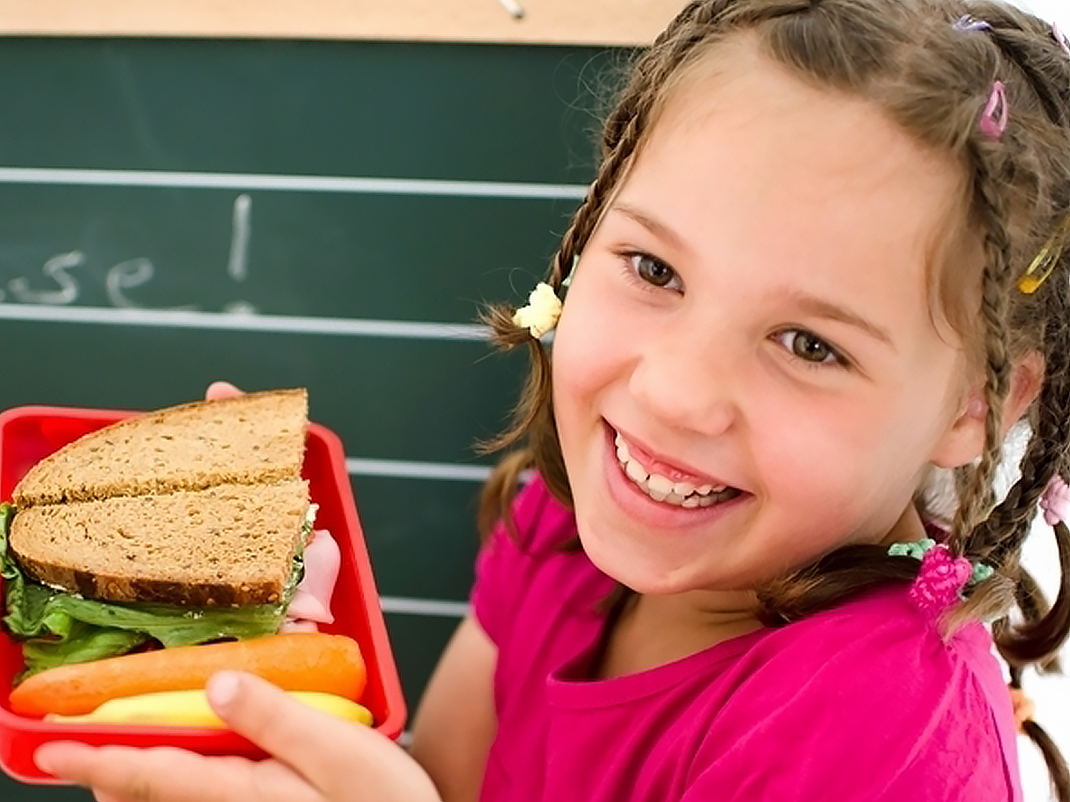
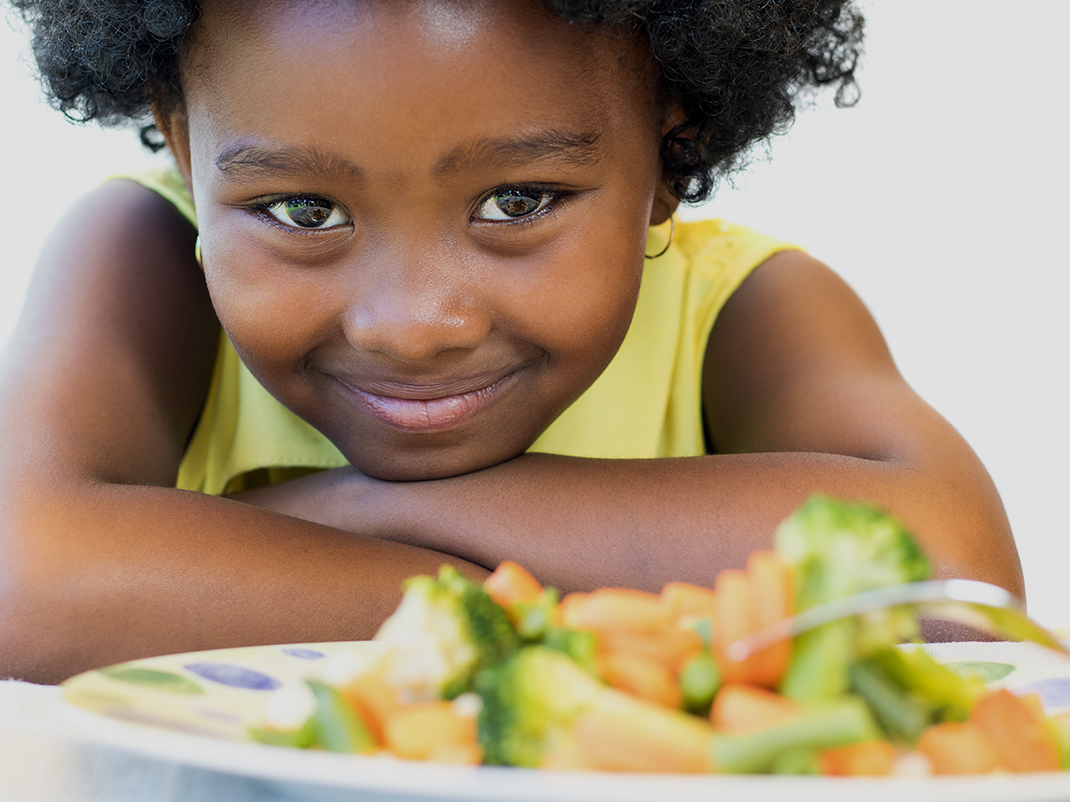
To grow, learn, and play, we need to strive to eat a variety of different foods every day. Doing so ensures that we consume all the nutrients we need. While learning about how food helps our bodies function can be confusing for young students, there are other ways to encourage variety.
Characterizing food by physical and tactile traits that children recognize provides a different perspective on food and draws attention to these features. Discovering different kinds of food grown throughout the world invites students to explore new foods and sparks curiosity about them. Suggesting students expand their palate, when they feel ready, by trying many foods with different traits is another way to encourage variety.
Curriculum links
- Health and physical education: Healthy living
- Arts: Visual arts
Learning objectives
- Understand that we need to eat food to satisfy our bodies’ needs, so that we can grow, learn, and play
- Discover—through characteristics of colour, shape, size, texture, taste, and where and how foods grow—the wide variety of foods
Learning methods
- Associating objects and images with our bodies’ different functions
- Identifying foods by non-nutritional traits: colour, shape, size, texture, taste, and where and how they grow
Materials
- Lego or Mega blocks
- Batteries
- Skeleton image, or something else that represents bones (e.g., Halloween decorations)
- Dish sponge
- Binoculars or magnifying glass
- Winter jacket
- Happy face emoji
- Large sheets of construction paper or Bristol board
- Crayons or markers
- Scissors
- Glue
- Lots of grocery store flyers from different stores (you can ask the students to bring some from home)
Before starting: Prepare craft stations
Before beginning the activity, assemble the supplies needed to make the posters. Set up each craft station with crayons, scissors, glue, and grocery store flyers.
Instructions
Pre-activity: Class discussion
Start the lesson by engaging students in a discussion about why it’s important to eat. Ask the following questions:
- What does food do for our bodies?
- How do we feel when we eat?
- How do we know when it’s time to eat or drink?
- How do we know when we’ve had enough to eat or drink?
- When do we eat food?
Recommended for Grades 2 and 3:
- Where does food come from?
- Can we grow or make our own food?
Use the following objects to illustrate the different functions of the body and how food contributes to these. Alternatively, show the objects one by one and ask students to explain what each object represents.
- Lego or Mega blocks: Every single day different parts of our bodies, like our hair, skin and nails, grow. When we are young, our bones, new teeth, and muscles, in particular, are growing. Food gives us the building blocks we need to grow and to get stronger.
- Batteries: Just as batteries give energy to electronics, food gives us energy so that we can learn, think, play, and do the things we love
- Skeleton image: Food helps our bones stay solid and strong so that our bodies can support our movements. Bones also protect what’s inside our bodies, like our stomach, lungs, and heart.
- Dish sponge: Food helps us get rid of waste that we don’t need, by going to the bathroom. Our intestines get cleaned every time we go.
- Binoculars or magnifying glass: Food can improve our eyesight and even help us see better in the dark
- Winter jacket: Food helps our bodies stay warm and comfortable, and keep out anything that can make us sick
- Happy face emoji: Food helps us with our mood. Have you ever felt tired or annoyed because you were hungry? When our stomachs are full, we feel better and can stay alert to focus and concentrate.
Explain that all foods help our bodies function properly so that we can be our best selves. It’s important to listen to our bodies and to eat and drink when we’re hungry and thirsty until we feel full and satisfied. That’s when we know our bodies have had enough.
- Did you know that we should try to eat a variety of foods? Ask students what they think this means.
- Eating a variety of foods means taking in many different kinds of food that look, smell, taste, and feel, and are grown and cooked differently from one another
- Mixing foods and having a combination of many different types of food helps our bodies get what we need
- Ask students how foods can be unique and different from one another.
- Foods are different in colour, shape, size, texture, taste, smell, and sound, and in where and how they are grown
- Ask students to think about their favourite foods and what they like about them. Have them turn to their neighbour and describe their favourite foods and what they like about them. Give them about 3 minutes to do this. When everyone has shared with a partner, ask volunteers to share with the class what they learned from their partners.
- Ask students to describe the different colours that foods can come in. Also ask about their different shapes, sizes, textures, and tastes, and where and how they are grown.
-
- Foods can come in many different colours and in all kinds of shapes and sizes
- Different textures can include crunchy, tender, rough, smooth, dry, juicy, creamy, sticky, soft, and crumbly
- Different tastes can include sweet, salty, bitter, spicy, sour, and umami (savoury)
- Ask students if they can describe the different smells and sounds foods give off as they are being cooked or eaten
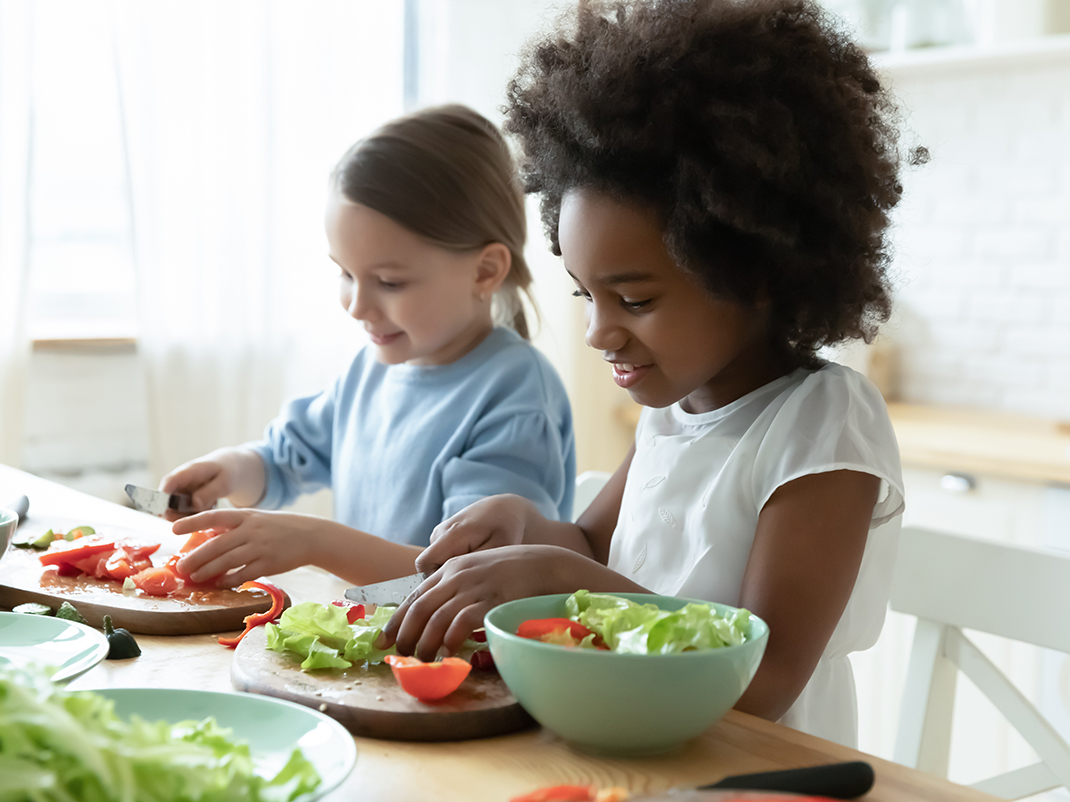
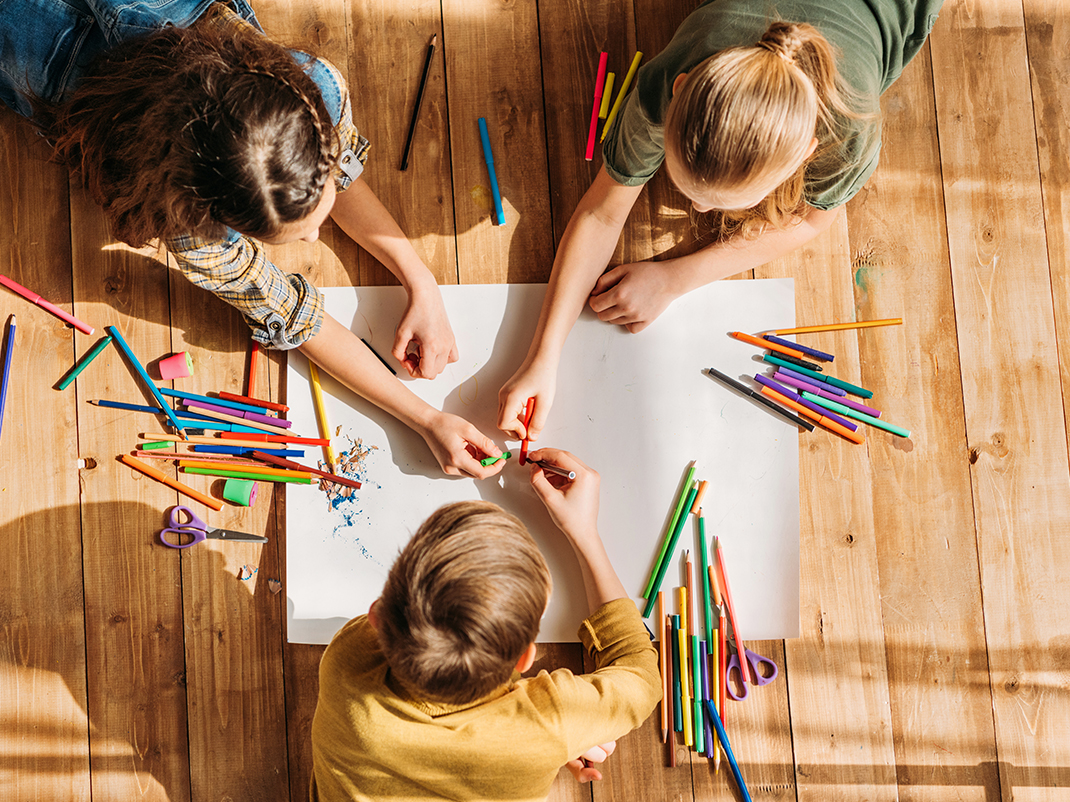
Activity: Food sensory poster
- Now that the students are thinking about the unique characteristics of different foods, explain the next activity. Divide the class into 5 or 6 groups. Each group should have the materials ready in front of them (large sheets of construction paper or Bristol board, crayons or markers, scissors, glue, and grocery store flyers).
- Assign each group one of the following themes: Colour, shape, size, texture, taste, and where the food comes from
- Ask students to use the crayons or markers to divide the construction paper or Bristol board into the following sections, as per their theme. You may need to write these titles on the board at the front of the class for them to copy down:
- Colour: Red, orange, yellow, brown, green, blue, purple, and white
- Shape: Circle, rectangle, oval, triangle, square, cylinder, cone, crescent, and/or sphere
- Size: Small, medium, and large. Ask this group’s students to define what they consider small, medium, and large. There are no wrong answers: for example, a small food could be no bigger than a marble, a medium food could be the size of their hand, and a large food could be the size of their head.
- Texture: Crunchy, soft, rough, smooth, dry, juicy, sticky, and crumbly
- Taste: Sweet, sour, salty, bitter, spicy, and/or savoury (umami)
- Where the food comes from (recommended for Grades 2 and 3): Bush, trees, water, animals, flowers, roots, leaves, stems, grains, and seeds
- Some themes have more options than others — you can limit each option to five per theme to simplify the activity
- Ask students to look through the grocery store flyers together, cut out pictures of food and glue them in the appropriate sections.
- There are no wrong answers, as students may find that some foods can fit into more than one category
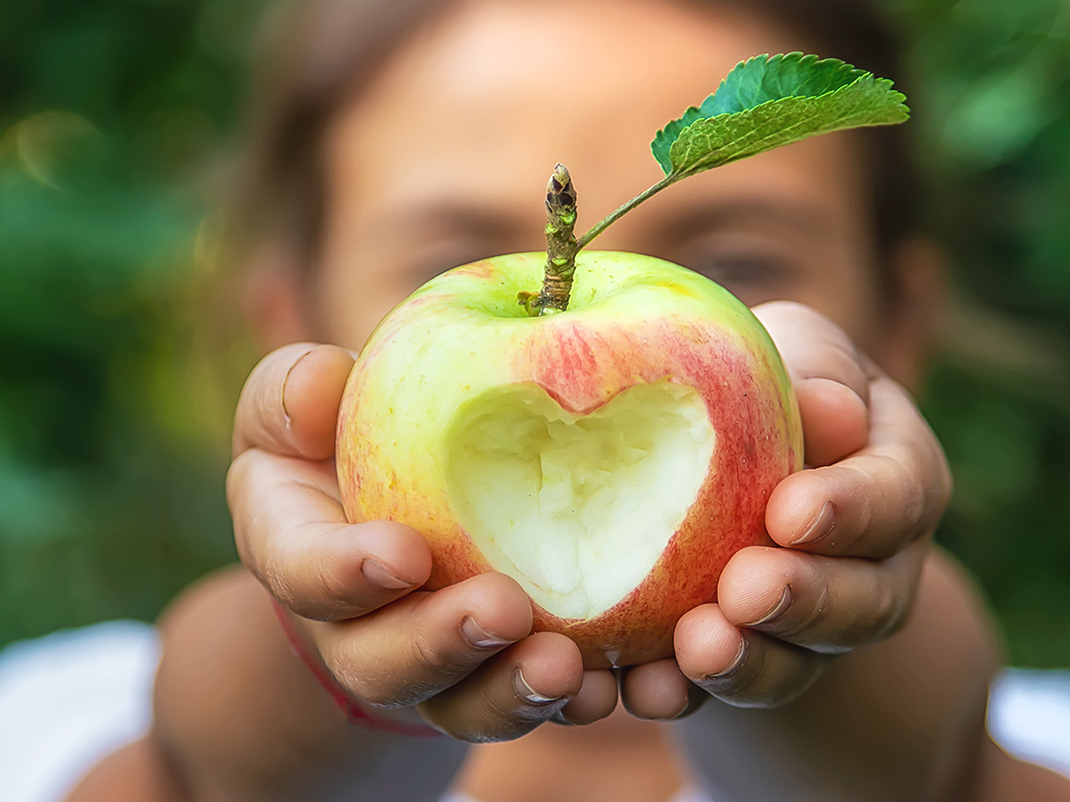
- For example, students looking at colour will realize that apples can be red, yellow, or green, or red and yellow at the same time
- And some foods are one colour on the outside, but a different colour on the inside
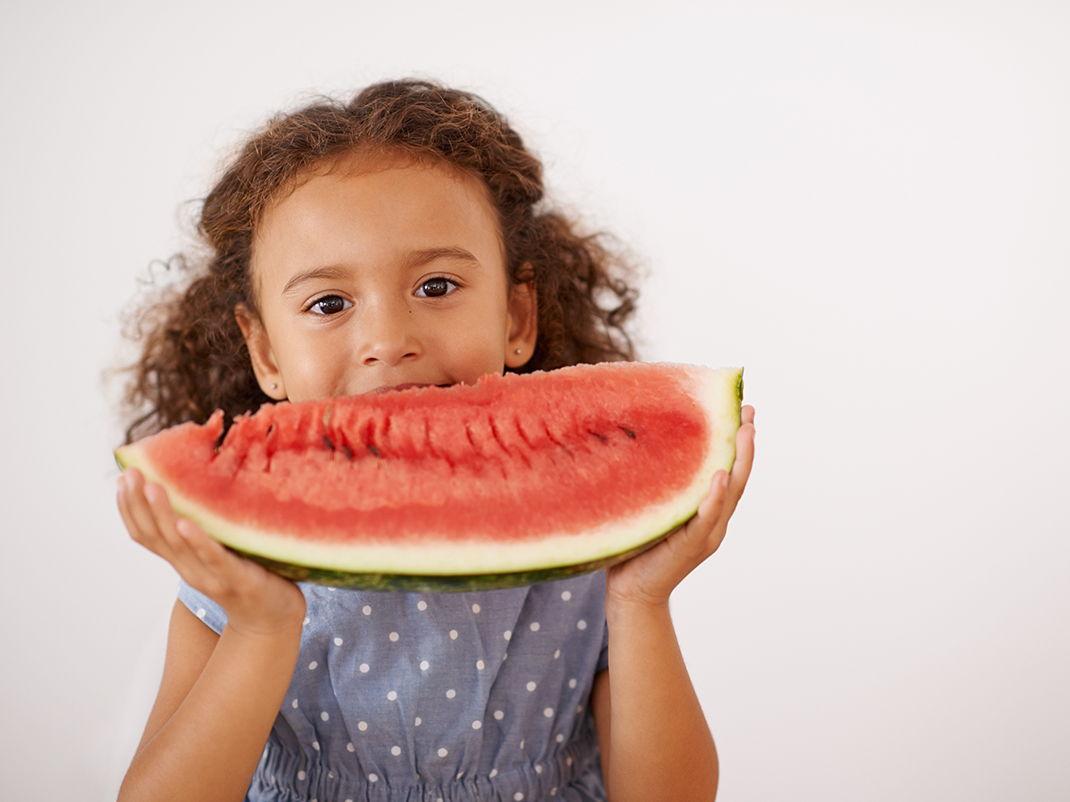
- Students in the texture group may discuss the fact that watermelon can be crunchy and juicy at the same time, and decide to put it under both categories
- Ask each group to present their poster to the class, and share how they decided to organize the foods. Give other students an opportunity to ask the presenting group questions about their work and decisions. Put the posters on display around the classroom or school.
Note: The foods that students select can be anything they find in the flyers, and teachers should not restrict their selections to what they consider to be “healthy.” Allow students to choose whichever foods they see and to express whatever they think about them, given the parameters of the assignment. Encourage students to include and think about items such as spices, oils, and condiments.
- Wrap up the activity by asking students to reflect on the work they did on the posters.
- What are some other ways we could categorize food?
- As they were looking through the flyers, did they discover some foods they’ve never seen before?
- Did they see some new foods that they’d like to try?
Optional activities
Want to learn more about where our foods come from? Come visit the Canada Agriculture and Food Museum in Ottawa! We offer in-person educational programs and virtual field trips for schools.
Check out the programs that the museum has to offer:
Relay race
There are many different ways to categorize food and there is no right or wrong way to do so. For children, it’s more important that they follow their hunger cues and keep exploring new foods at their own pace. This will set them up for a positive attitude towards eating.
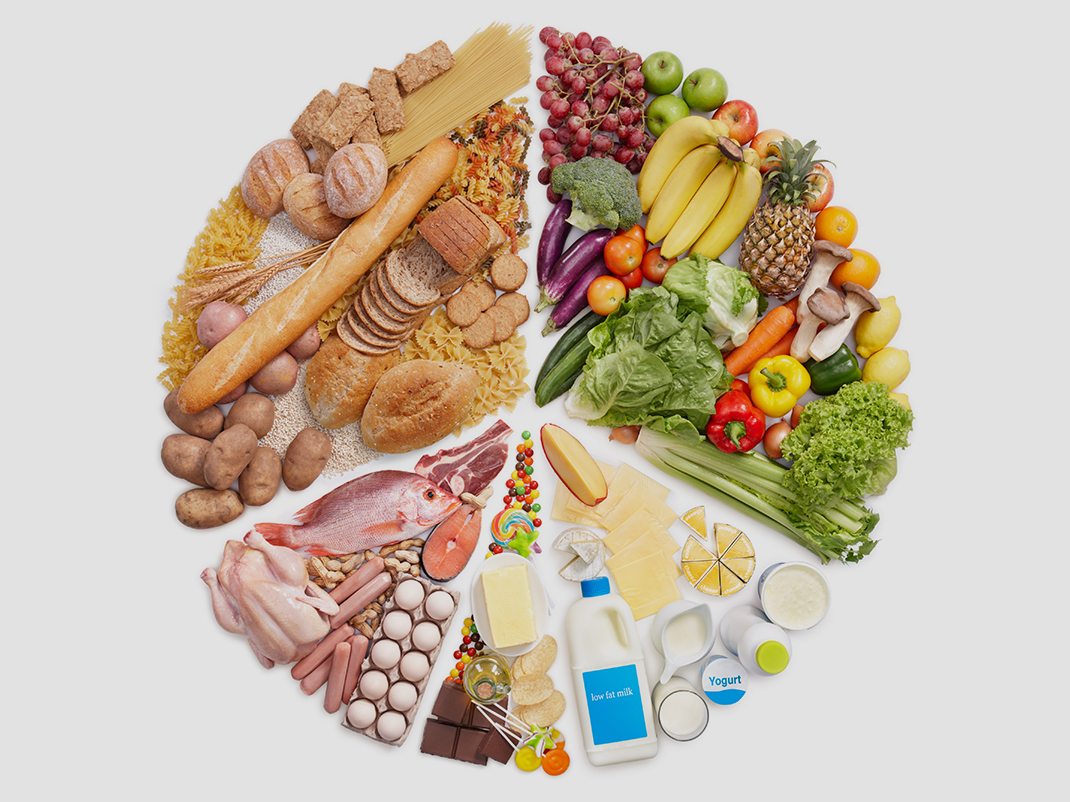
Canada’s Food Guide organizes food into three categories as a foundation for eating: vegetables and fruit, whole grain foods, and protein foods. This fun game helps students determine which foods belong in each of the three food categories, according to Canada’s Food Guide.
Curriculum links
- Health and physical education: Active living
- Health and physical education: Healthy living
Learning objective
- Become familiar with the foods that make up the foundation for eating recommended in Canada’s Food Guide learning method
- Taking part in a relay race that involves matching foods that make up the foundation for eating recommended in Canada’s Food Guide
Materials
- 2 copies of the food cards below (1 for each team)
- 2 large sheets of stiff paper
- Marker
- Masking tape
Before starting: Prepare supplies
- If you haven’t already done so, print out two sets of the food cards and glue them onto the stiff paper.
- To make the food “carpets,” turn the large sheets of paper sideways. Divide each sheet into three columns, and use the marker to write the name of a food category in each column.
- Prepare the area for the relay race. Lay down the two carpets at one end of the classroom, approximately 2 metres apart. Use the masking tape to mark two starting lines on the floor, opposite — but at least 3 metres away from — each carpet.
- Shuffle the food cards. Place each set, face down, near the starting line.
Instructions
Pre-activity: Class discussion
- Start a discussion with students by recapping how they organized food in the last activity. They organized food by colour, shape, size, texture, and taste, and by where and how it grows. Each food is unique and has many different qualities.
- Tell students that there is another way food can be organized
- Ask students if they have heard of Canada’s Food Guide. Explain that it’s not a strict set of rules but, rather, is a guide that sets out a foundation for eating foods our bodies need to function, allowing us to grow, learn and play
- Explain that people often have different eating habits, depending on their budget, culture, taste, and lifestyle
- There is no such thing as the “right” food or “correct” way to eat. Eating well looks different to everyone
- Canada’s Food Guide shows us another way that we can organize food. Three types of food make up the foundation for eating. Can you name them?
- Vegetables and fruit
- Whole grain foods
- Protein foods
We can think of these foods as the foundation or the main anchor of what we normally eat every day. There are so many foods we can enjoy within each category. Over time, when we feel ready, we can try new foods to make sure we eat a wide variety. We don’t need to accept all foods right away; there is no hurry.
Activity: Relay race
- Explain to students that the game they are going to play will help them remember which foods make up the food categories.
- Divide the class into two teams of equal size. If one team has one less member than the other, choose a student who will play twice.
- Choose a captain for each team. Ask captains to stand behind the starting lines, facing the carpets. Ask the rest of the team to stand in a straight line behind their captain, facing the same way.
- Explain the rules of the game and then start the relay race.
- On each team, the student at the starting line (Student #1) picks a food card from the pile on the floor
- Next, the student walks quickly to the carpet, decides which category the food shown on the card belongs in, and puts the card in the appropriate column
- Then, the student goes to the back of the line and mimes (staying silent) his or her favourite activity (dancing, running, soccer, hockey)
- Now it’s the second student’s turn to pick a food card. The game goes on until each team member has taken a turn
- When all members of both teams have had a turn, review the food cards on the carpets. Are all the food cards in the correct columns? Take any food cards that have been placed in the wrong columns and make two additional piles outside the carpets.
- Count the food cards that have been put in the correct columns. The team that put the most food cards in the correct columns wins the game.
- Give each team the food cards they put in the wrong columns. Help the teams to put these cards in the correct columns.
- If you wish, shuffle the food cards and begin the race again.
- Once the race is over, have students sit down, and ask them if they noticed anything about the foods that were used in the game.
- Were there any dishes or meals? No, they were all ingredients that could be used to make dishes.
- Did we use all the foods found in the world? No, of course not! There is a huge variety of foods out there that could be included in the game.
- Can they think of other foods they could have included? There will be no end to their answers, e.g., quinoa, pumpkin seeds, bok choy, tortillas, etc.
- Point out to students that Canada’s Food Guide doesn’t just show us another way of organizing food. It also reminds us that eating is about enjoying food, sharing and discovering new meals, and spending time with others.
Additional notes
- Showing Canada’s Food Guide Snapshot to children under 12 years old is generally not recommended, as they tend to interpret the image they see too literally
- If you choose to use the snapshot as a visual aid, it’s important to emphasize that it’s just a guideline and not a strict set of rules. The snapshot simply shows that, in general, it’s recommended that vegetables and fruits be eaten most often, along with protein and whole grain foods.
- Children under 12 find nutrition concepts, like vitamins and sugar, and long-term health outcomes, difficult to understand, as these are very abstract ideas for a young age group
- It’s easier for children to relate to and understand food, because it’s tangible, rather than nutrition, which is not
- Please keep in mind that organizing food as per the three categories in Canada’s Food Guide should be approached as another way of looking at food
- Furthermore, the snapshot doesn’t show all the foods that students may encounter in their daily lives
- Many children will likely be familiar with other foods, such as cucumbers, watermelon, cheese, or humus
- While Canada’s Food Guide encompasses foods representative of all cultures and tastes, children may not understand that the snapshot shown demonstrates a separation and deconstruction of ingredients
- The Canada’s Food Guide Snapshot isn’t likely to bring to mind many of the dishes they know, such as lasagna, kimchi, or curry
- Canada’s Food Guide states that each person chooses food according to their preference, culture, budget, and lifestyle
- Some students may not have been exposed to foods shown on Canada’s Food Guide Snapshot; their families may not have access to certain foods or may not choose to eat them regularly
- Mentioning that certain foods “must” be eaten can cause stress, anxiety, guilt, and, in the long term, foster a negative attitude towards certain foods and eating in general, particularly given that responsibility for purchasing and providing food are not the child’s responsibility but, rather, falls to their parents and guardians
- In addition, referring to specific quantities of food and using words like “moderation” should be avoided
- Instead, encourage children to trust and follow their hunger cues. Different people will consume different quantities of food according to their appetite
- The foundation of eating is just a small part of Canada’s Food Guide: advice on enjoying food, eating with others, following hunger cues and cooking more often, along with being aware of food marketing, limiting highly processed foods, and using food labels, makes up the rest of the guidelines
Relay race: Food cards
Please see the printable PDF at the bottom of the page.

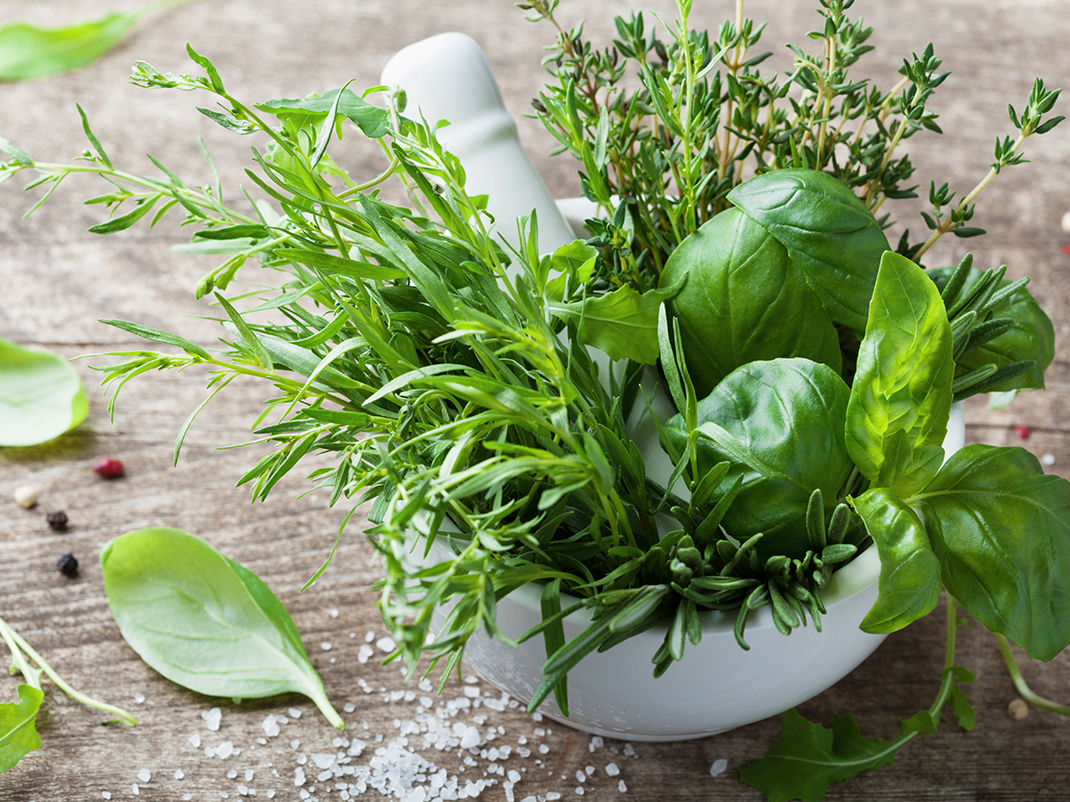
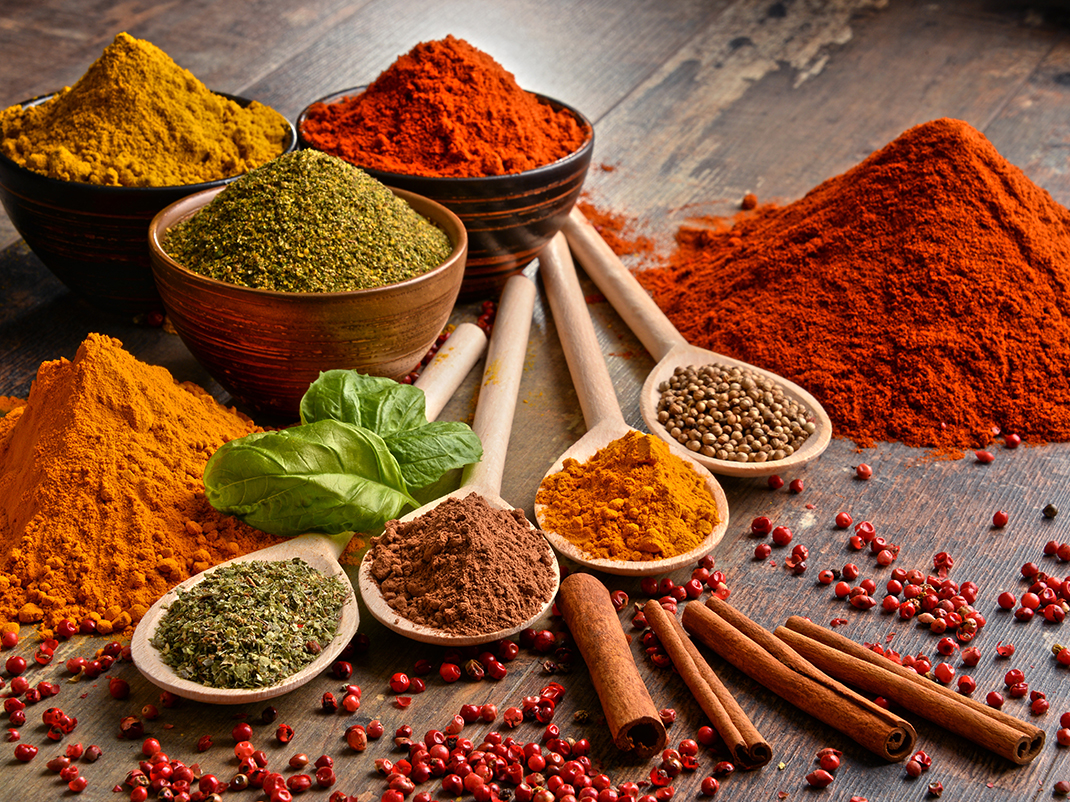
Sugar n’ spice and everything nice!
There are an infinite number of dishes and recipes from around the world. What makes them unique is often the tastes and flavours that come from herbs and spices. Adding these not only makes food taste good, but also makes eating more interesting! In this activity, students use their sense of smell to explore herbs and spices.
Curriculum links
- Health and physical education: Active living
- Health and physical education: Healthy living
Learning objective
- Expand knowledge of herbs and spices
Learning method
- Playing a guessing game where students match the correct name to an herb or spice
Materials
- A few sets of 10 mini spice bowls, or tiny containers that can hold 15 to 30 ml (1 to 2 tablespoons) of a condiment (30 to 40 in total)
- 10 different herbs or spices of your choice, or of those recommended below
- Tablespoon measure
- A few sets of name cards of herbs and spices (one set for each group)

Before starting: Setting up the classroom
- Depending on whether you will divide the class into three or four groups, set out three or four sets of mini spice bowls, or tiny containers, so that each group has a variety of 10.
- Using the tablespoon measure, put at least 15 to 30 ml (1 to 2 tablespoons) of each herb and spice into each bowl or container. Each set should include a sample of each one, so that each group will have 10 different herbs and spices.
These spices are recommended:
- Cinnamon
- Rosemary
- Cumin
- Oregano
- Cloves
- Sage
- Cardamom
- Dill
- Ginger
- Bay leaves
If you use different herbs and spices, be sure to change the name cards to reflect this before you print them. For ease and convenience, dried herbs and powdered spices are recommended, although you may use fresh herbs and whole spices (e.g., cinnamon sticks and fresh mint leaves) should you wish.
- Print out three or four copies of the name cards and cut them out.
- Set up the classroom by dividing the desks into three or four groups. At each station, place one set of herbs and spices and one set of name cards.
Instructions
Pre-activity: Class discussion
- Start by asking students to name some of the different tastes foods and dishes can have. Foods can taste sweet, sour, spicy, bitter, etc. All foods have their own natural taste that can be changed through cooking or mixing them with other ingredients. What can we use to change food flavours? Using herbs and spices is one way to change how foods taste and make eating more interesting.
- Ask students if they can name some herbs and spices. Do they have any favourites?
Activity: Guessing game
- Introduce the game they will play in teams.
- Divide the class into three or four teams (depending on the number of stations you have set up), and have each team sit at a station
- Explain that there are 10 herbs and spices and 10 labels at each station
- As a team, they must use their sense of smell to match each label with a herb or spice
- Once they’ve made a decision, they should place the name card next to the herb or spice
- This is not a race to see who finishes first, but they will have a time limit of 10 minutes (or however long you choose). Whichever team gets the highest number of correct answers wins the game.
- The following rules are recommended:
- Students can only use their sense of smell: they are not allowed to taste the herbs and spices. Doing so would be unsanitary, and some herbs and spices have a very strong taste. If you choose to use fresh herbs and whole spices, they can touch and feel the samples.
- Students need to be careful not to blow or breathe into the bowls or containers, to avoid having the powdered ingredients fly up into their eyes.
- Start the timer and let students figure out which name goes with which herb or spice. When a team finishes, ask them to sit quietly until time is up.
- When the timer goes off, ask students to stop playing, as you will all go over the answers together. Hold up an herb or spice and ask each team for their answer. Confirm it is correct or share the correct answer. Repeat this for every herb and spice until you’ve confirmed or given all the correct answers.
Conclusion
Ask students to reflect on the activity:
- How many answers did their team get right?
- Were they surprised by the answers?
- Were there some herbs and spices they recognized?
- Were there some that were new to them?
- Did they recognize some herbs and spices from dishes their families cook at home or they have tried before?
- Are there some they are curious to try?
If you used fresh herbs and whole spices, ask the students what they observed.
- Did the students imagine that the herbs and spices looked like this?
- What did they feel like?
- What are their colours?
- How do the students think these can be cooked and added to recipes?
- How can they be turned into powder?
- Are there some other herbs and spices that the students are curious to see in fresh or whole form?
Notes and labels
Please see the printable PDF at the bottom of the page.
Printable PDFs
Relay race: Food cards (PDF, 1249 KB)
Notes and labels (PDF, 207 KB)
You may also be interested in

Healthy kids quest: Be active!
In the Be active! module, children will learn that physical activity plays an important role in our lives: it contributes to our mental well-being and quality of life.
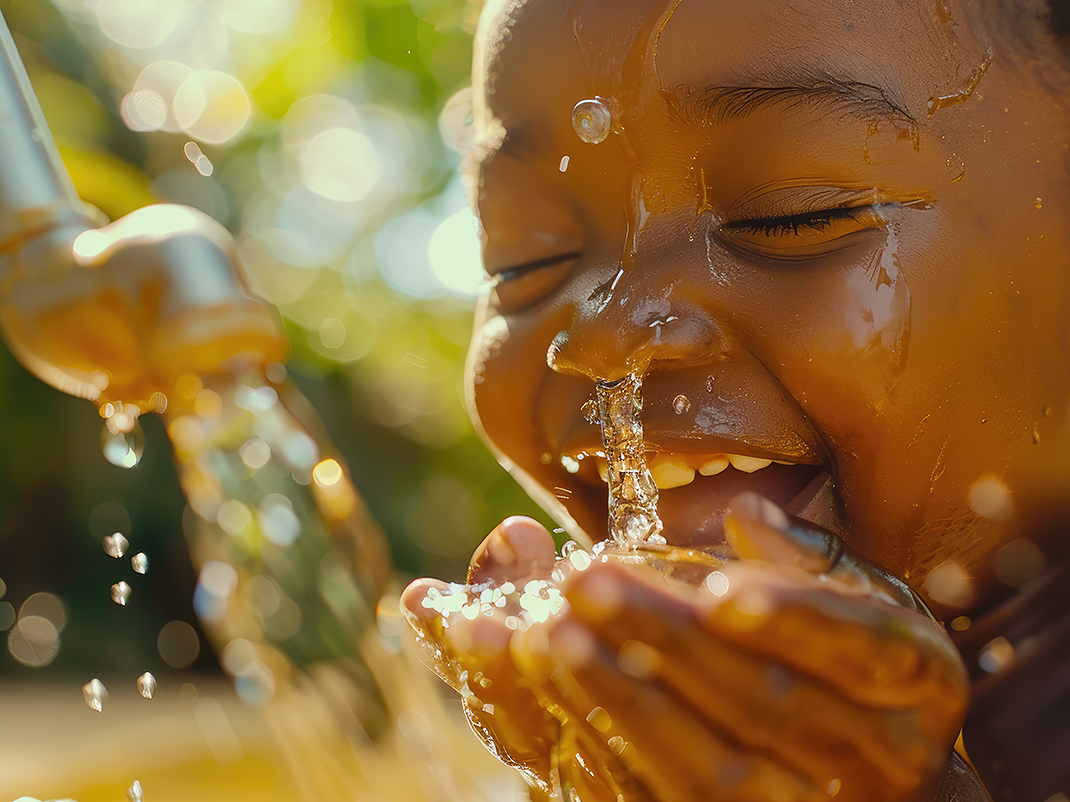
Healthy kids quest: Water for me, please!
Feeling thirsty? In the Water for me, please! module of the Healthy kids quest, students will learn that water is essential to our survival. When we make water our main drink of choice, we satisfy our thirst and feel good.

Healthy kids quest: Living well
The Healthy Kids Quest: Living Well and Healthy Pets module includes fun activities that help the students make the connection between what they need to do to take care of themselves and feeling good.