Mini greenhouses
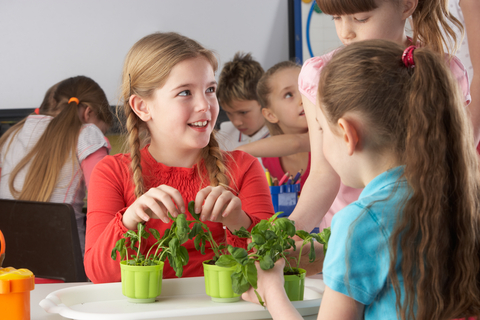
This family activity is a great way for kids to take on the responsibility of caring for their own plants, and for you to start your favourite garden vegetables for the growing season. Some vegetables, like tomatoes, eggplants, melons, and peppers, require a long growing season and must be started indoors, making them perfect candidates for the mini greenhouses.
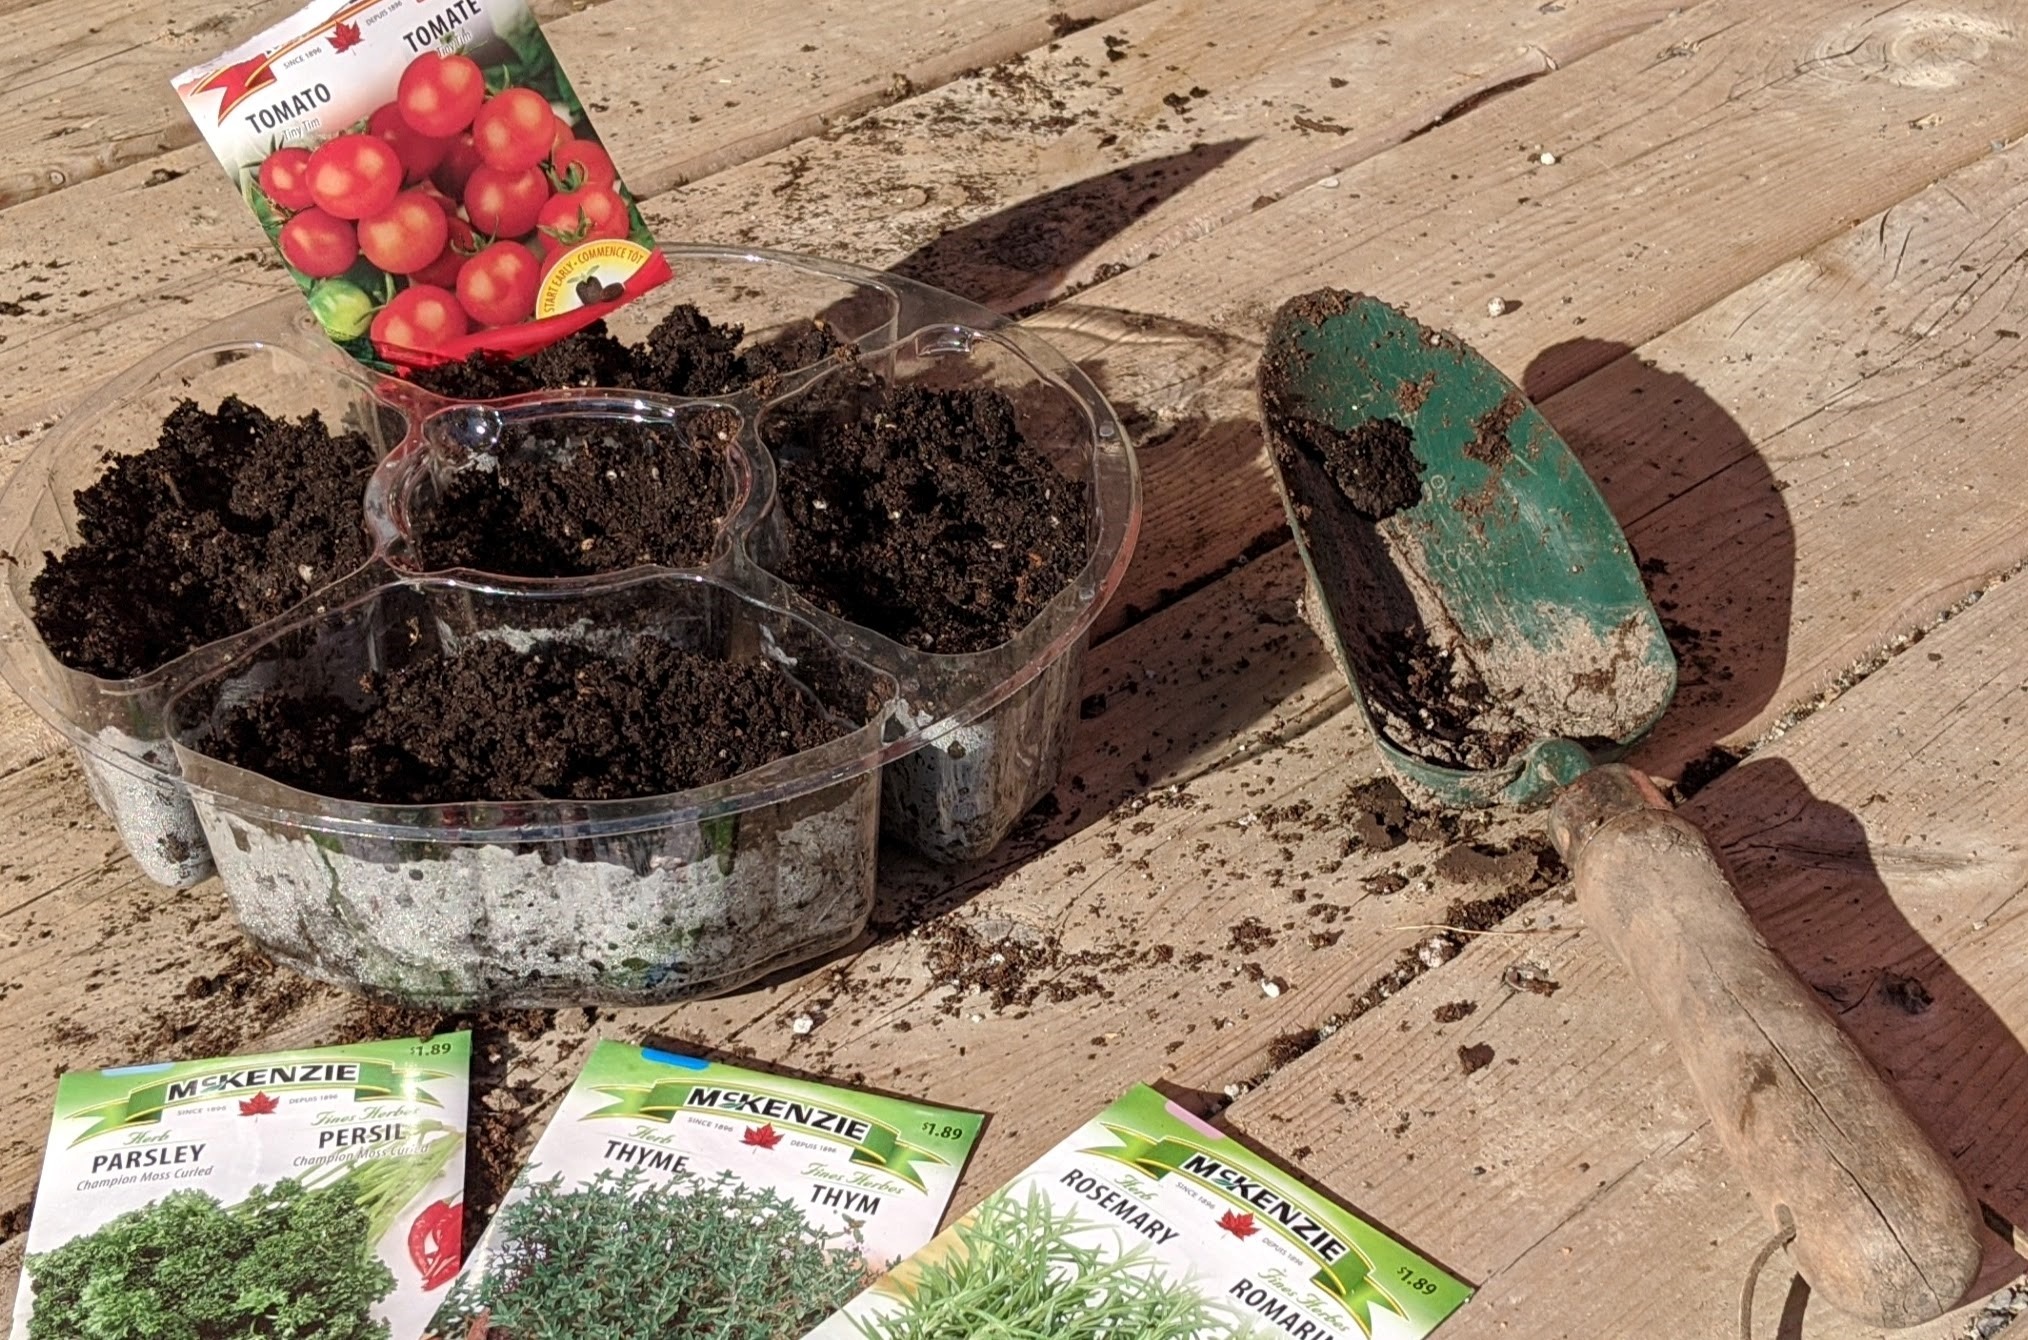
Materials
- Salad or other transparent plastic containers/trays with lid (watertight—no holes)
- Potting soil
- Seeds of your choice
- Water

Part 1: Seedlings planting
- Fill each container to about ¾ with soil. Most potting soils purchased in bags are moist enough and won’t need to be watered. If it feels dry, pour a bit of water on it and mix it until moist.
- Lightly pack down the container’s contents.
- Follow the sowing instructions on the seed packets. Ensure seeds are evenly spread out throughout the container. Cover the seeds with soil and close the lid.
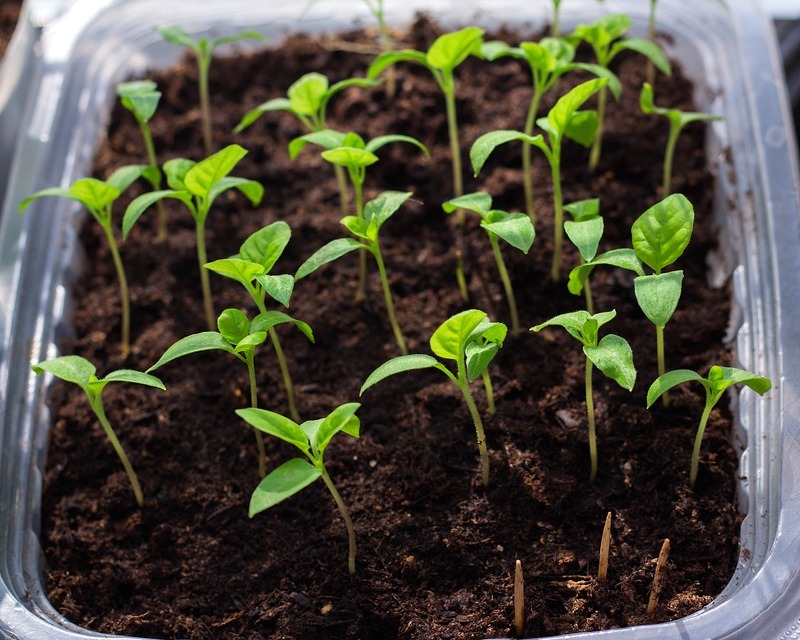
- Place the container in a sunny location. Wait and watch!
Part 2: Seedlings care
- Over time, water droplets will form under the lid due to evaporation. The water will drip back down onto the soil, keeping it moist. The greenhouse is self-watering, no need to add water as long as the lid is on.
- Remove the lid when most of the seedlings have sprouted and reached the top of the mini greenhouse
- Once the lid is removed, water will evaporate quickly. Water the seedlings when the first 2-3 centimeters of soil have dried up completely. Do not add too much water or the roots will rot.
- You can also poke holes under the greenhouse container to drain excess water. If you do so, place the lid under the container to catch the dripping water.
Part 3: Hardening off the seedlings
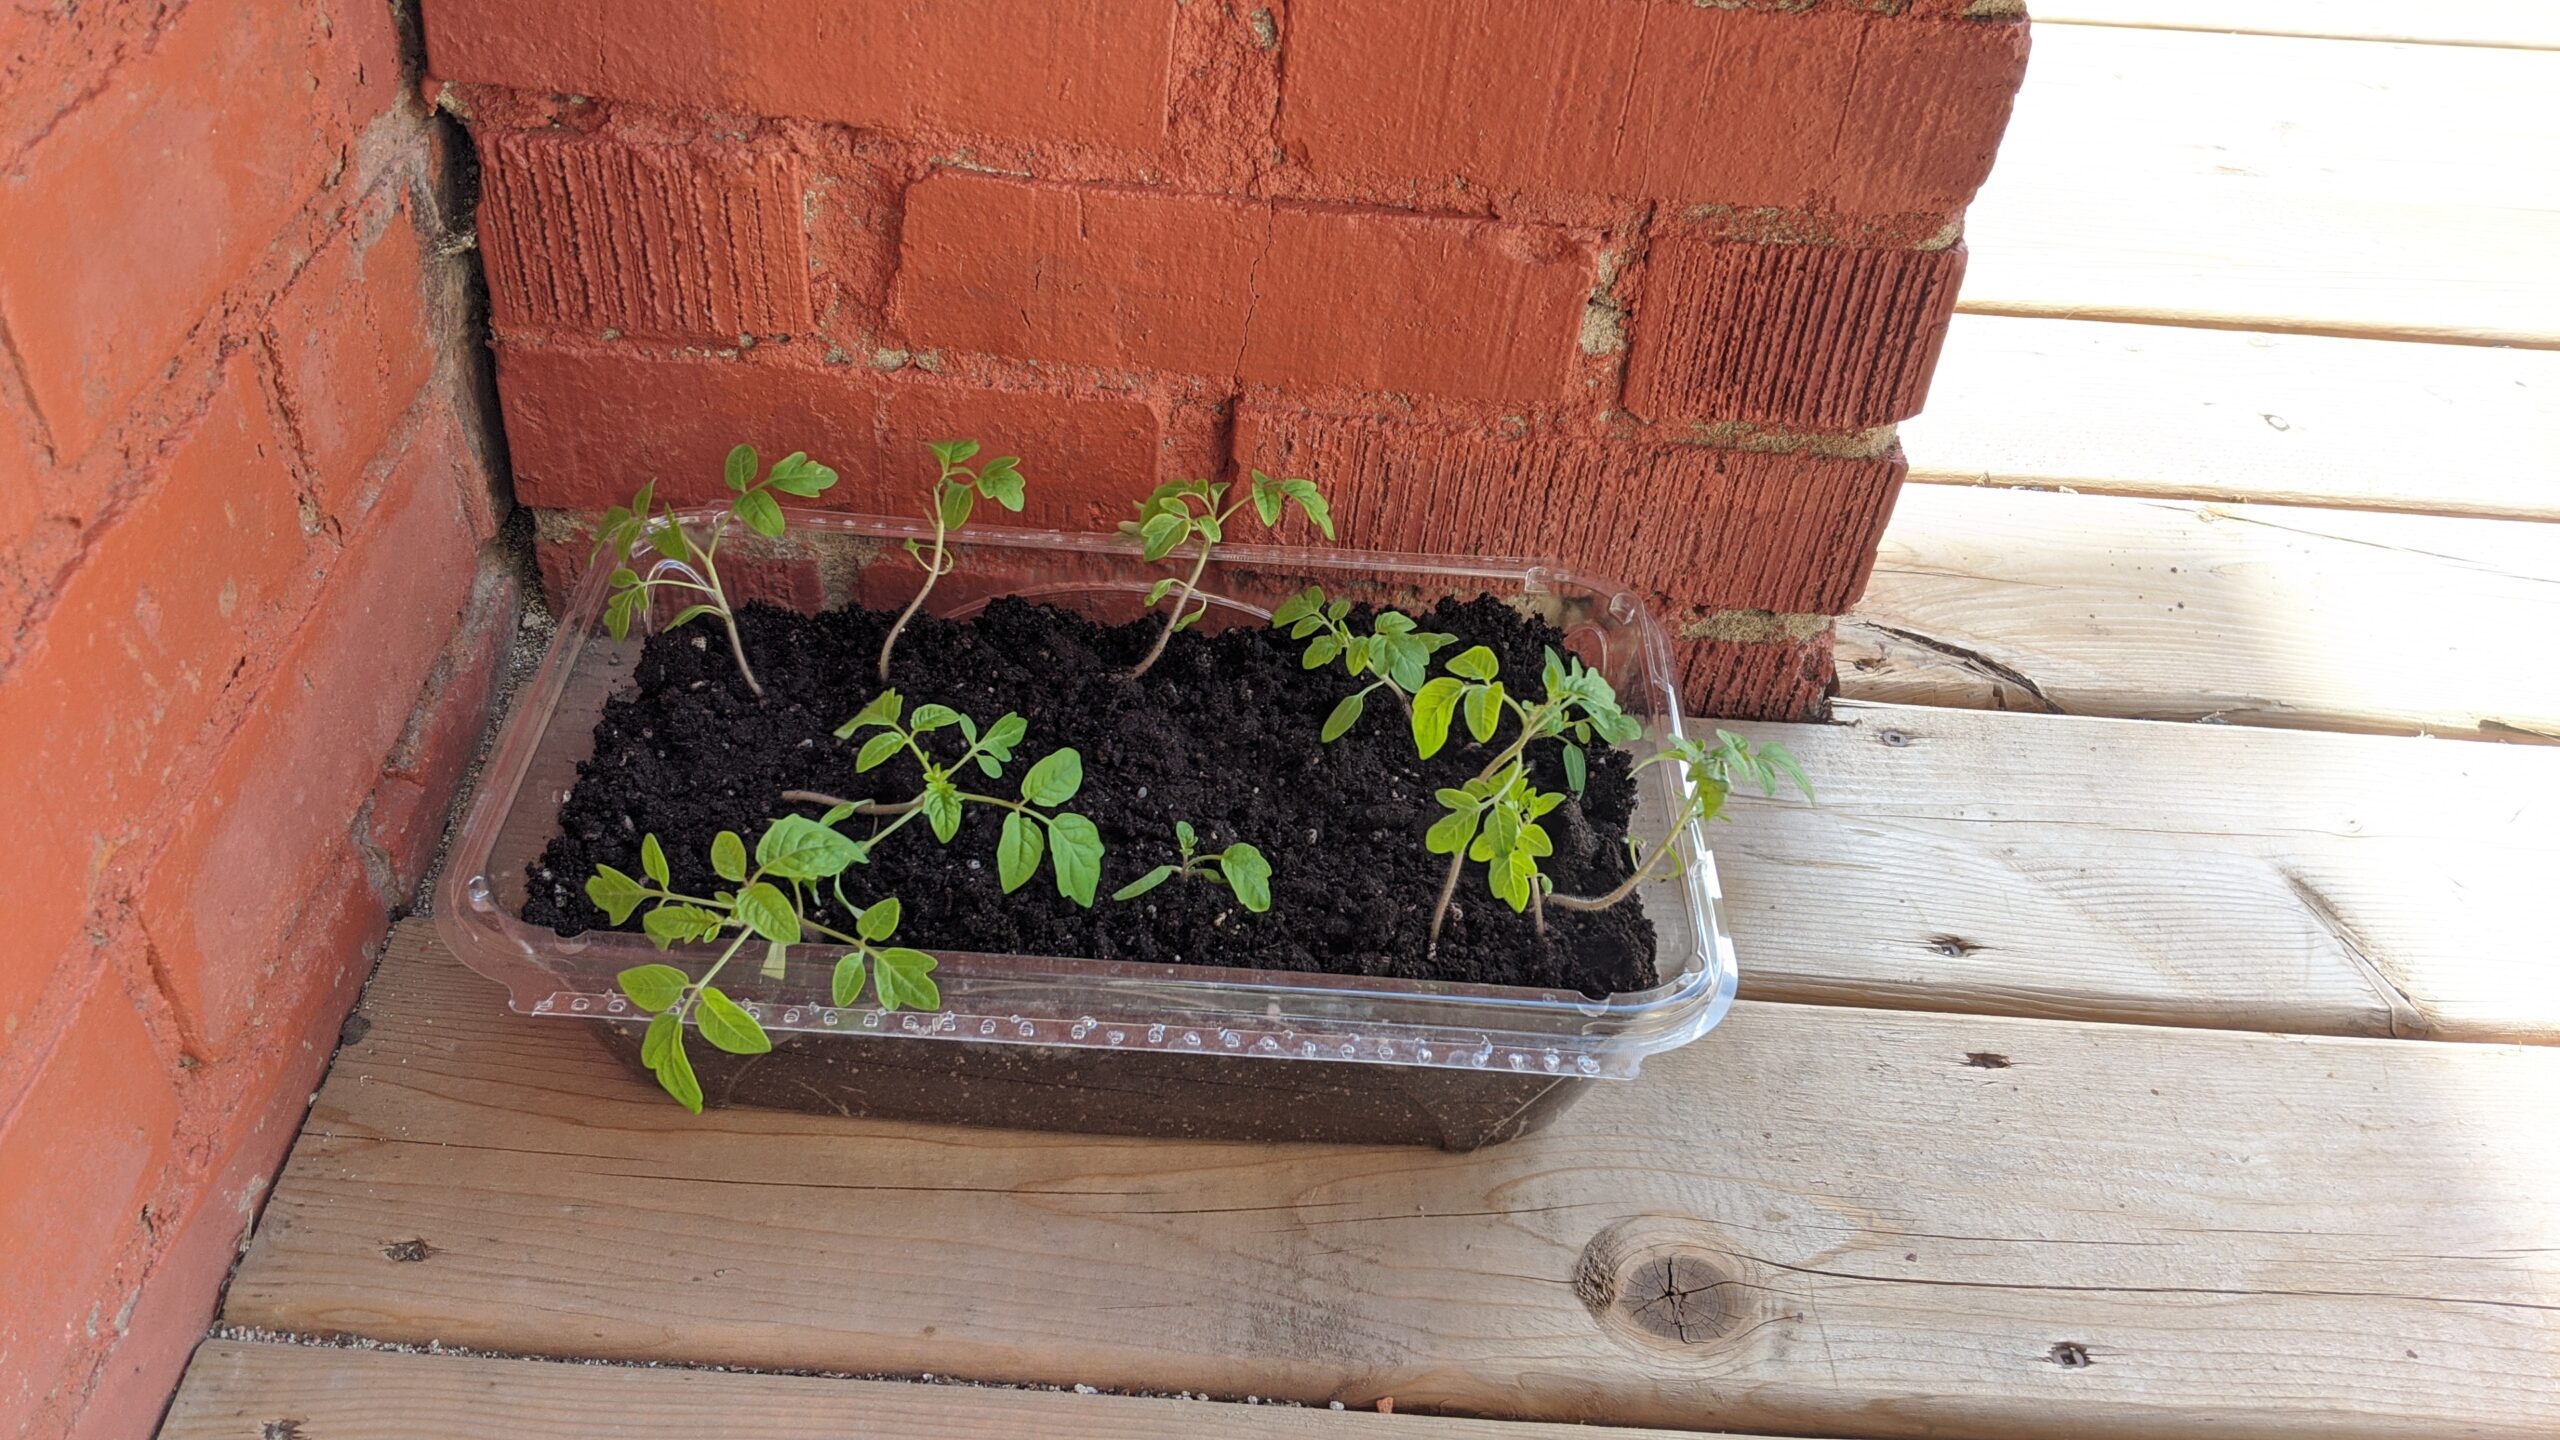
You need to harden off the seedling before transplanting them outside to your garden or patio containers. So far, the seedlings have been sheltered from the elements in your house or apartment. To harden them off, you must expose them slowly to the sun, wind and rain. Hardening off plants doesn’t take a long time, but it is important to do it right.
- Choose a good spot: Your seedlings will need some protection from the sun and wind on their first days out. Look for a shady spot next to your home, garden shed, or even under a picnic table or a tree.
- Start slowly: On the first day, move your seedlings to the hardening off spot for an hour or two, then move them back indoors. Bring the seedlings out in the early morning or mid to late afternoon. Avoid midday, when the sun is at its strongest. Make sure the plants are protected from the wind.
- Increase the time: Each day, leave your seedlings outside for an hour more than the previous day. Give them more and more direct sunlight. After the third day, move the seedlings to a less sheltered spot.
- Leave your seedlings out overnight: Once your seedlings have spent several days in the sun, you can leave them outside after sunset. Leave them outside longer and longer, until they have spent the entire night out.
- Watch out for bad weather. At any given time during the hardening off, if the weather gets too cold or windy, bring your seedlings inside.
- Do not overwater the seedlings when hardening them off. Let the soil dry up between waterings.
Part 4: Transplantation
The transplantation should go smoothly if your plants are ready (hardened off).
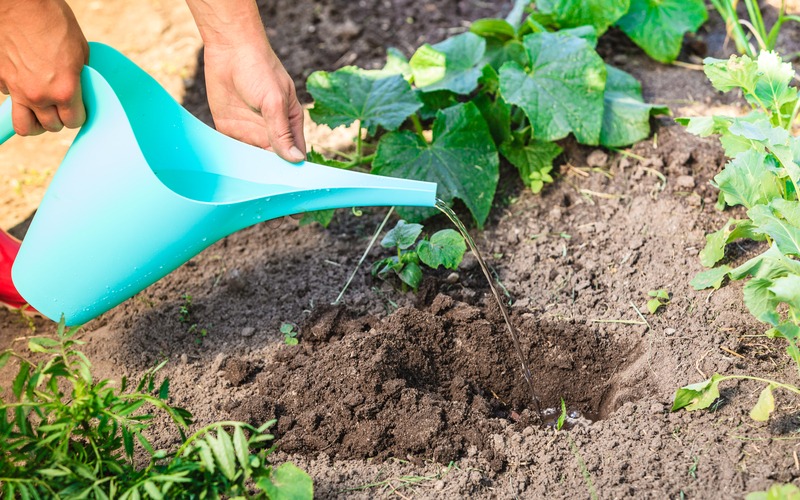
- In the garden or in a patio container, dig a hole bigger than the root ball—root system and soil that immediately surrounds it. Pour some water into the hole.
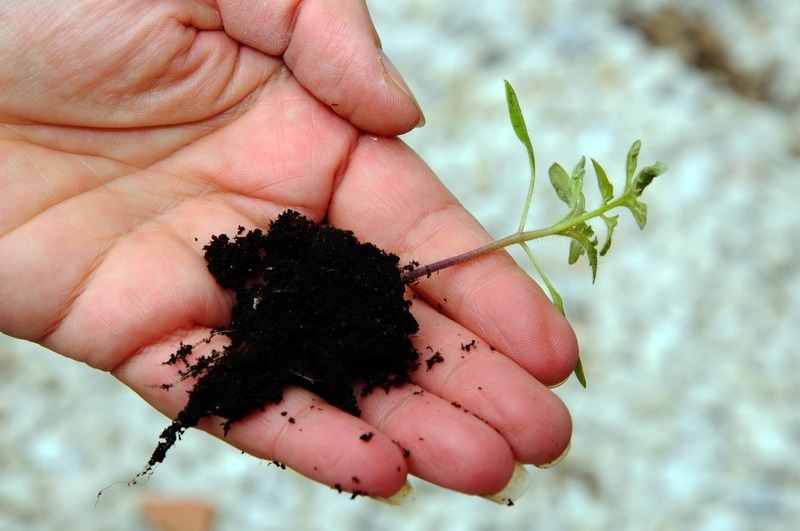
- Use a hand shovel to remove a plant from the mini greenhouse container and transfer the seedling into the hole. Be careful not to damage its root system.
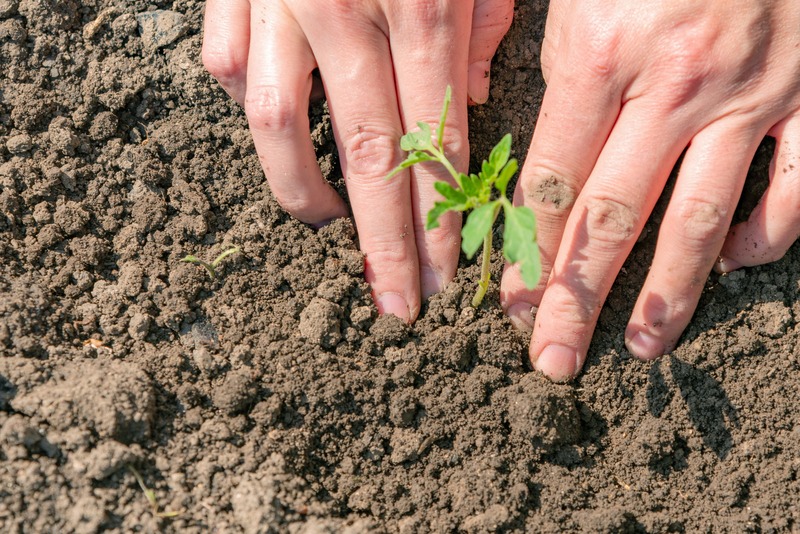
- Fill the hole with soil, covering all the roots right up to the start of the stem.
- Build a little mound of soil around the plant to keep the water in. Water the transplant thoroughly.
- Repeat steps 1 to 4 until you transplanted all the seedlings.
- Most vegetables cannot survive frosts. Find out what the frost-free date is in your region. Do not transplant the seedlings in the garden or in a patio container before that date.
- When transplanting, pick a cloudy day to reduce stress from the sun.
- Check on your plants regularly. After the transplant, it is normal for the plants to wilt a little. They should recover quickly. Add a little water to help them recover if the weather is dry.
- Tomato plants will grow new roots on their stem. When you transplant them, dig the holes deeper and add soil to the first two or even first four real leaves.
You may also be interested in
Apprentice chef: Sprouting experiments
Discover how fruits and vegetables support your health while learning to regrow plants from scraps and create delicious recipes in these fun experiments!

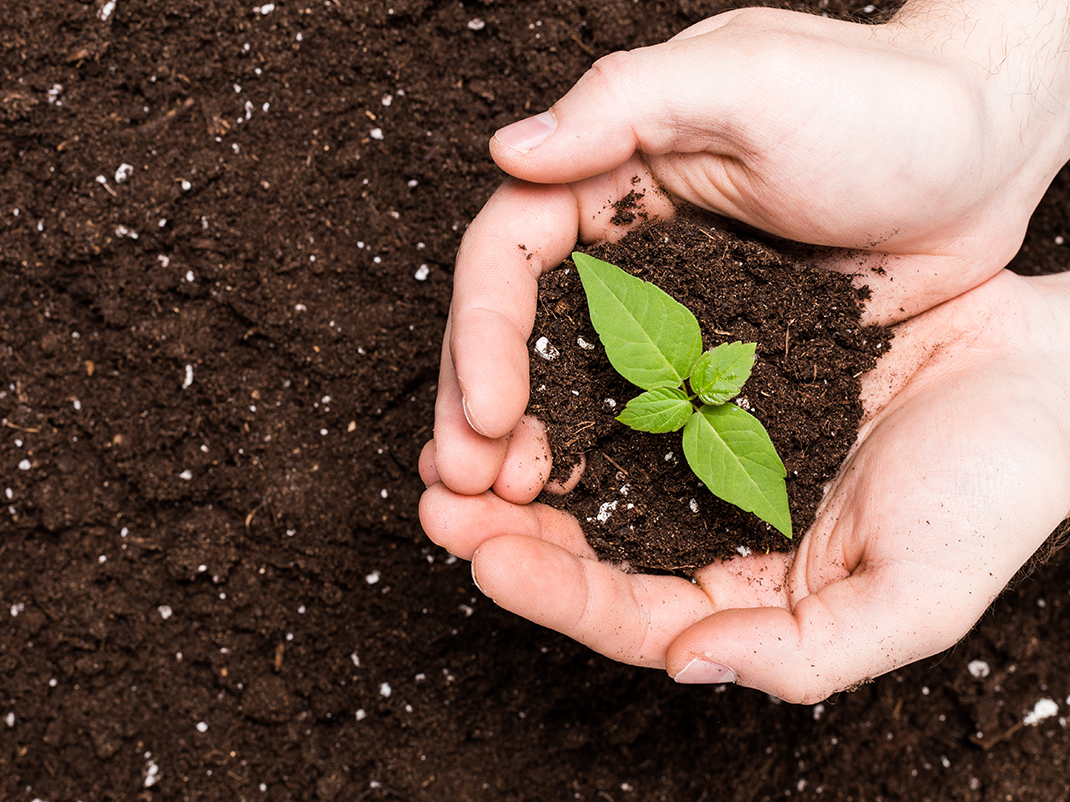
Soil superheroes
Uncover the hidden world of soil with this engaging lesson plan! Students will explore the composition, characteristics, and ecosystem of soil while learning about the “soil superheroes” that make the Earth thrive. Through hands-on activities and experiments, they’ll discover how their actions impact the soil and its vital role in supporting life on land.
A handful of soil
It’s easy to forget that soil is teeming with life! With your students, dig into the ground and discover the creatures hiding there.