Experiments and crafts
Make your own anaglyph
Duration:
20 minutes
Difficulty level:
Easy to hard (depends on the image chosen)
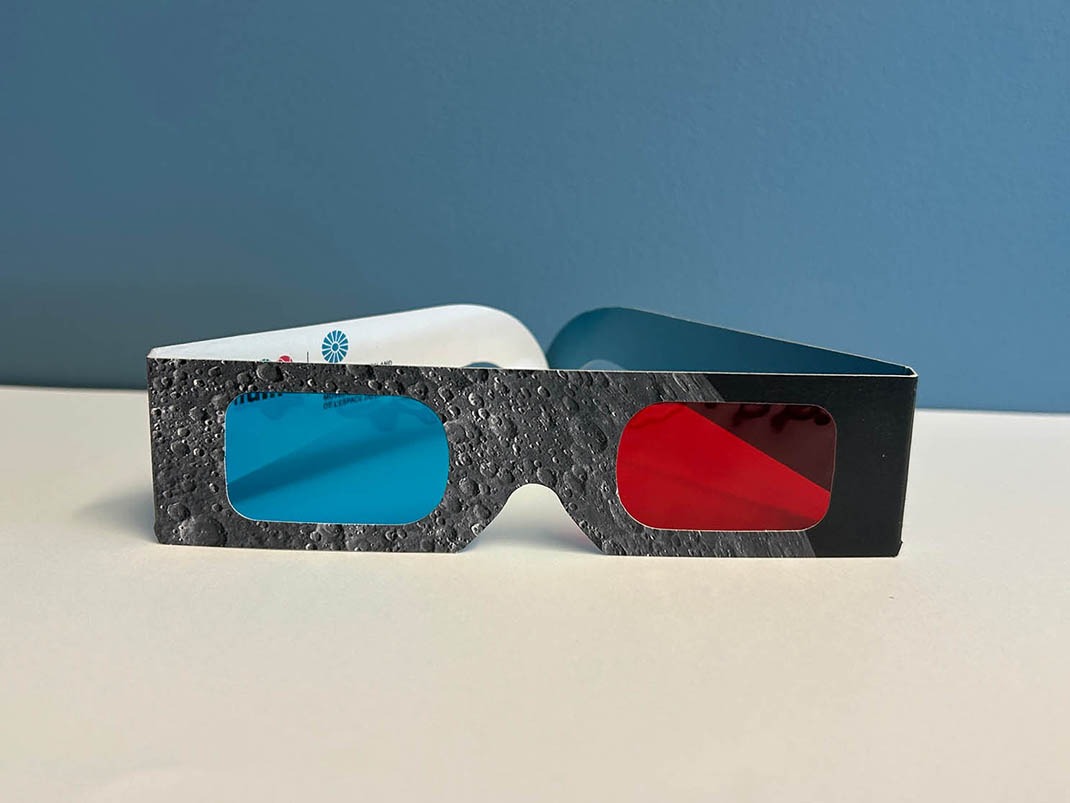
Grab a pair of anaglyph glasses and explore the world of 3D images at home.
Share :
Create your own stereoscopic image in 9 easy steps! If you don’t have a pair of anaglyph glasses, make your own by covering the right lens of a pair of glasses with blue cellophane and the left lens with red cellophane.
What you need
- Anaglyph glasses
- Red/pink pencil crayons (all shades that you have)
- Blue pencil crayons (all shades that you have)
- A picture to trace
- Tracing paper (or a light source like a window or light box)
- Tape (optional, but recommended)
- Pencil
- Ruler
Make it
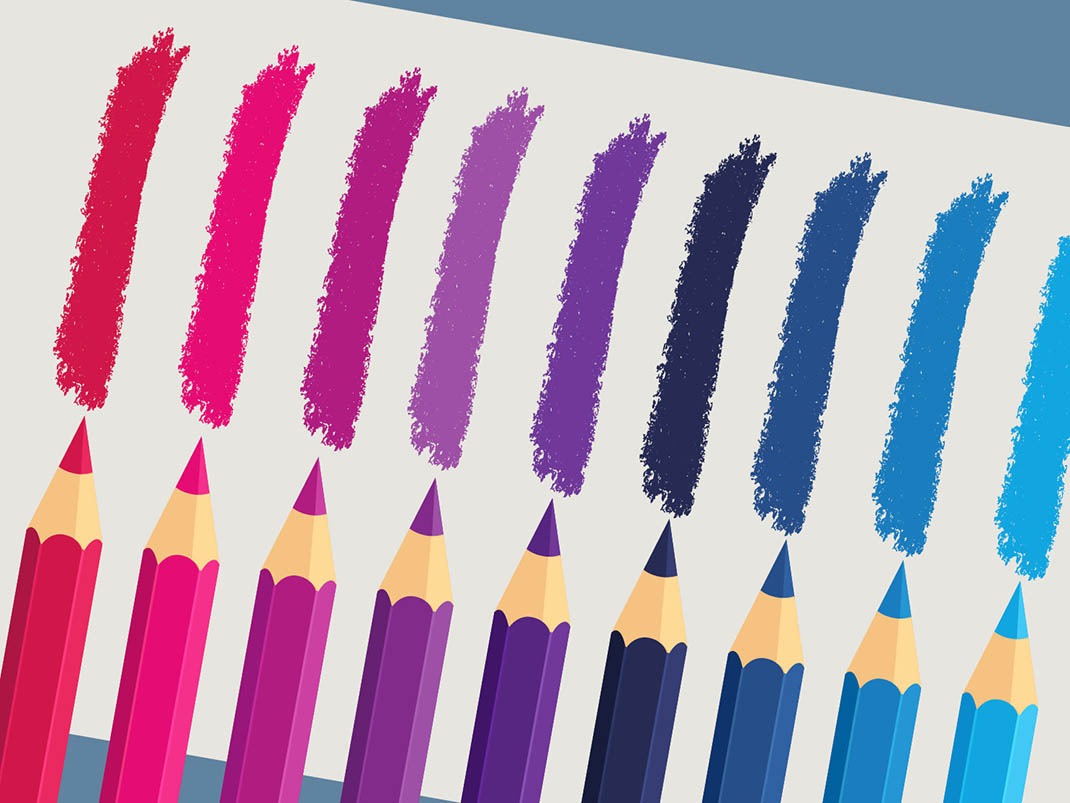
- On a scrap piece of paper, make a test mark with all your red/pink, and blue pencil crayons. (see image 1 below)
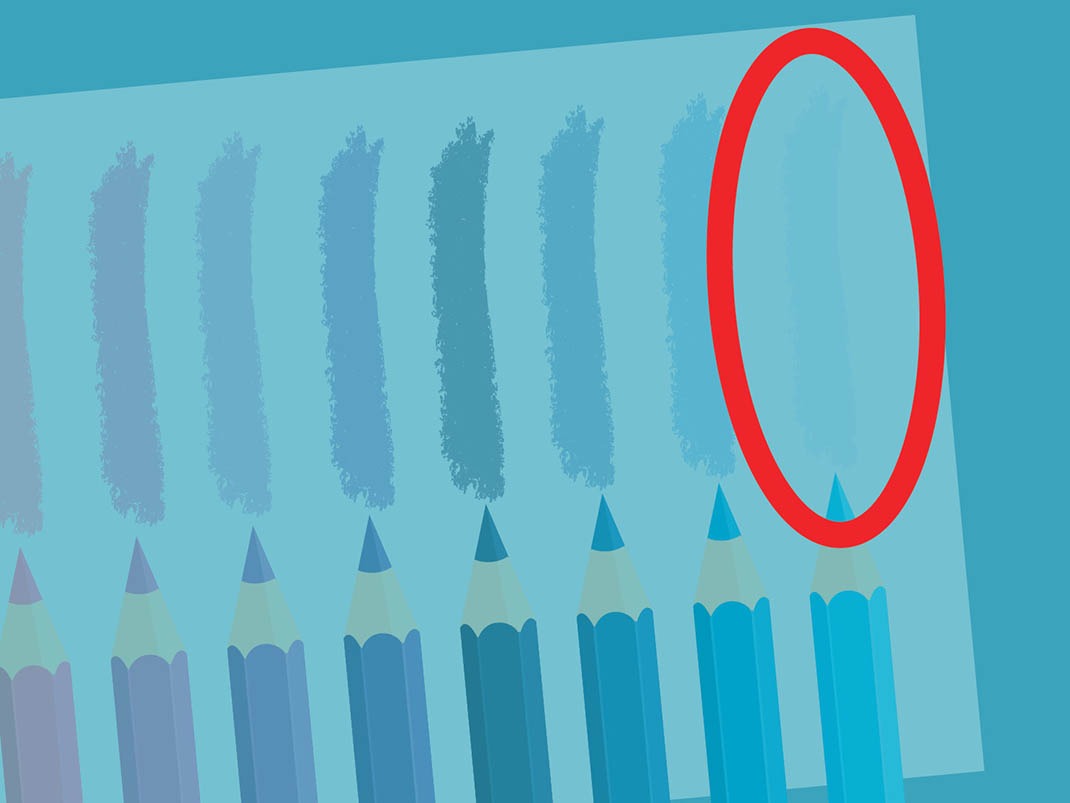
Tip: Leave the pencil crayons in the same order as the test marks so it is easy to keep track! - Put on your anaglyph glasses. Cover the red side of the glasses and find the blue pencil crayon whose test mark colour disappears the most. The effect works best when the colour disappears completely. (see image 2 below)
- Choose the red/pink colour by covering the blue side of the glasses and repeating the process. You can put all the unchosen colours and the scrap piece of paper away.
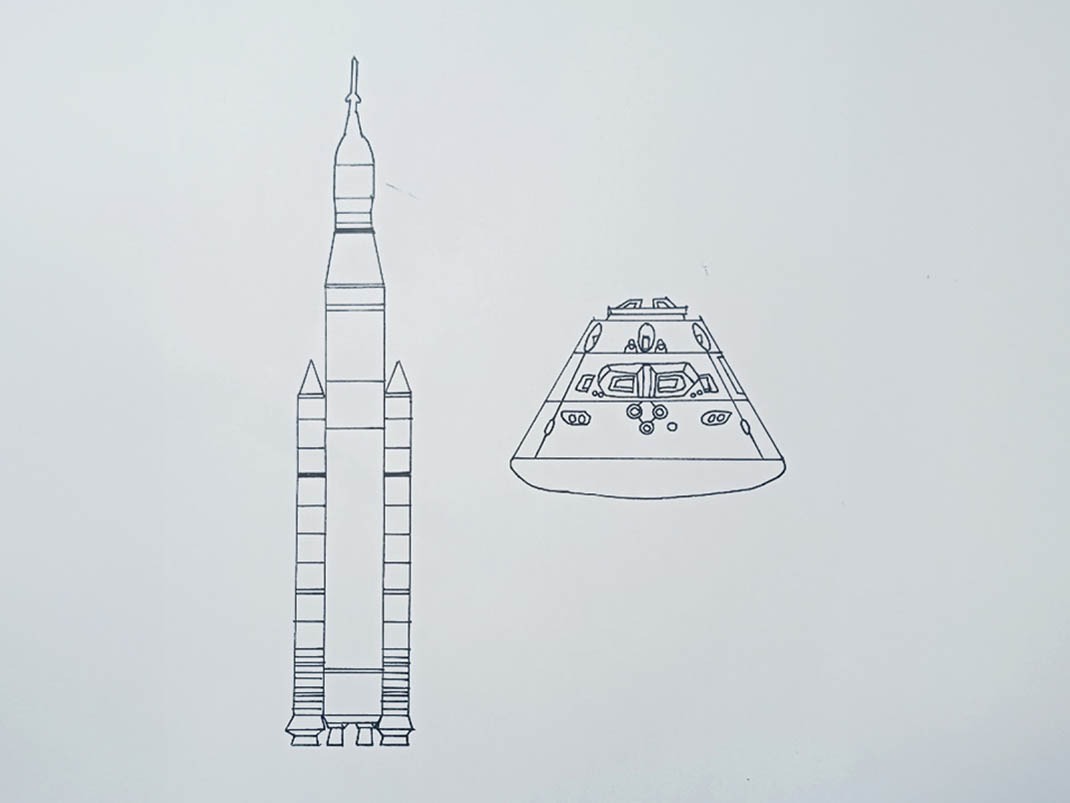
- Choose a picture. Note: You will need to trace every line on this picture twice so choose carefully. An image from a toddler colouring book is usually a good place to start. (see image 3 below for an example)
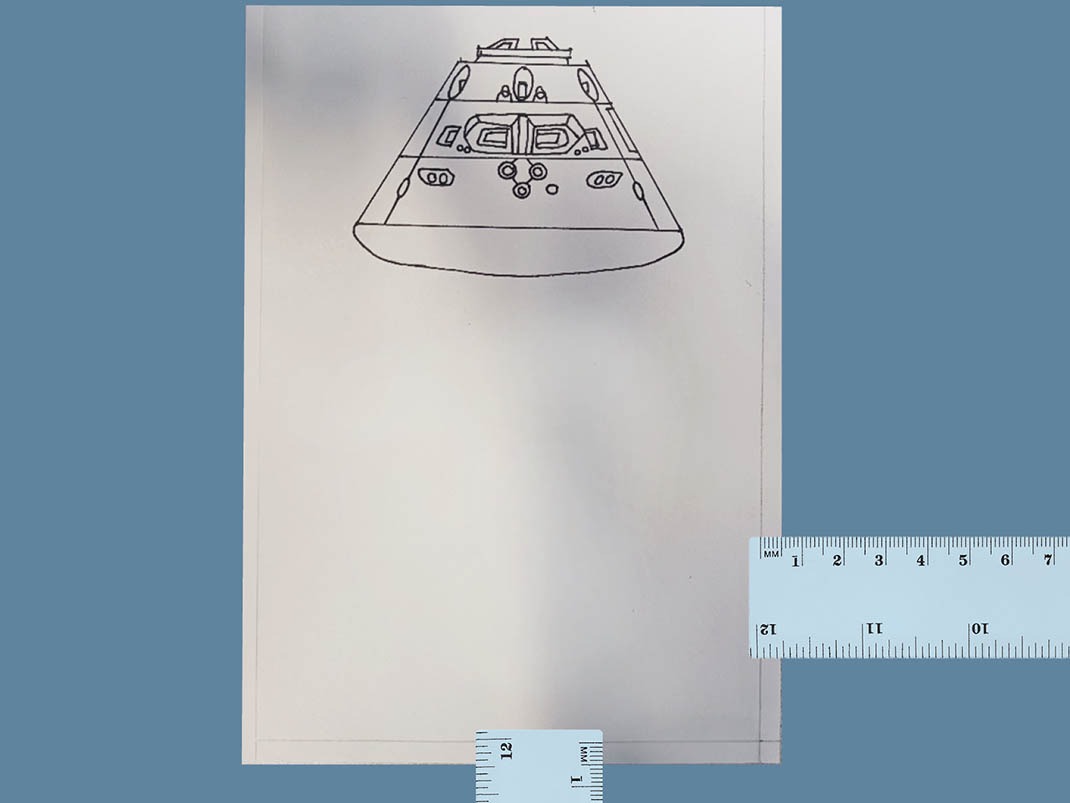
- Draw a line 5 mm from the right-hand edge of your picture page and a second line 5 mm from the bottom edge of your picture page. (see image 4 below)
- Place a piece of tracing paper on top of your picture with the bottom right corner of the tracing paper lined up with the bottom right corner of your picture page. It is recommended to affix both picture and tracing paper to your work surface to avoid them moving as you trace. (see image 5 below) Note: If you do not have tracing paper, you can use a regular piece of paper, but you may need a light source (like a light box or a window) under the picture to be able to trace well.
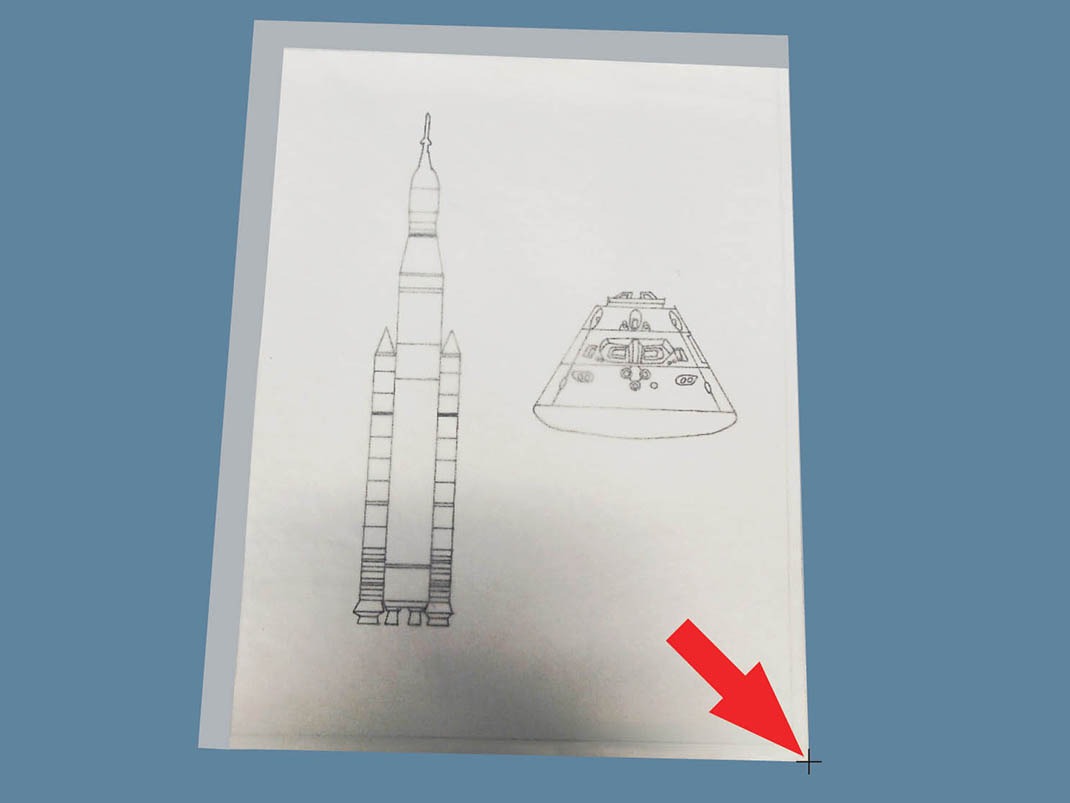
- Start with one of your chosen colours from Step 2 (pink/red or blue). Trace every line in this first colour. (see image 6 below)
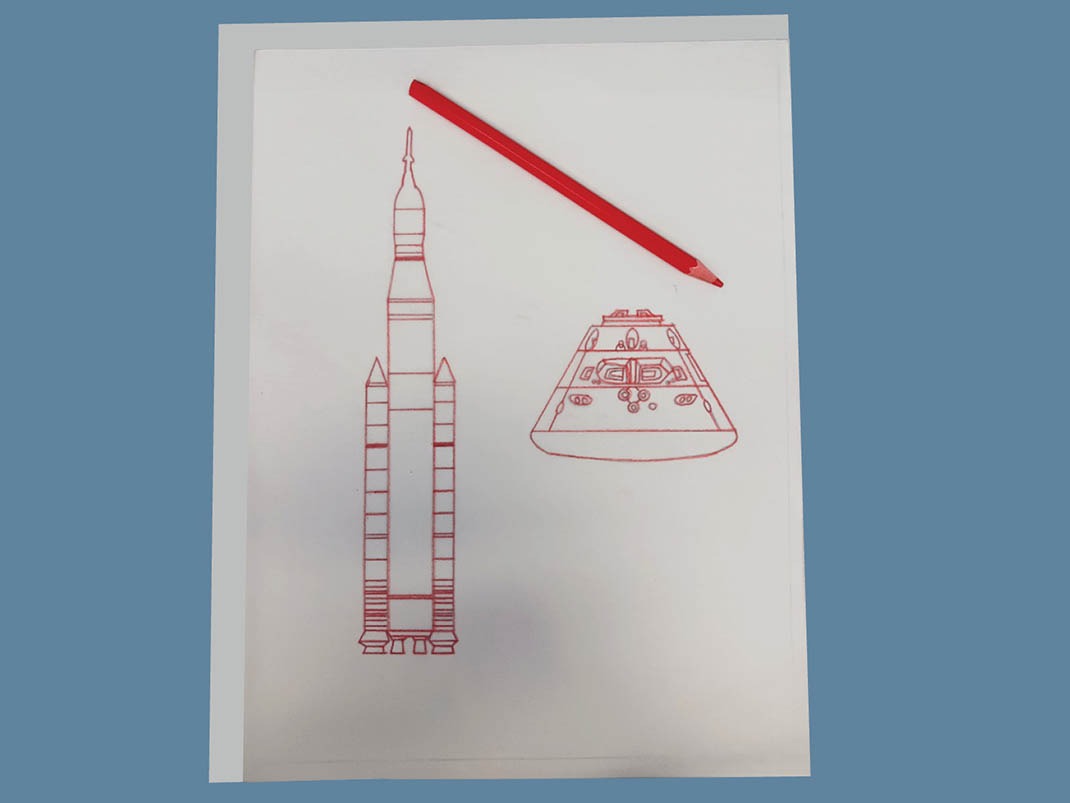
- Move your tracing paper to align it with the two lines you created on your picture page in Step 5. Affix the tracing paper back to your work surface. (see image 7 below)
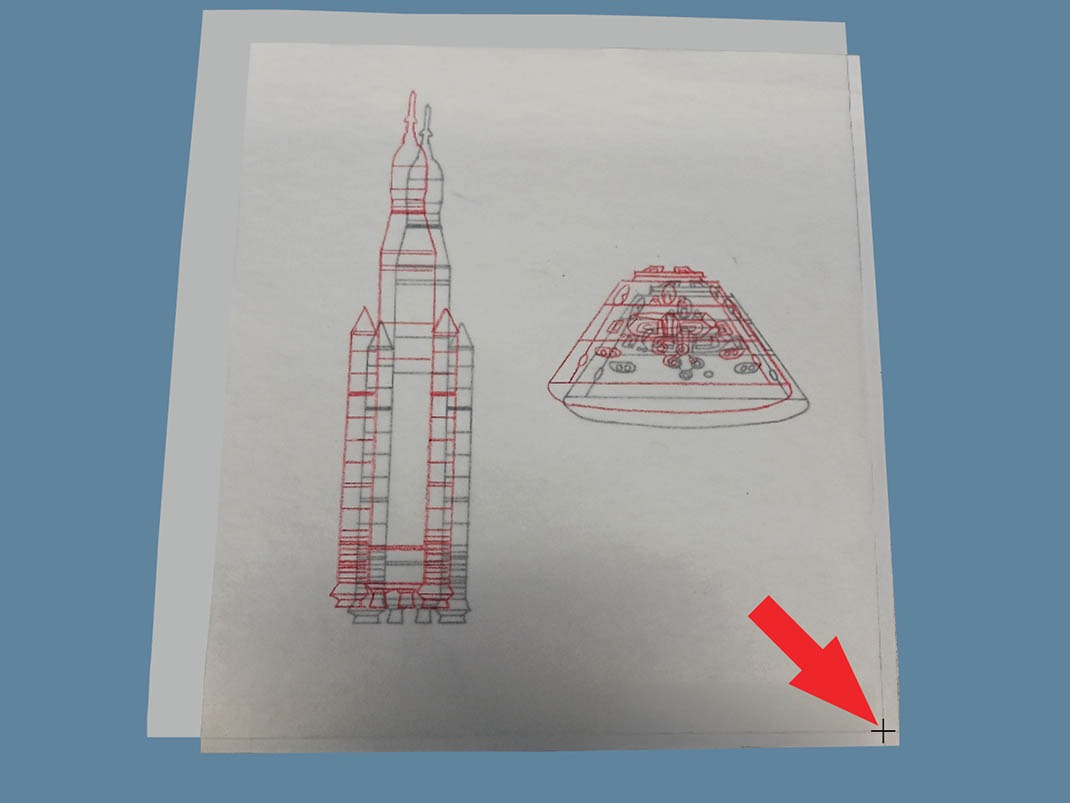
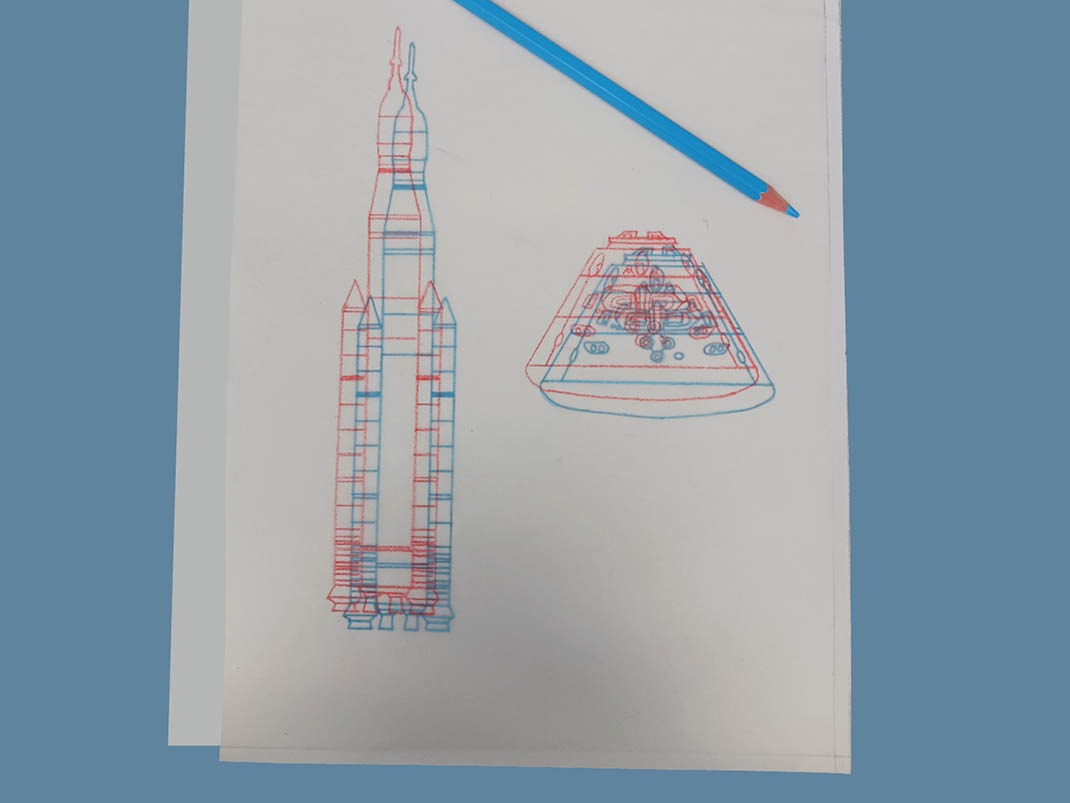
- Using the second chosen colour from Step 2, trace all the lines from the original picture again. Tracing these lines in the exact same way as the first colour will give the best results. (see image 8 below)
- Take your tracing paper and place it on a blank background (white works best). Put on your anaglyph glasses and admire your work!
You may also be interested in
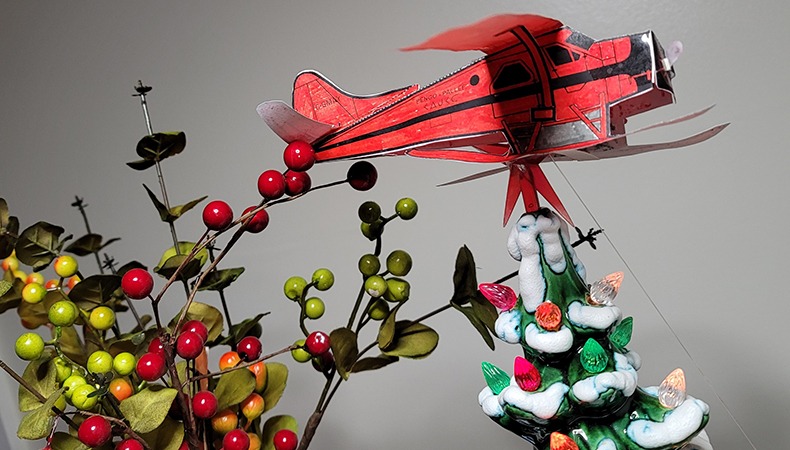
Build your own aircraft
Create your own fleet! Download and build 3D paper models of aircraft from the Canada Aviation and Space Museum collection. Let your imagination soar!
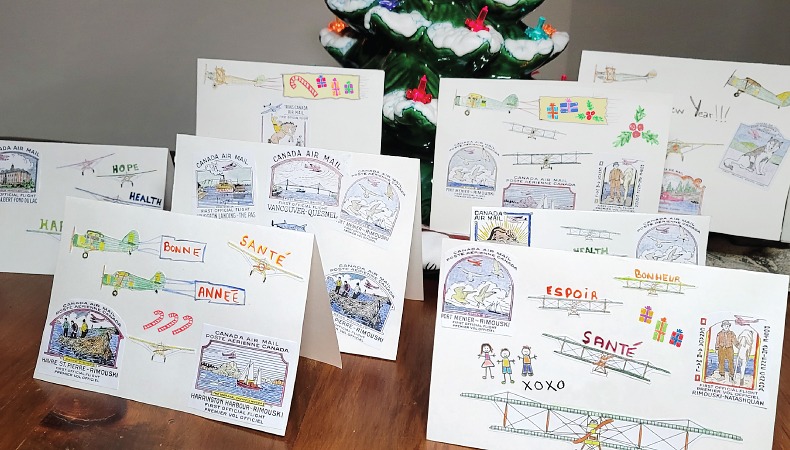
Hope takes flight: Aviation-themed cards
Create your own original greeting cards, decorated with aircraft and Canada’s “first flight covers”, for your loved ones and friends.

Constellation flashlight
Learn how to make your own constellation flashlight with this fun, hands-on science at home activity. A great way to spark kids’ interest in astronomy!